
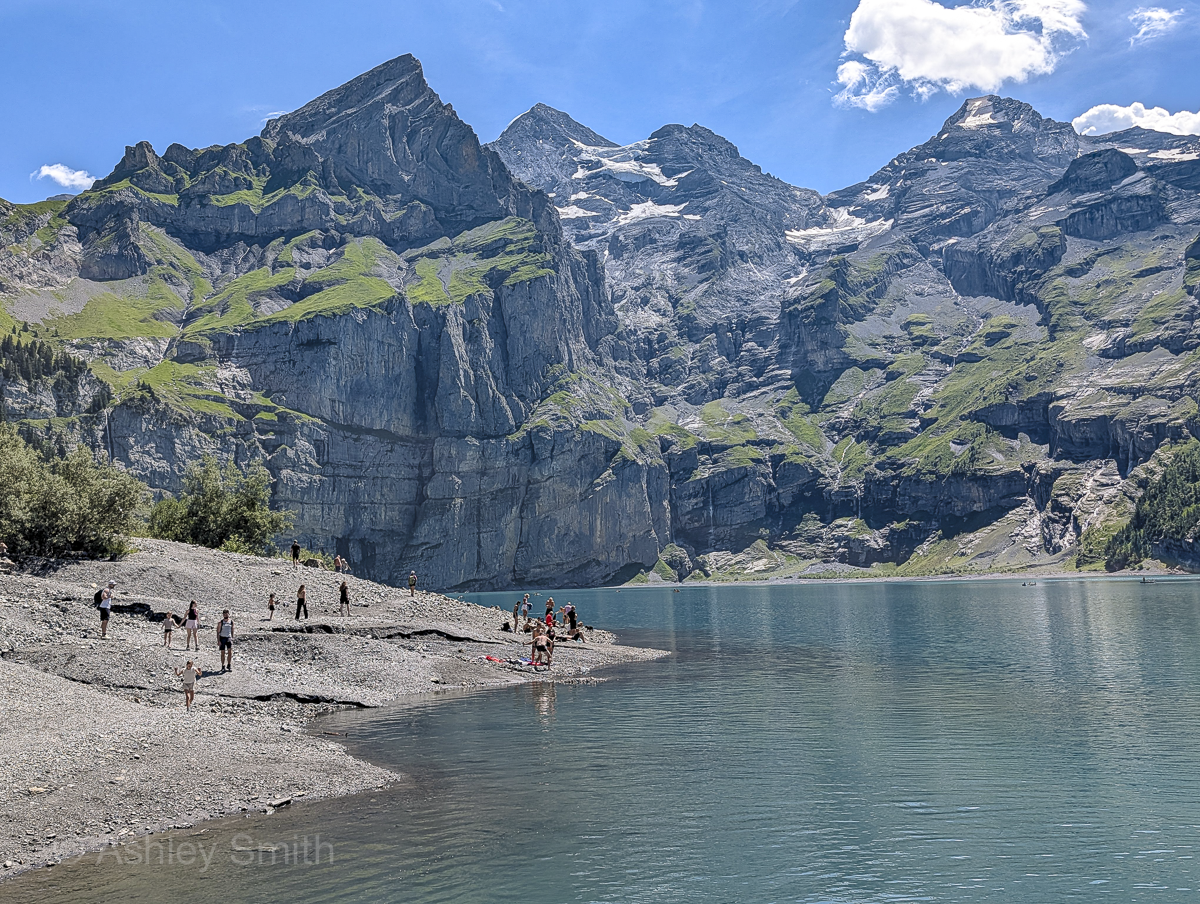
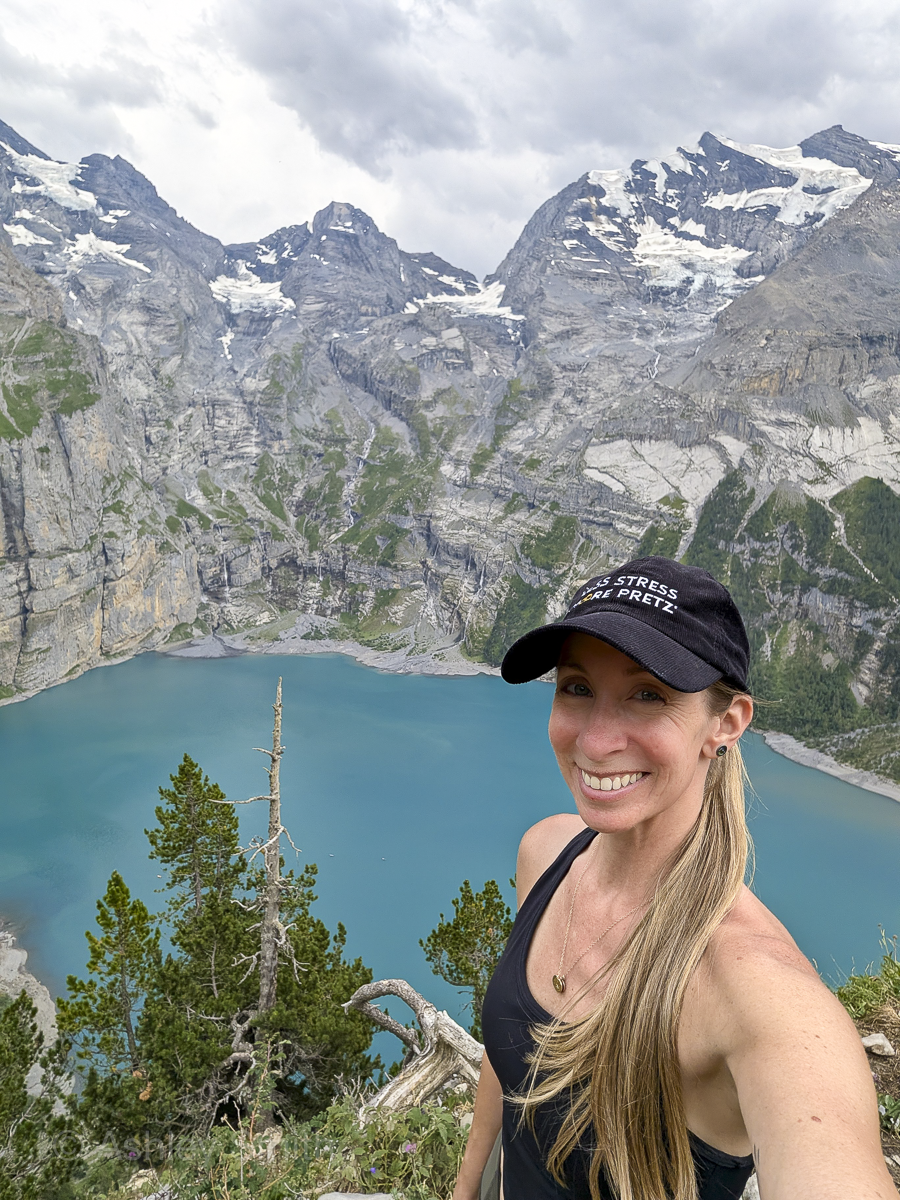
For my trip to Switzerland in July 2026, I wanted to fill my time with as many epic hikes as I could muster, and topping that list was the Oeschinensee panorama hike. I’d seen many gorgeous photos and videos of this place, but if my years of hiking in Switzerland have taught me anything, it’s that the real thing would be so much more incredible. (And I was right!)
This hike is not only jaw-droppingly beautiful, but it’s also really fun and challenging enough to feel extra rewarding. It gets a 10/10 from me. This post will provide you with all the details you need to know to complete this hike yourself (and how to do it better than most of the people I saw on the trails). Enjoy!
What is the Oeschinensee panorama hike?
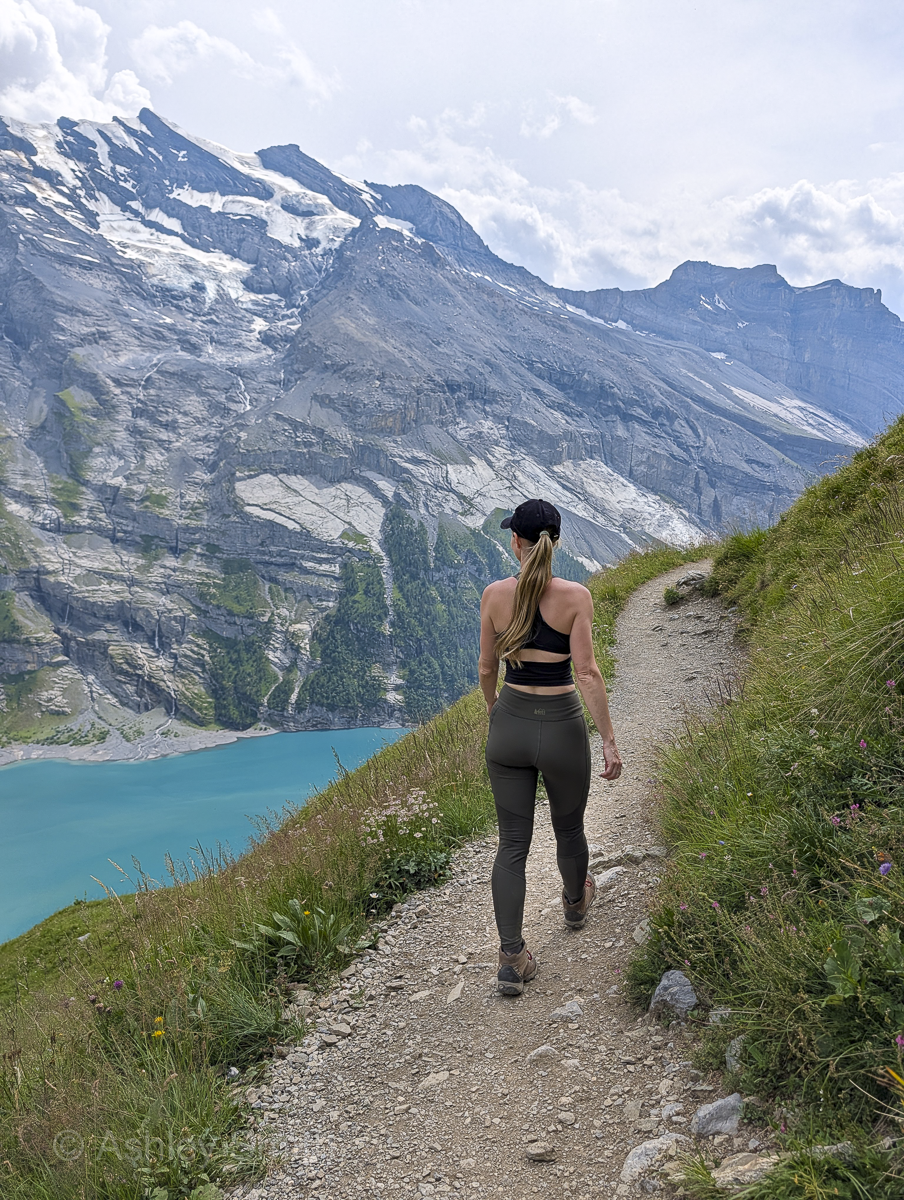
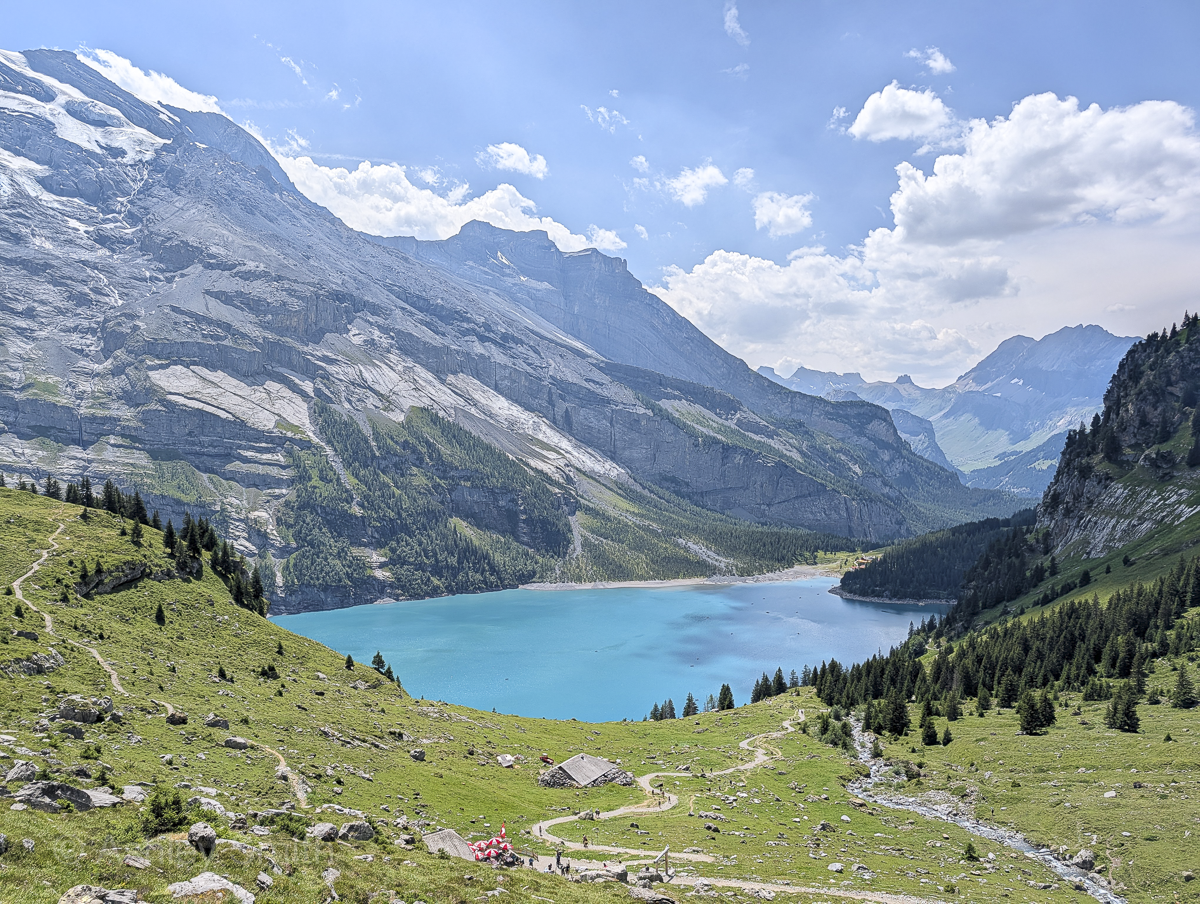
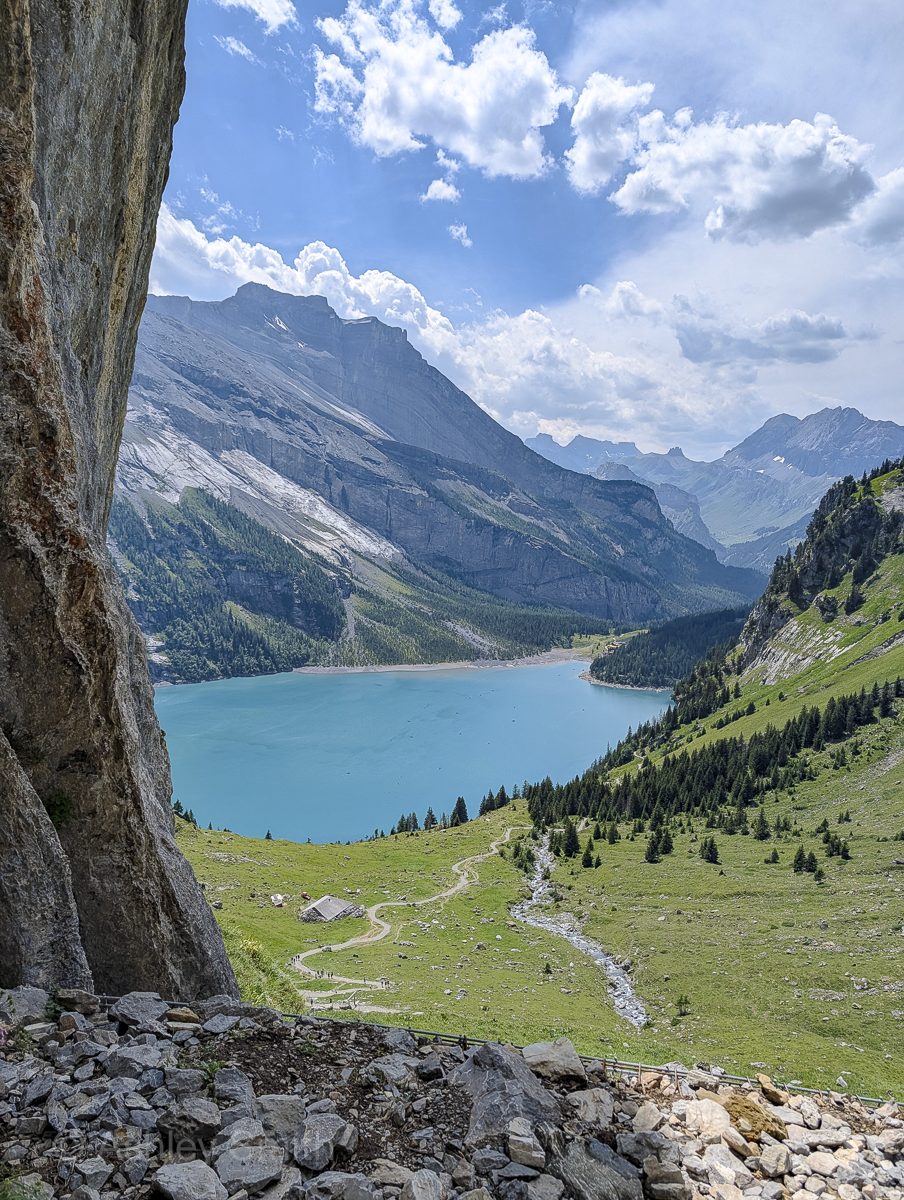
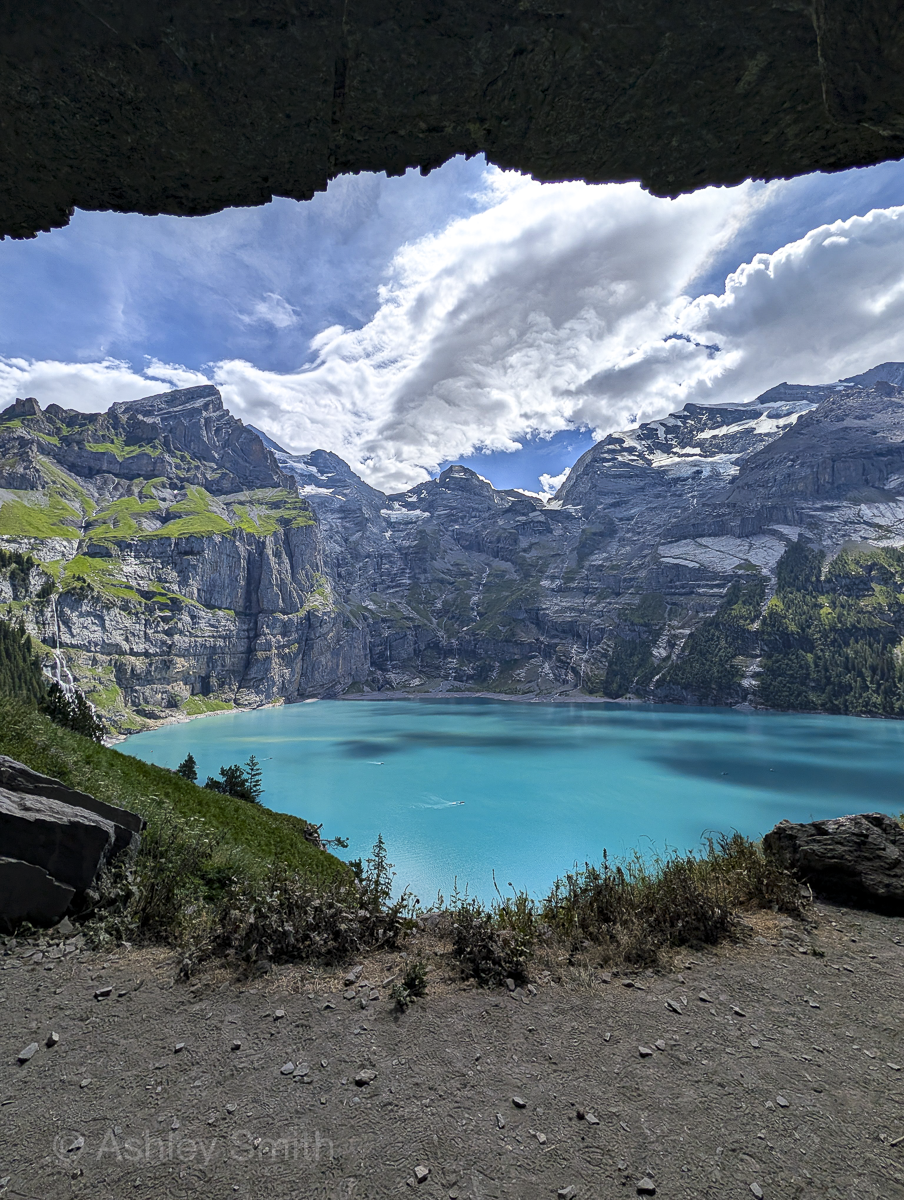
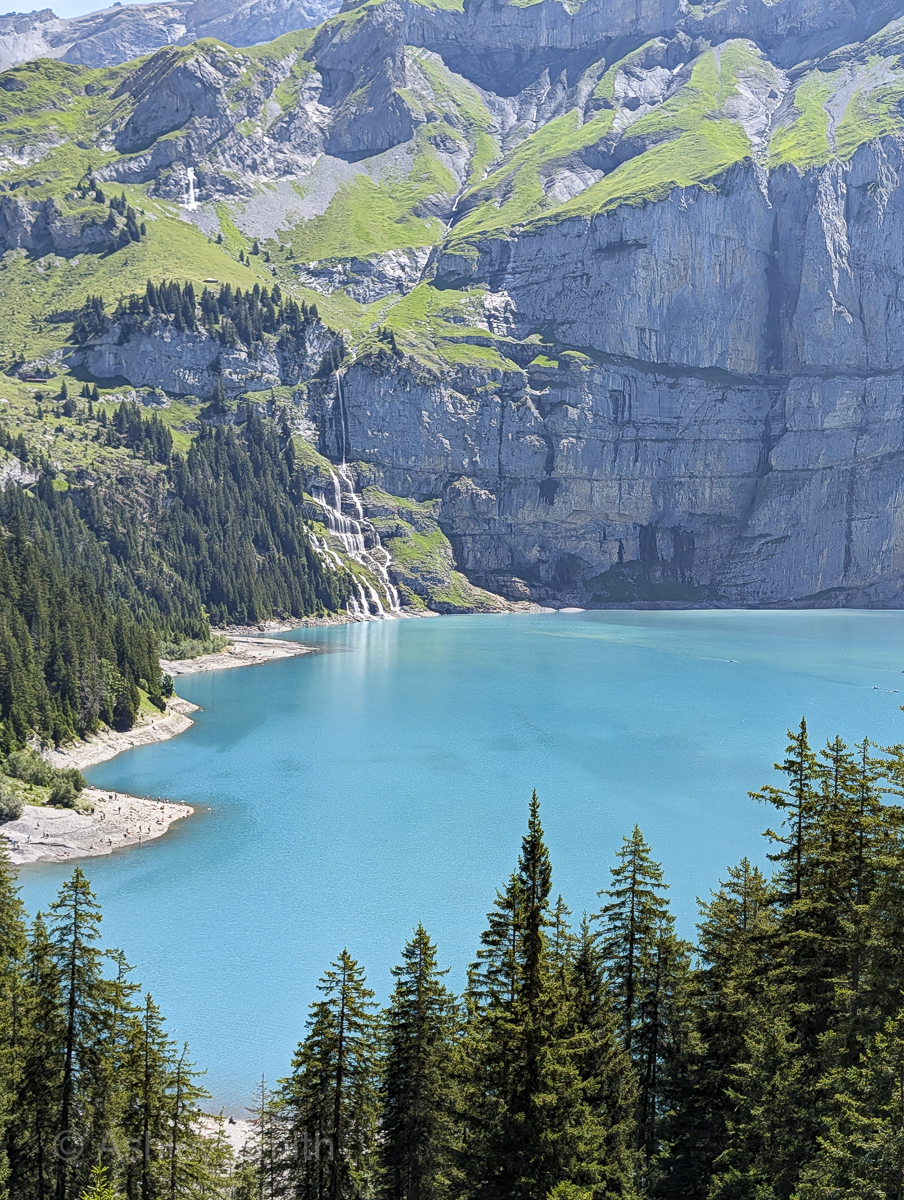
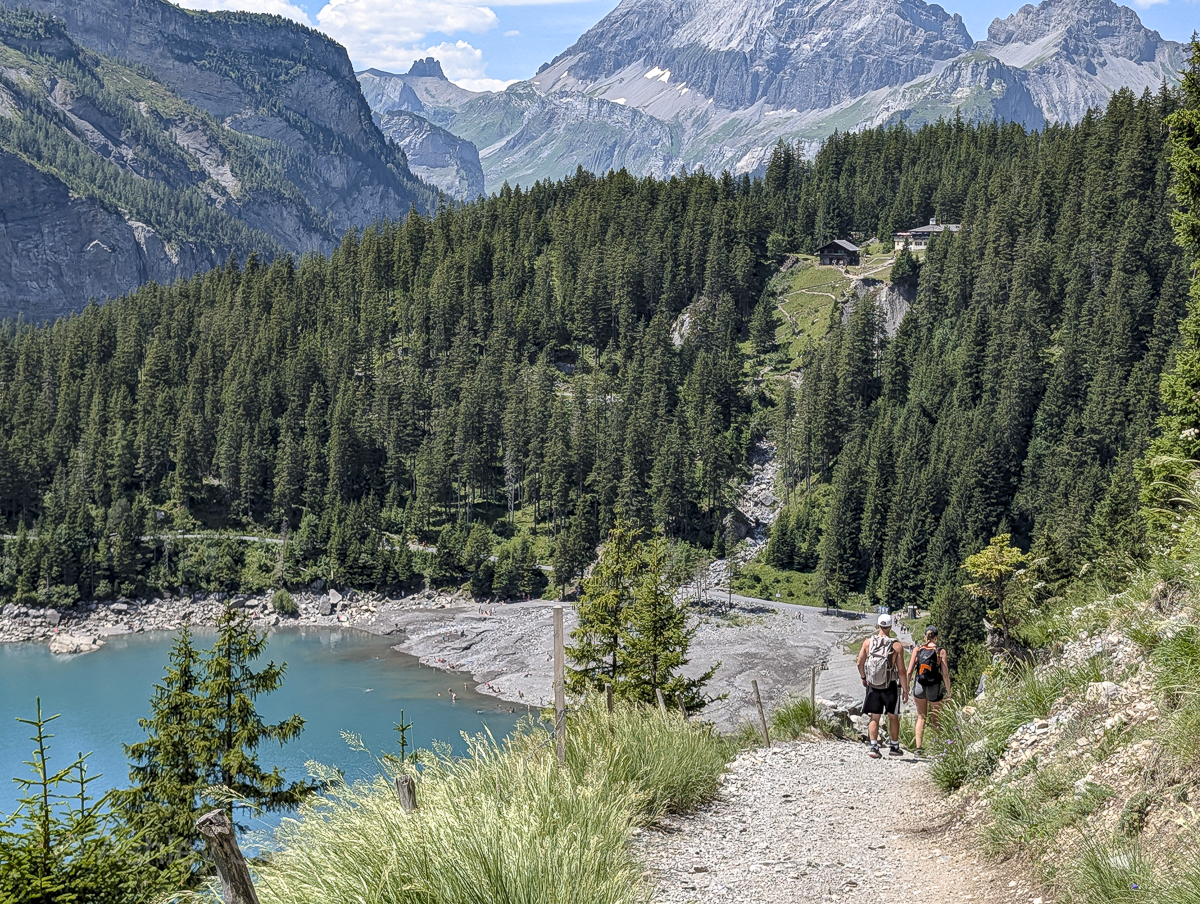
The Oeschinensee panorama hike is a loop hike that runs along the northern side of the Oeschinen Lake, Oeschinensee in German. (It does not loop around the lake.) It’s one of many trails around this gorgeous turquoise glacier-fed lake, but one of the most popular due to its accessibility and jaw-dropping views.
There are several places to stop along the way for rest and refreshments. And you’ll have more than your fill of scenic viewpoints. The whole loop is about 5 miles around and will take you somewhere around 4 hours to finish (that includes photo and rest breaks). You can find all the trail details below.
Where is the Oeschinen lake panorama hike?
Oeschinensee Lake is located high up in the mountains near the town of Kandersteg in Switzerland’s Bernese Oberland (southwest-ish Switzerland).
How to get to Kandersteg
In terms of traveling around Switzerland, Kandersteg is pretty easy to get to from anywhere. I personally drove here since I’d rented a car for the duration of my trip, but Switzerland also runs a vast train network that’ll get you here too. Rent a car here if you need one.
Driving to Kandersteg
Driving to Kandersteg is easy (as far as Swiss mountain towns go) and it’s roughly a:
- 45-minute drive from Interlaken
- 1-hour drive from Lauterbrunnen
- 1-hour drive from Bern
- 2-hour drive from Chamonix (France)
- 2-hour drive from Zurich
- 2.5-hour drive from Geneva
Parking in Kandersteg
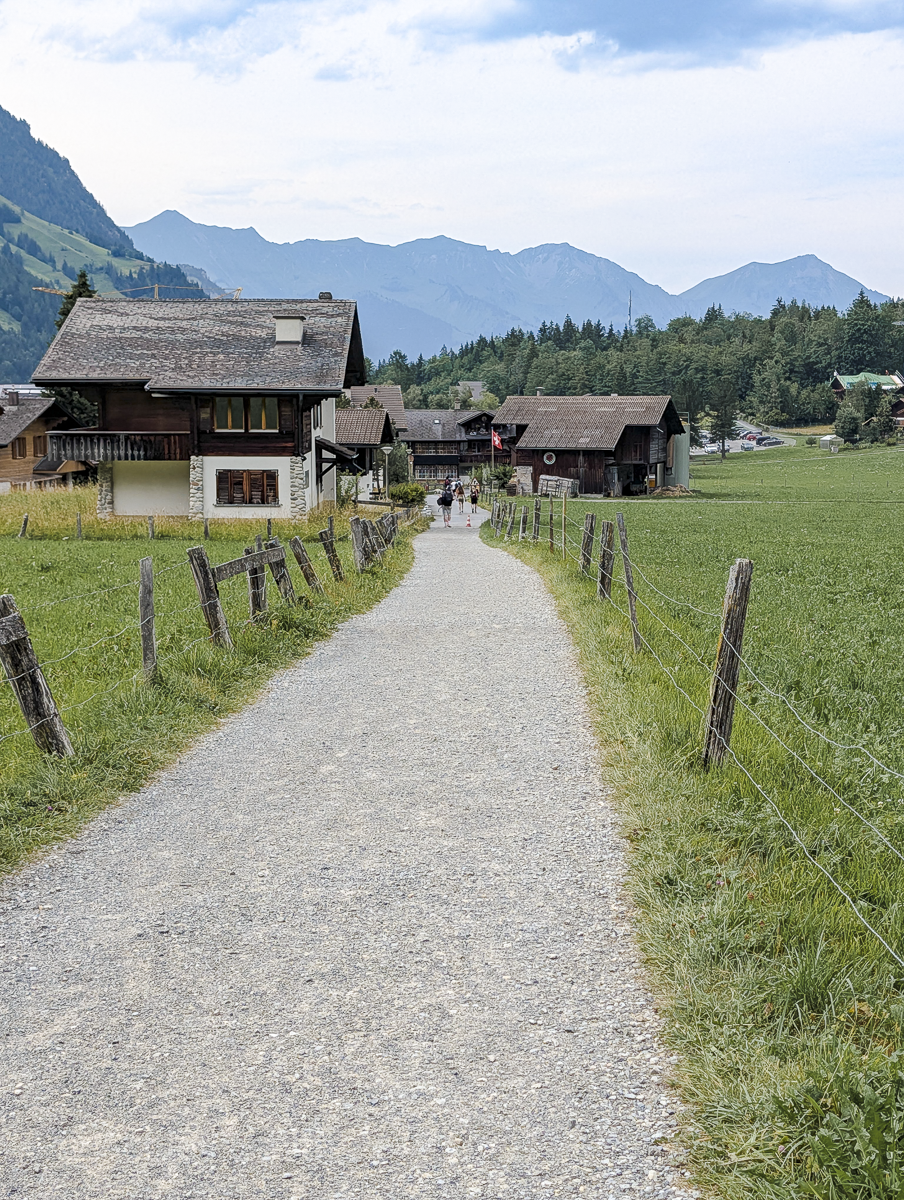
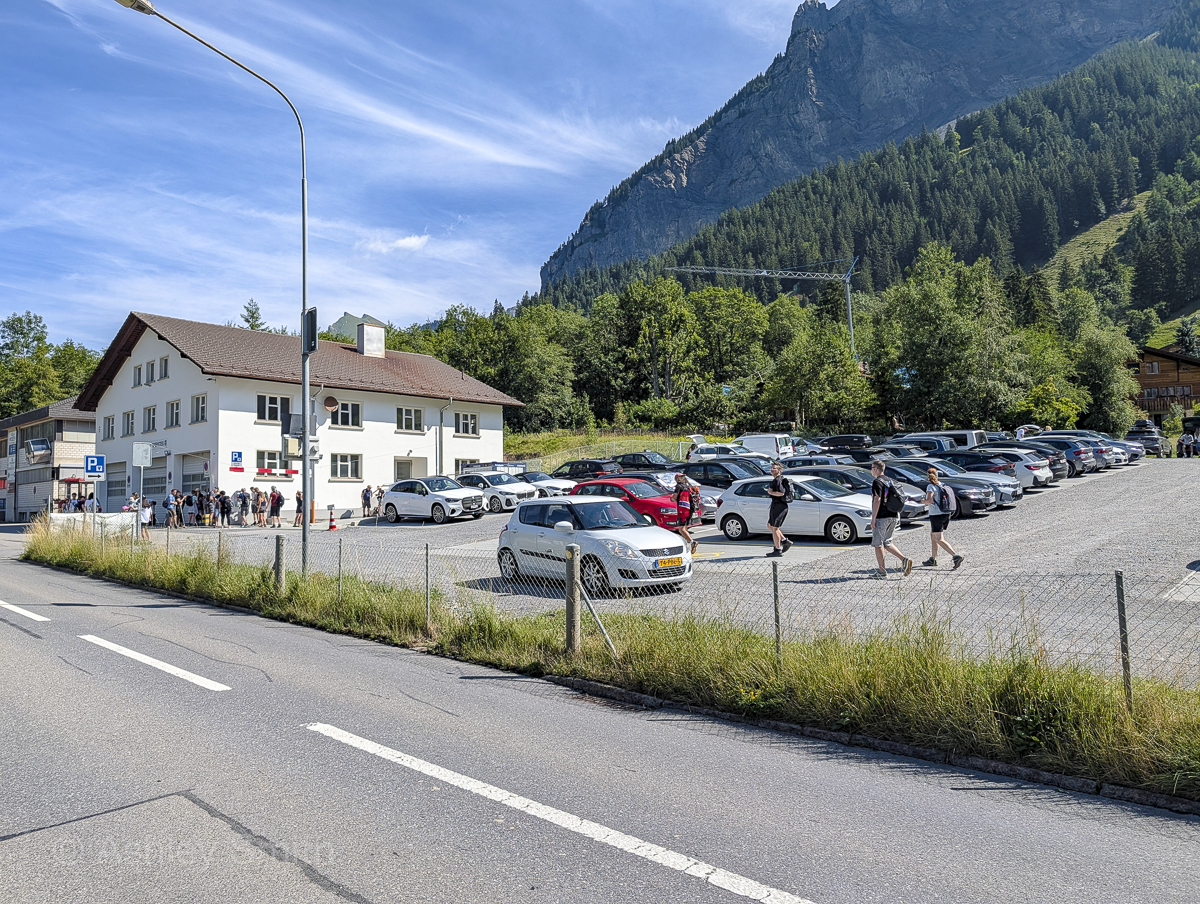
Once here, there are several (paid) parking areas where you can leave your car during the hike. (I’ve included them in the map further down this post.) There are a few close to the cable car station, one a little farther away (where I parked), and a few more over by the train station.
Even so, summer crowds mean these parking lots can fill up fast and I witnessed the parking chaos firsthand. There were actual parking staff directing the line of cars into the lots and to the open spaces. Our lot filled up before we could even finish tying our boots.
Thankfully, we arrived early enough to snag a parking space on the spot. However, the Oeschinensee people recommend you pre-book your parking space. You can find more info about that on the Oeschinensee website.
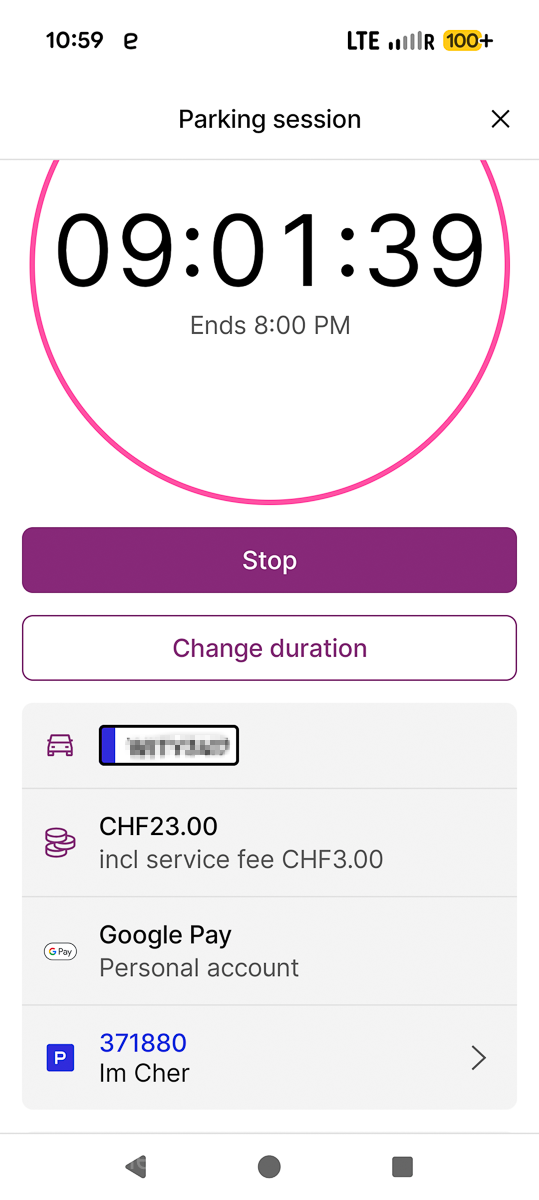
Pro tip: The parking meter situation in Switzerland can be kind of complicated, so make it easy on yourself and download the EasyPark app. It really is the easiest app I’ve ever used. Really, don’t even mess with the pay machines here. (You also won’t have to wait in the long line of people trying to figure it out.)
My husband and I personally parked at the lot called “Parkplatz Wanderer Oschinensee” on the map. Despite all the negative reviews, we had exactly zero issues. Just pay using the app above and you shouldn’t have any problems.
Taking the train to Kandersteg
Kandersteg is just as easily reached by train as it is by car and takes about the same amount of time. From wherever you’re starting out, simply take the train to “Kandersteg.” Once here, the cable car to the start of the hike is about a 15-minute walk. Check out train schedules and prices here.
Oeschinensee day trips
If you’d prefer to not deal with any transportation at all, you can still visit this gorgeous lake. Check out these Oeschinensee day trips you can book:
Oeschinensee guided hikes
And if you’d like to do the panorama hike but would prefer to do so with an experienced hiking guide, here are some great options for that too:
See all available Oeschinensee tours here on Viator and Get Your Guide.
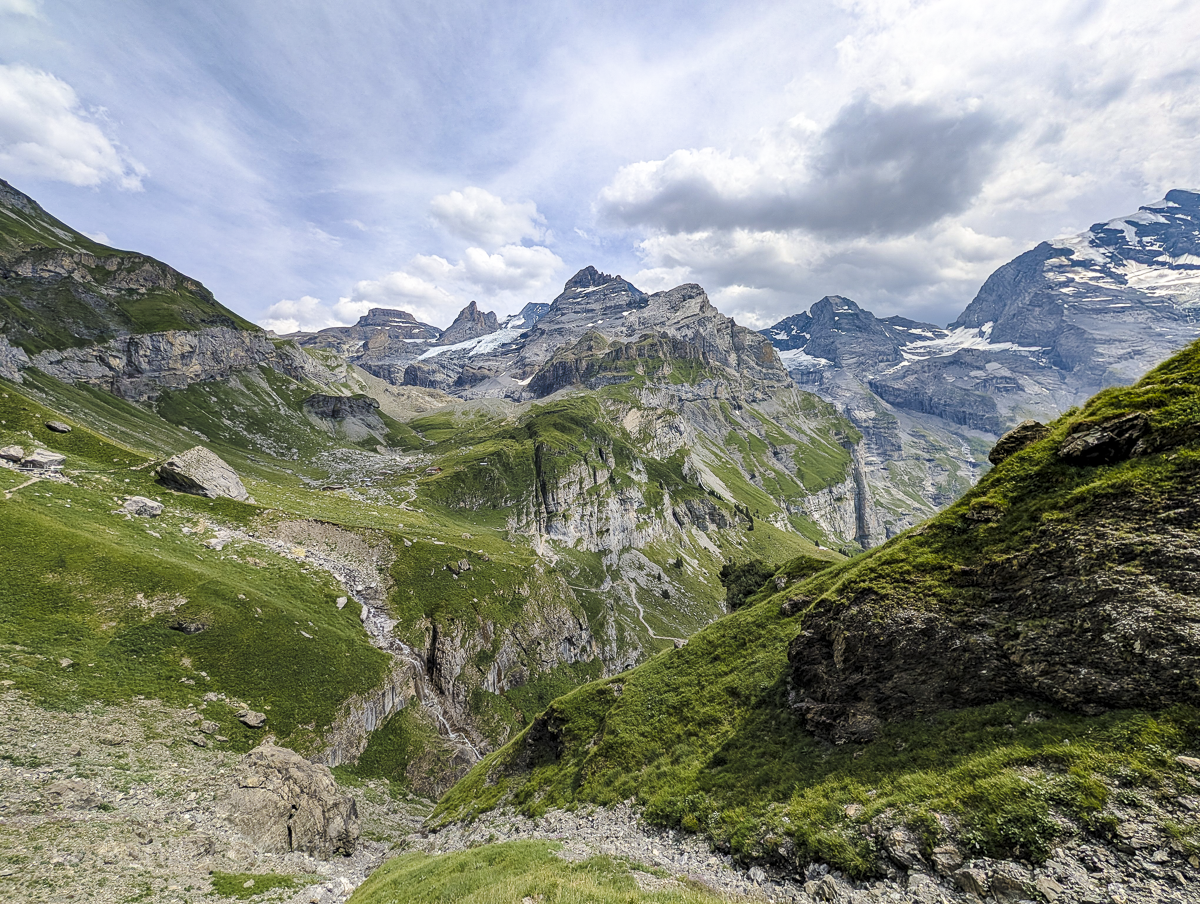
What to expect on the Oeschinensee panorama hike
Here’s a quick rundown of what you can expect from the Oeschinensee panorama loop hike. You can see more technical details on the hike’s AllTrails page.
Disclaimer: Always hike at your own risk. Every hike comes with inherent risks. Never push yourself beyond your limits, always listen to your body, and consider consulting a physician beforehand. (We literally witnessed a helicopter rescue during this hike! Don’t let this be you; this is very expensive.) The information in this post is based on my own personal experiences, which could mean different things for you.
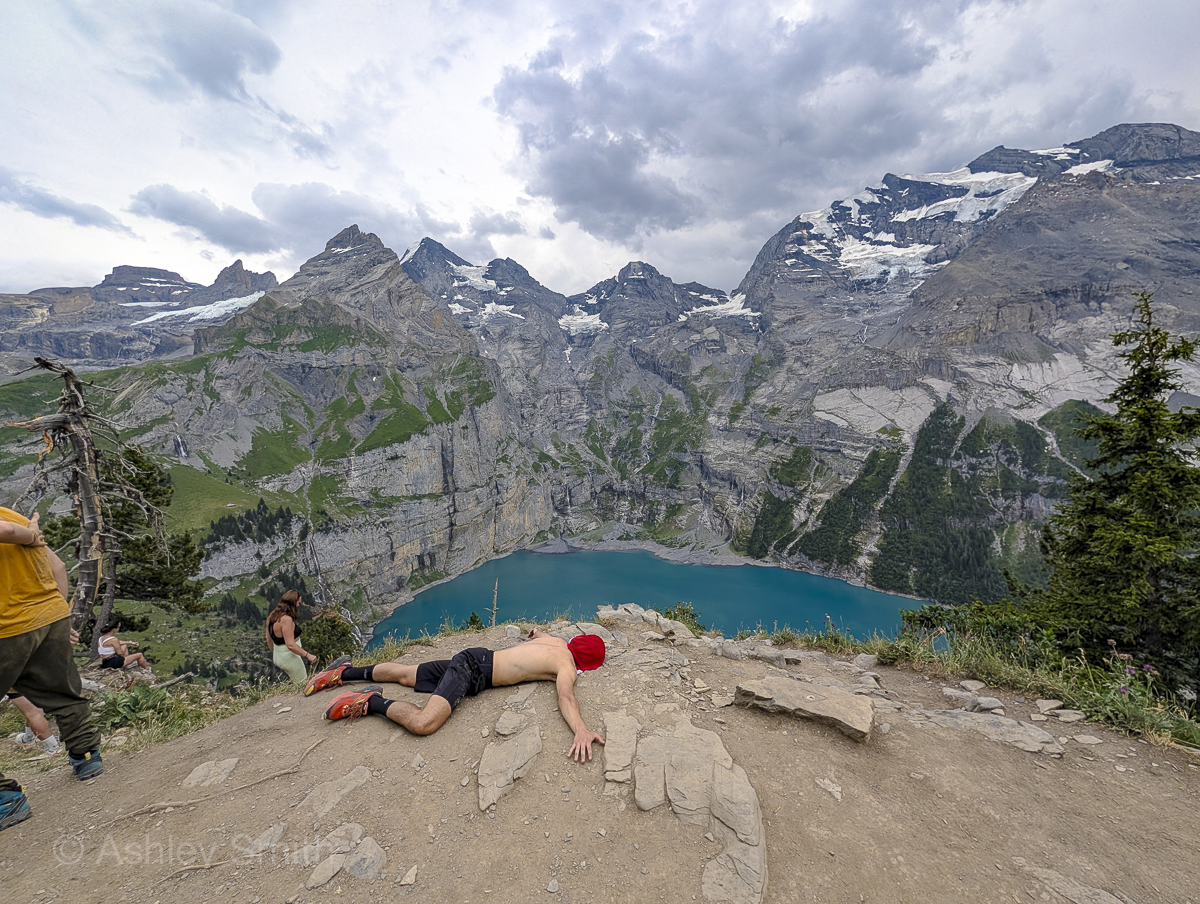
What to see & do on the Oeschinensee panorama hike
Yes, the Oeschinensee panoramic trail is a hike, but there are lots of extra things you can see and do here. Here are the highlights to look out for (all included on the map below):
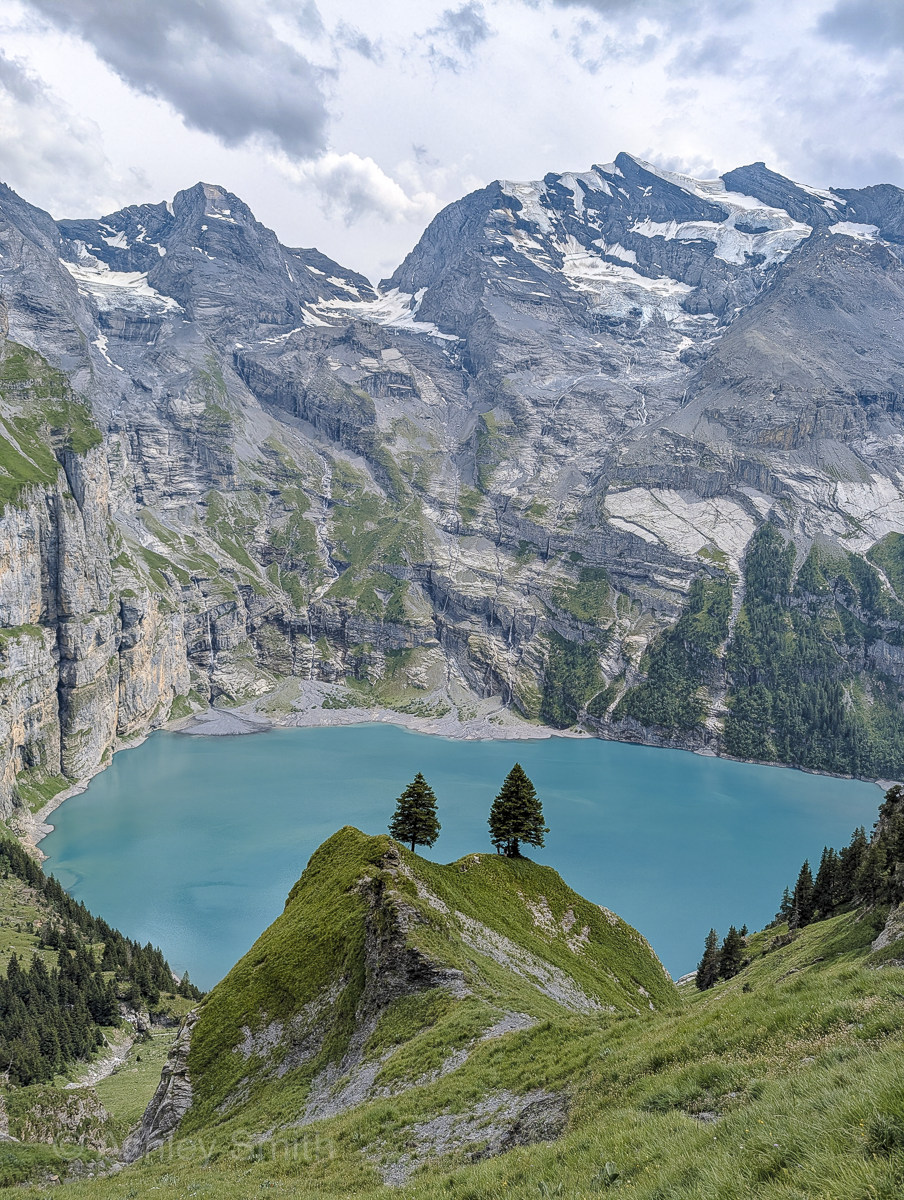
Lookout areas
While the entire hike is stunning (seriously, you’re going to be amazed), there are a few particular viewpoints that stand out. Don’t miss:
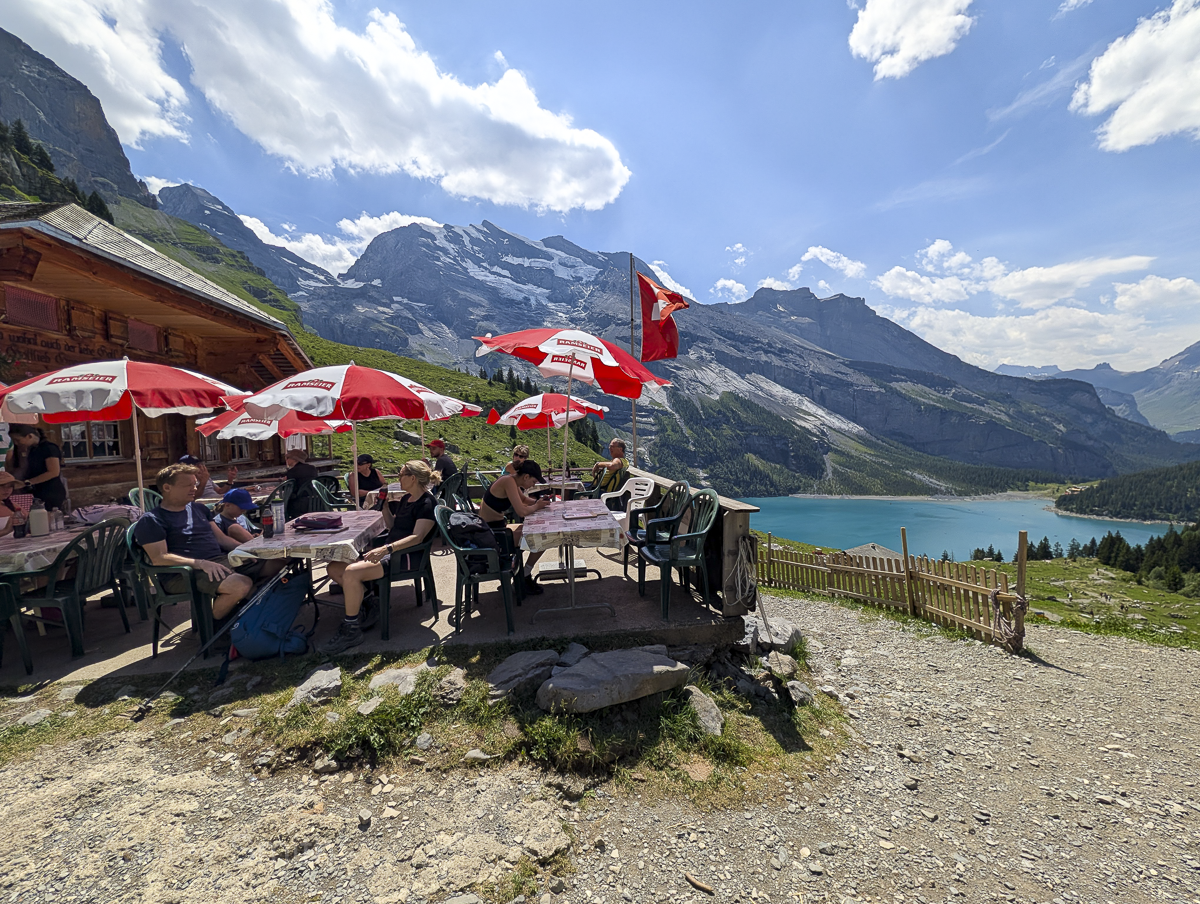
Restaurants and rest huts
There are also a few places along the trail where you can stop for a break, refill your water, get some snacks and drinks, and just hang out.
Oeschinen lake recreation
If you’d like to supplement your day of hiking with some other activities, consider:
Also check out: What It’s Like Staying at the Aescher Guesthouse Mountain Lodge
How to hike the Oeschinensee panorama loop
Now that you have the basics, here are all the details on how to hike the Oeschinensee panorama trail.
Clockwise vs. counterclockwise
As with most loop hikes, you’ll first have to decide whether you want to hike this one clockwise or counterclockwise. In the grand scheme of things, it really doesn’t matter since you’re going in a circle, going up and then down regardless.
You’ll find almost all other sources will tell you to hike it clockwise in order to get the most brutal ascent out of the way. This also helps you avoid one hell of a descent if your knees tremble at the mere thought. So, if that sounds like what you want, go for it.
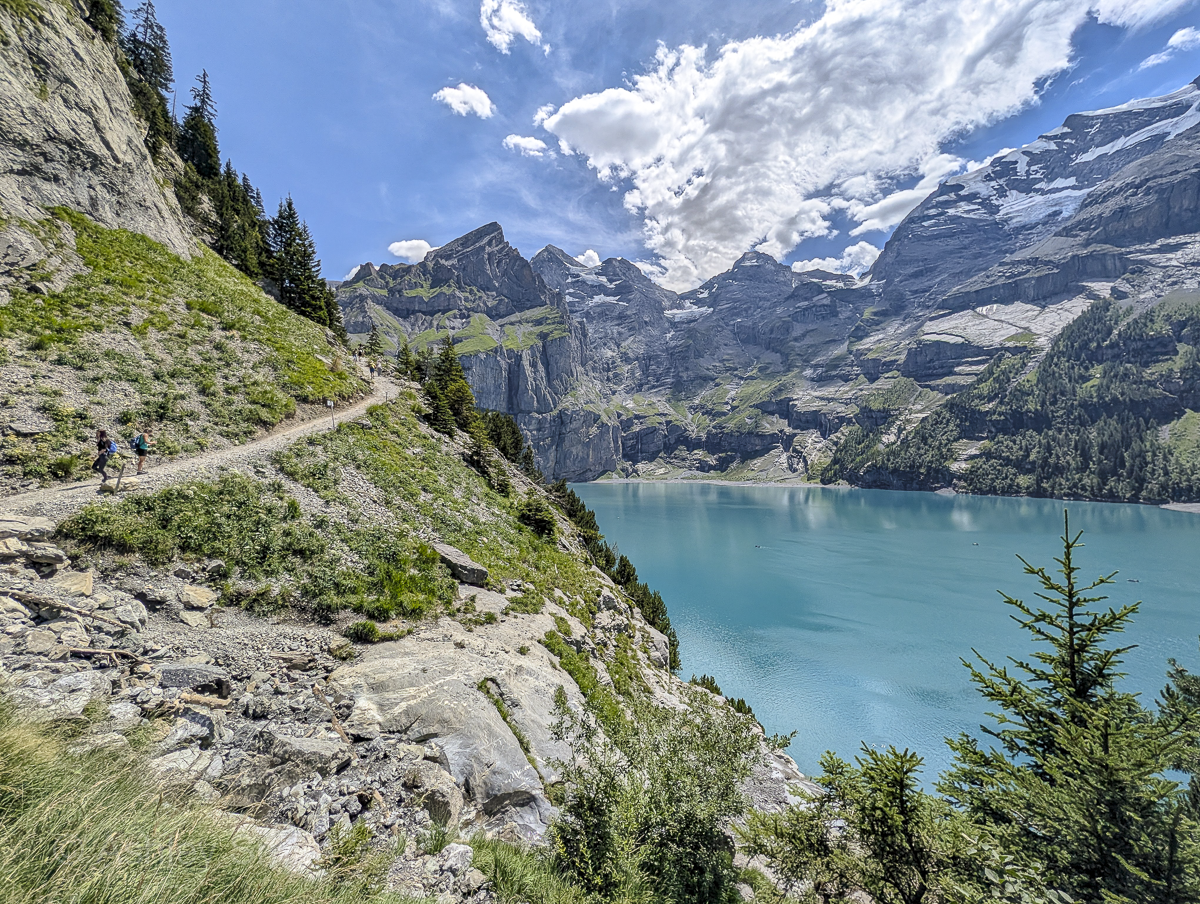
Personally, my husband and I hiked it counterclockwise and were very happy we did! Sure, this may have been more physically challenging, but hear me out. When you go counterclockwise, you get the best views upfront, when you’re most energized and most excited. This way, you can breeze through the back half of the trail (where the views and terrain aren’t as thrilling).
If you go clockwise, the most boring parts are at the beginning, and you’re tired by the time you reach the best parts closest to the lake. Plus, mountain weather is typically better in the morning, so I wanted to see the best parts before any potential rain came. But these are just my personal opinions. I’m very happy we did it counterclockwise and I’d do it this way again.
Oeschinensee panorama hike map
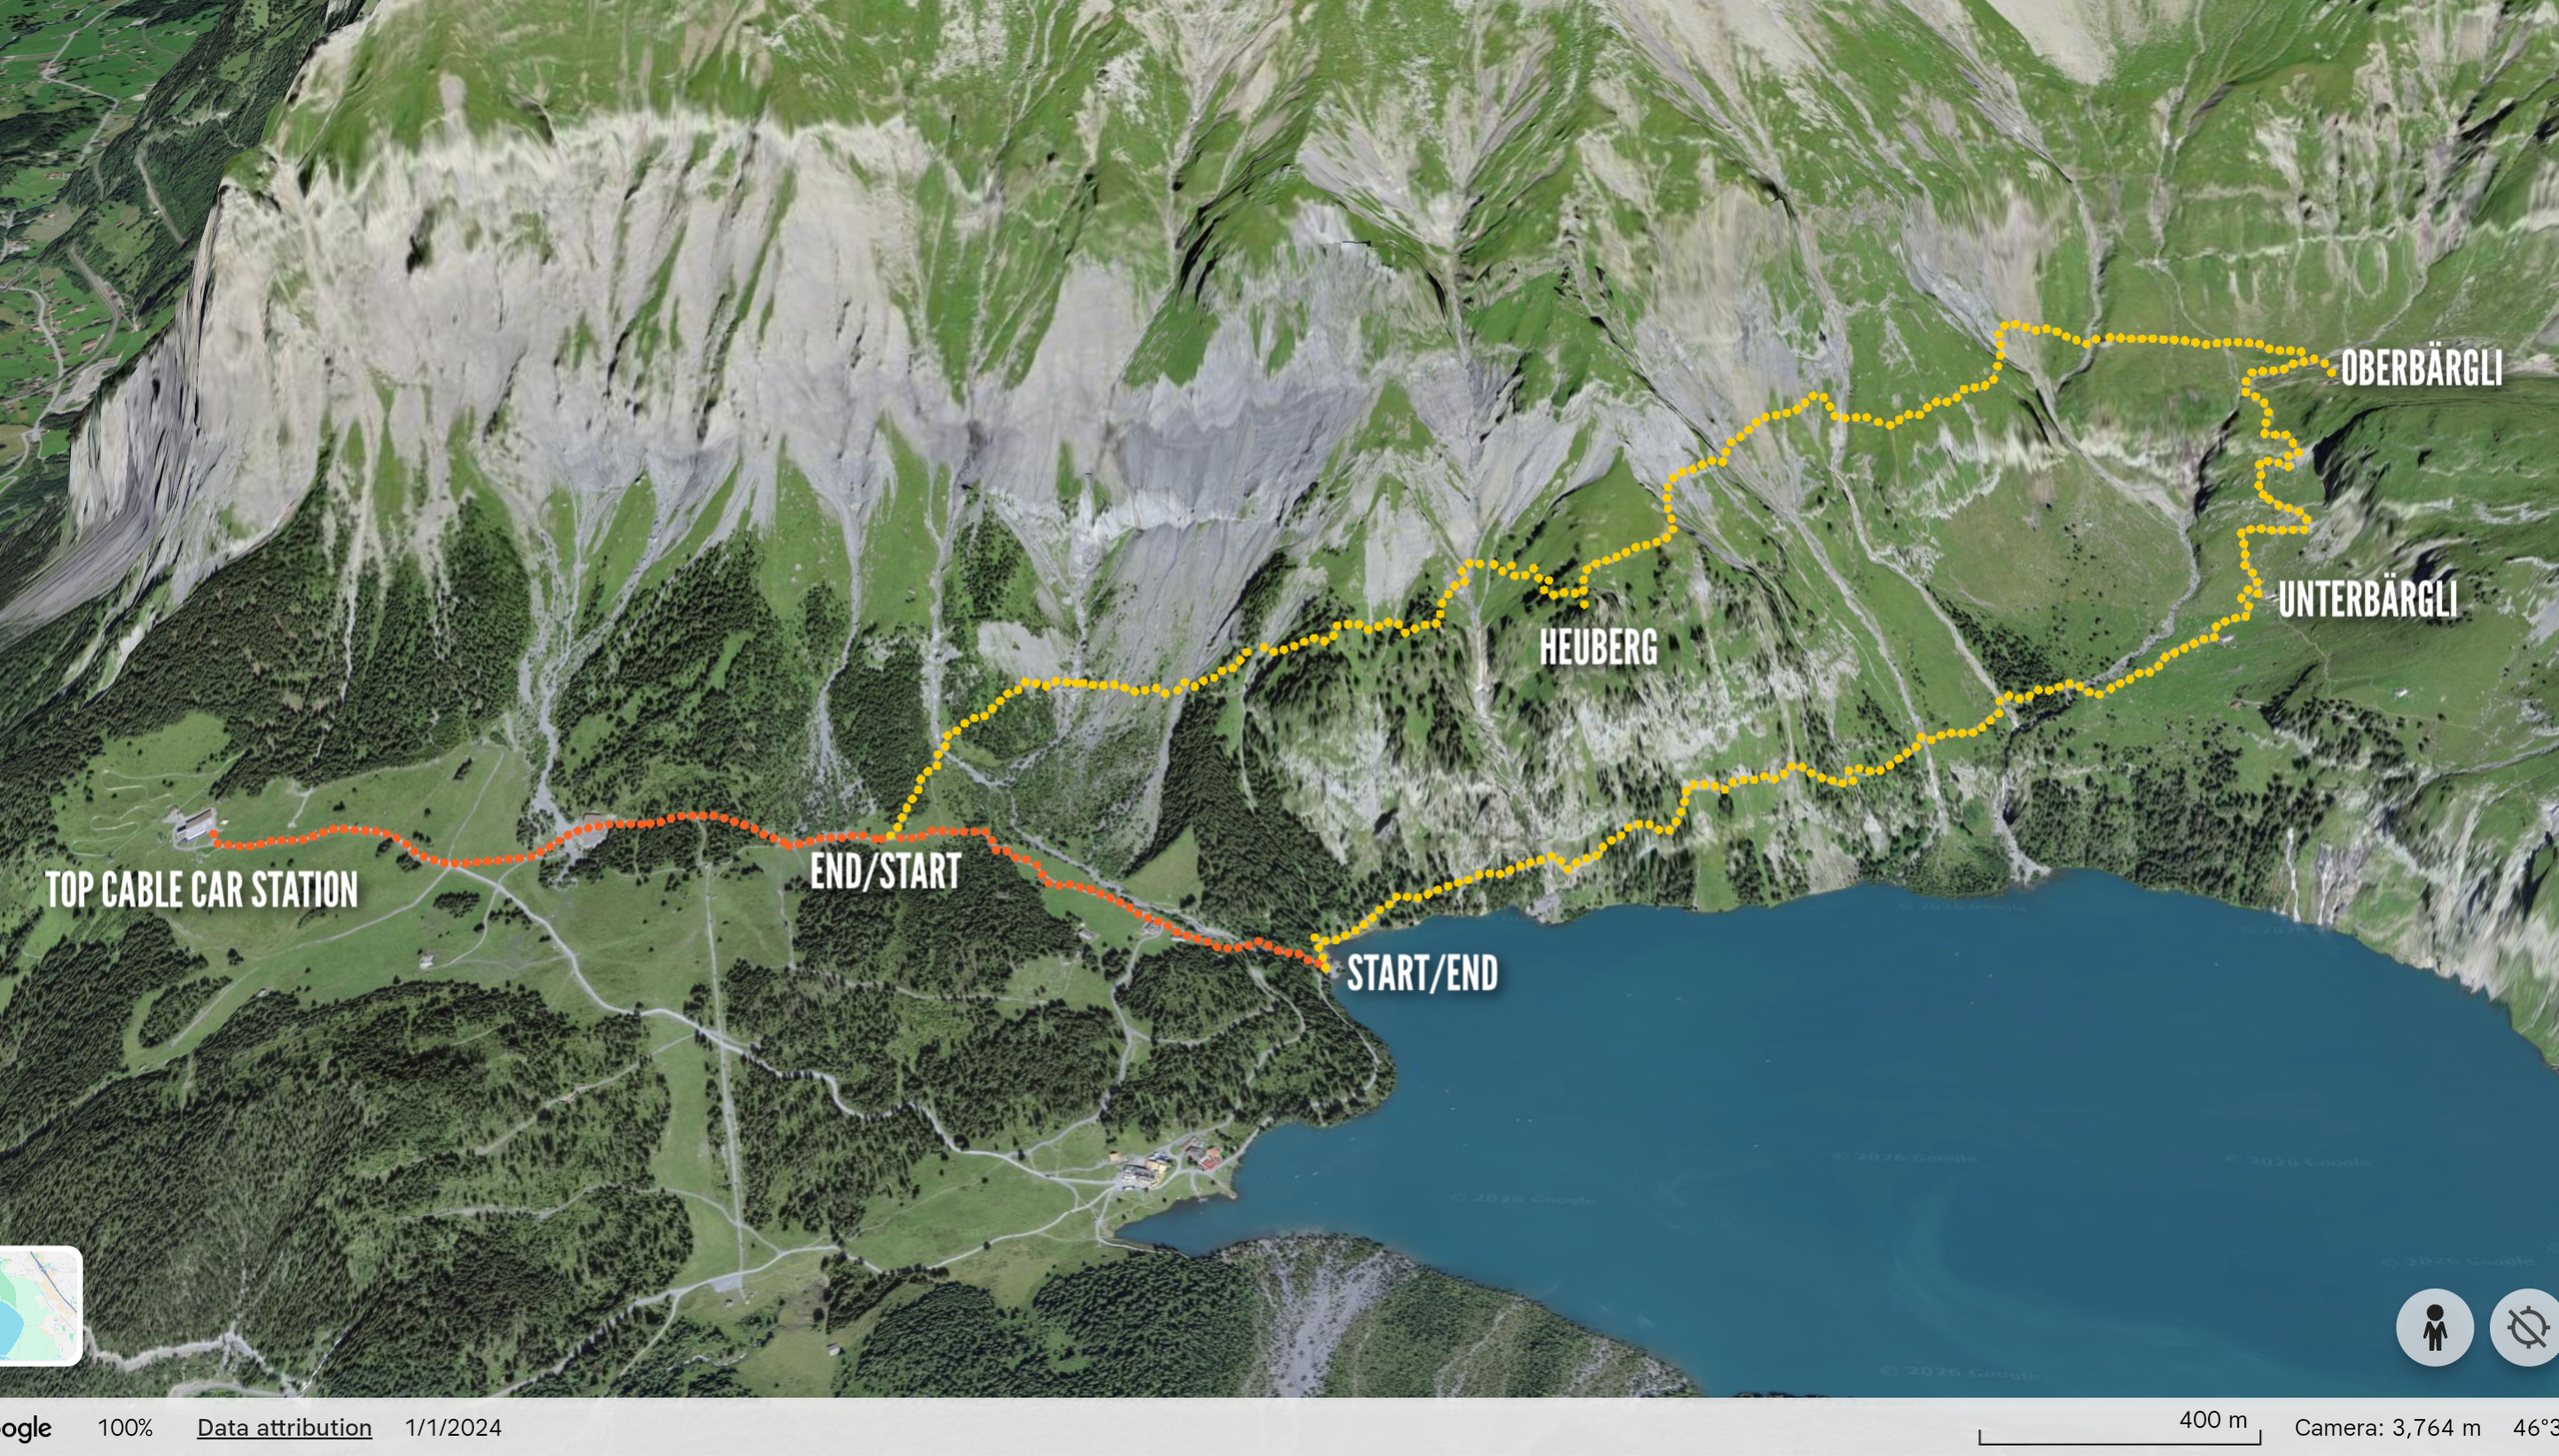
The map below includes all the important spots related to the Oeschinensee panorama hike I’ve mentioned in this post. Save this map by clicking the star ⭑ next to the map’s title. Use this map when you get here by opening Google Maps on your phone, clicking “Saved” at the bottom, then clicking “Maps.”
How to get to the start of the hike
Once you’re in Kandersteg, you’ll then need to take the cable car up the mountain to the hike’s starting point. It’s super easy—since there’s only one stop, just go ahead and get the round-trip ticket. (You can also buy rides for just the ascent or the descent if you feel like hiking all the way up or down. You do you.)
The entire Oeschinensee Lake area is extremely popular in the summer so they highly recommend you book your timed cable car ticket in advance to make sure you have a spot. You can find their ticket-booking page here.
Should the tickets be sold out or you arrive late and miss your time, you can still hike the Oeschinensee panorama trail. You’ll just have to hike up from the valley instead. The trail to the top is a wide flat path, takes about 1.5 hours, and you’re looking at around 1,500 feet of elevation gain before you even start the hike. So, just keep that in mind.
Pro tip: Discounted Oeschinensee cable car tickets are included in the Swiss Travel Pass and the GA and Half Fare Cards.
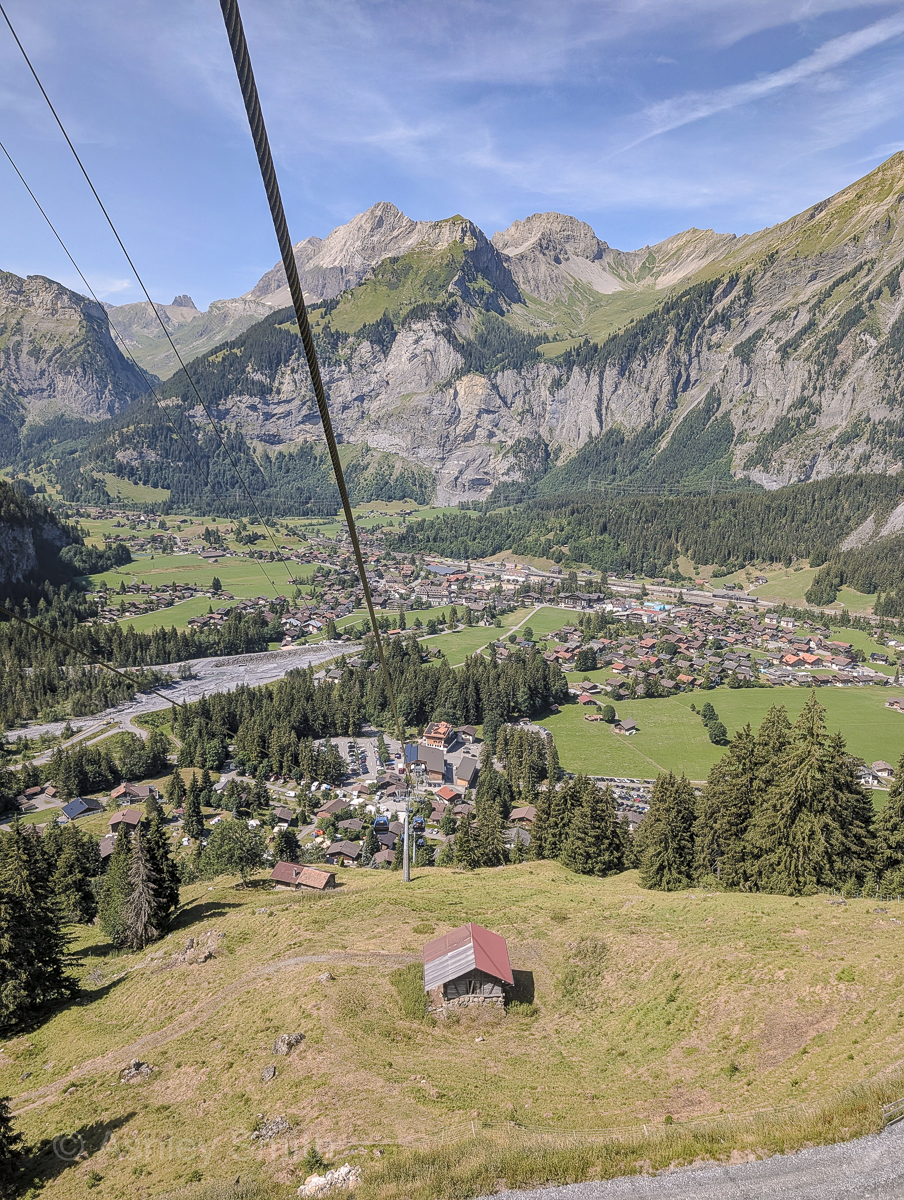
My cable car experience
For what it’s worth, my husband and I did not book our cable car tickets ahead of time. The weather that week was all over the place and I didn’t want to buy non-refundable tickets if it was going to storm that day and we wouldn’t be able to hike. (We already had to switch around a few days of hiking because of storms.)
So, we simply bought our tickets at the ticket machine when we arrived and were able to immediately get in the cable car line. (But yeah, it was super crowded and the line was quite long!)
That said, even though the tickets are non-refundable, they do allow you to reschedule (here) in case your plans change (depending on availability of course). So, keep that in mind if the weather goes south on your planned hiking day.
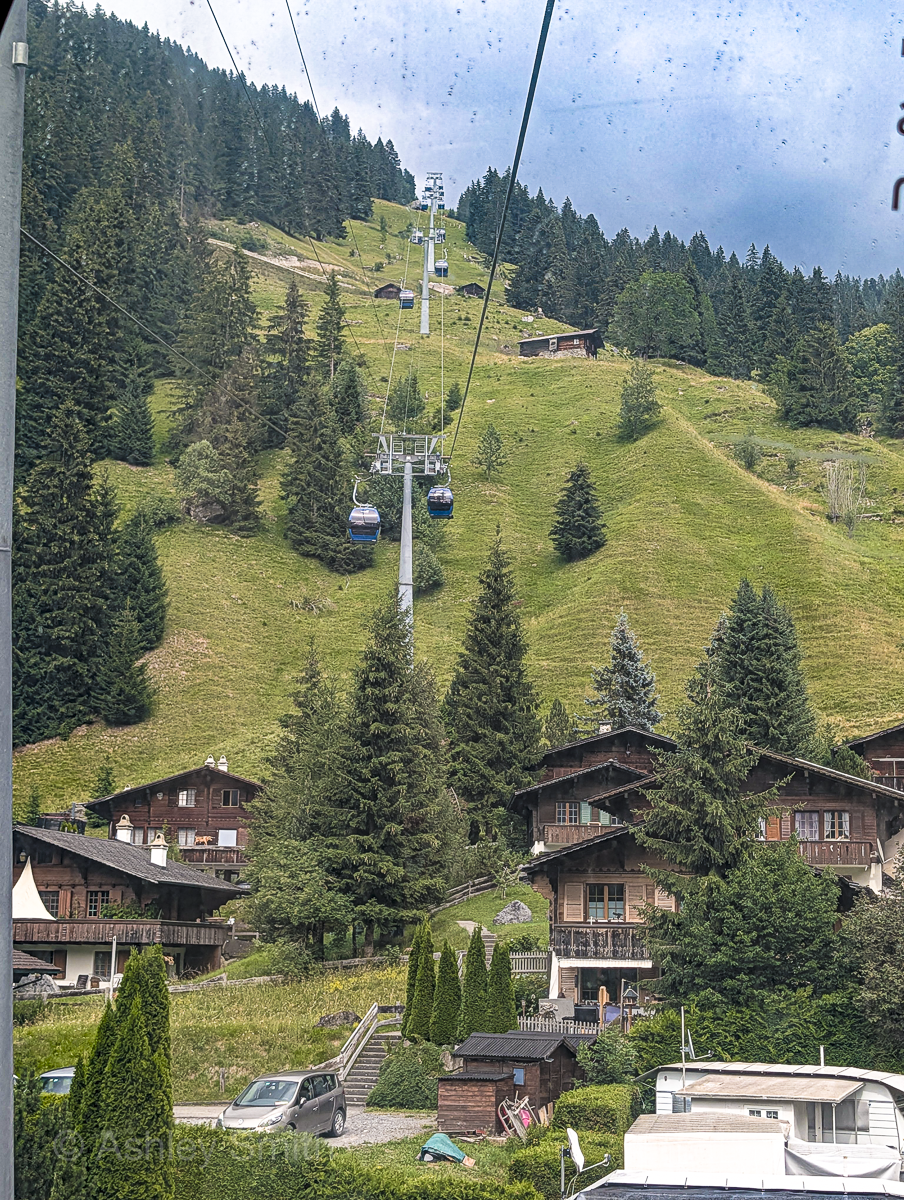
FWIW, they call it a “cable car” but it’s really a gondola. This means, instead of two huge cars going back and forth, this actually uses many smaller cabins on a continuous loop. So, you’ll be able to sit, with just a few people per cabin, and the cars won’t stop when you’re getting on and off.
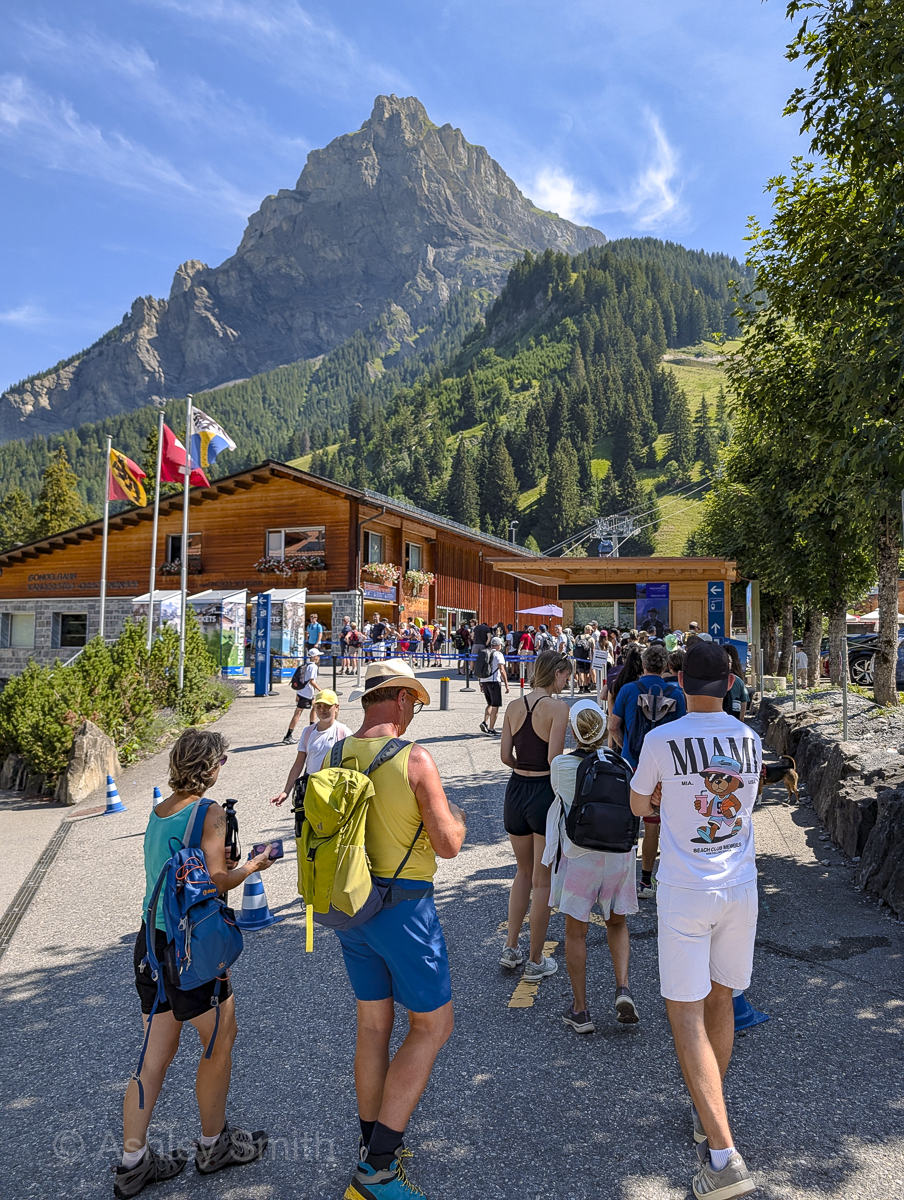
Starting the hike
From the cable car station at the top, it’s about a 25-minute walk to the lake. If you want to skip this little part for whatever reason, they do offer a shuttle back and forth from the cable car to the lake every half hour or so for CHF 10. (But, uhh, just know you’re going to be doing a lot of walking on this hike anyway. This is mostly for people with children and/or limited mobility who simply want to visit the lake area.)
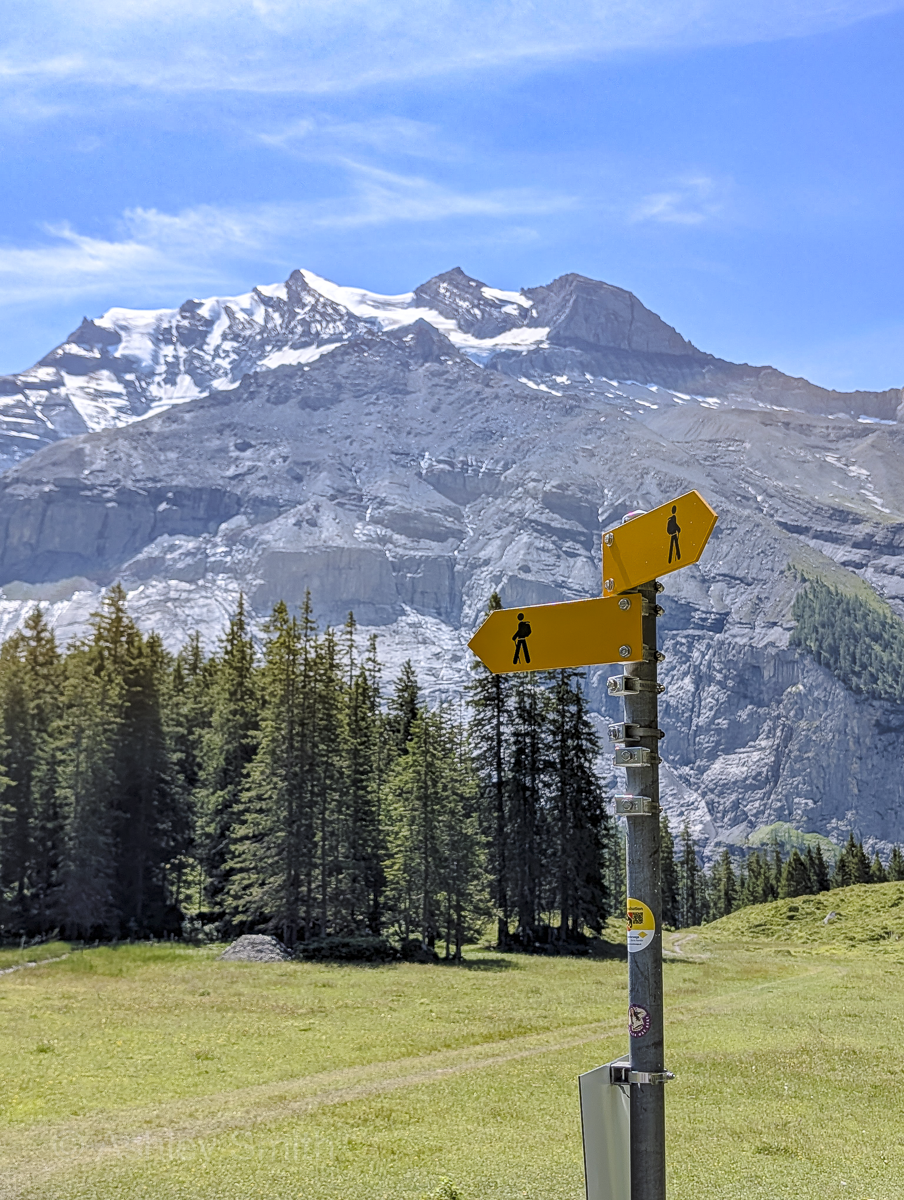
Where you start the hike will depend on whether you want to do the hike clockwise or counterclockwise. If you do the hike clockwise, your hike will start as a fork in the road on this main trail towards the lake. Follow the signs for “Heuberg – Ober Bärgli.” If you want to hike counterclockwise, you’ll start at the end of this main path, down by the lake itself.
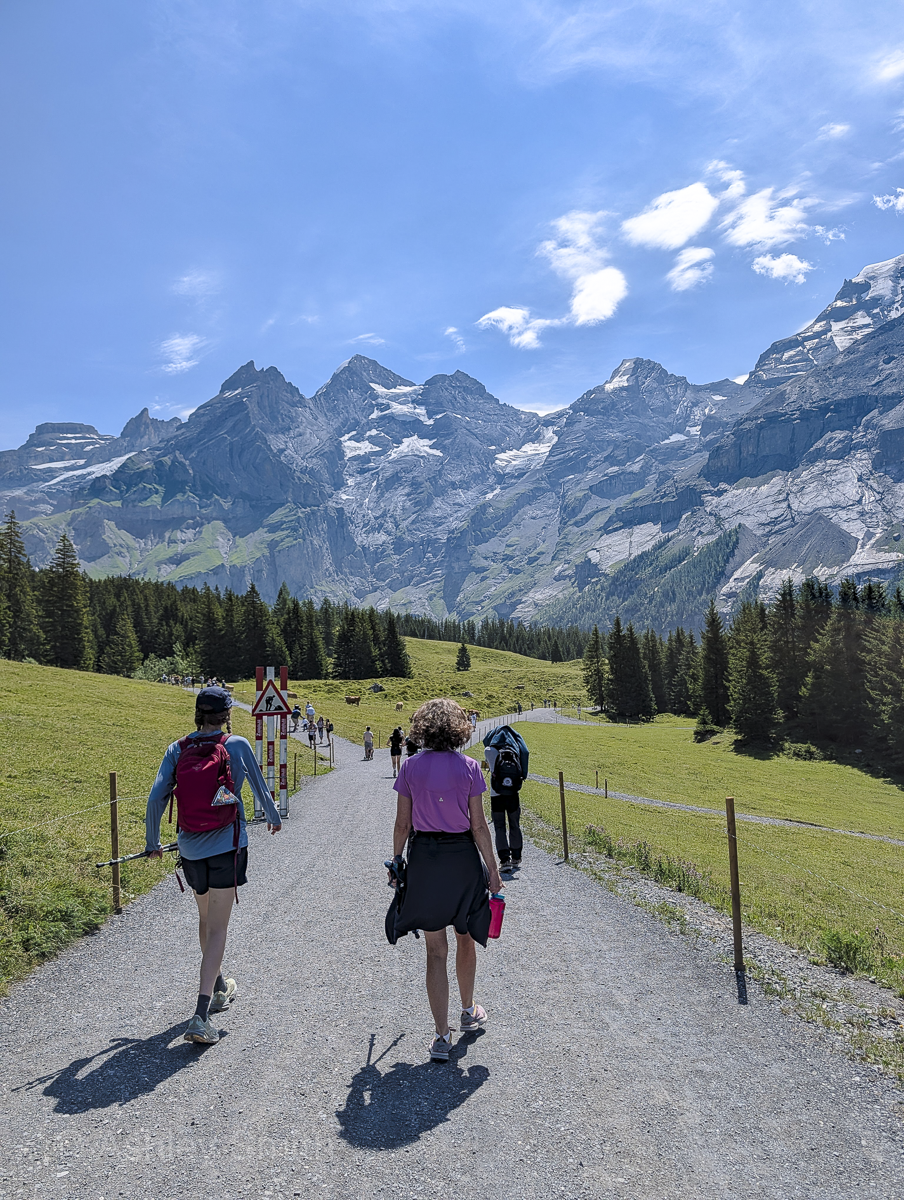
Oeschinensee panorama hike – counterclockwise
To follow in our footsteps and hike this trail counterclockwise, you’ll start all the way down by the lake. Follow the trail that leads up into the trees. This trail will wind up through the forest and along the north edge of the lake. Follow the signs to “Ober Bärgli.”
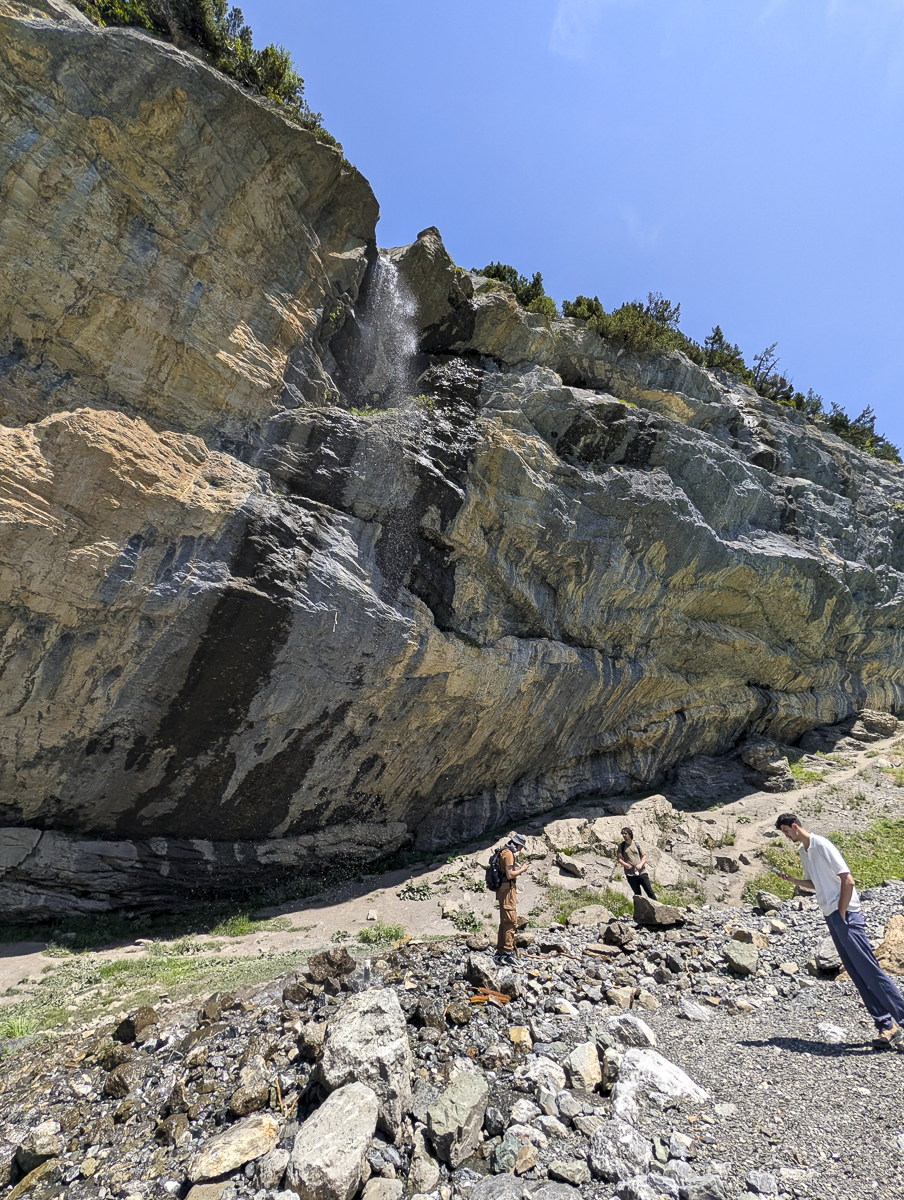
Shortly after starting, you’ll come to a point where you cross a waterfall. You can continue on the path, or do as we did and head down to the lake shore at this spot to cool off a little (bc it was hot AF the day we did this). Just go ahead and stand directly under the waterfall. Highly recommend.
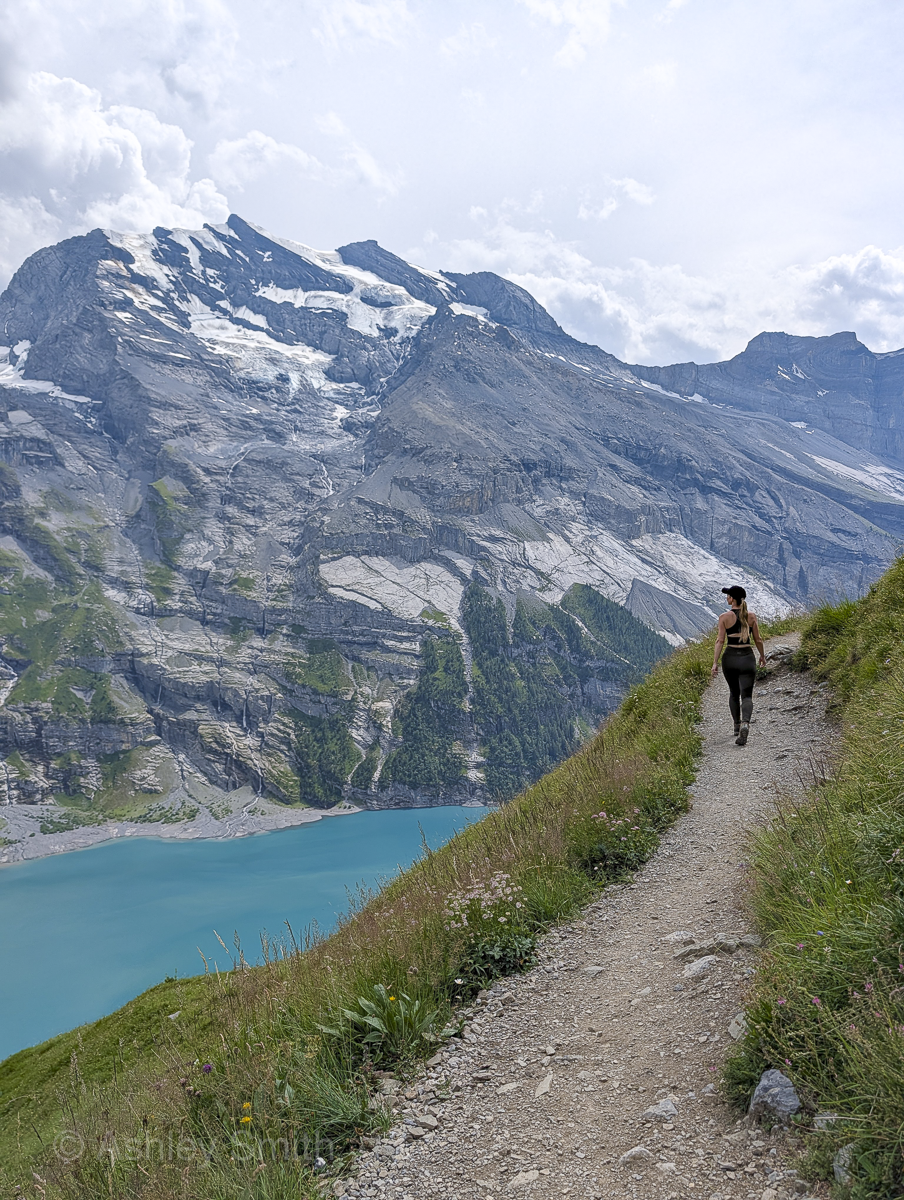
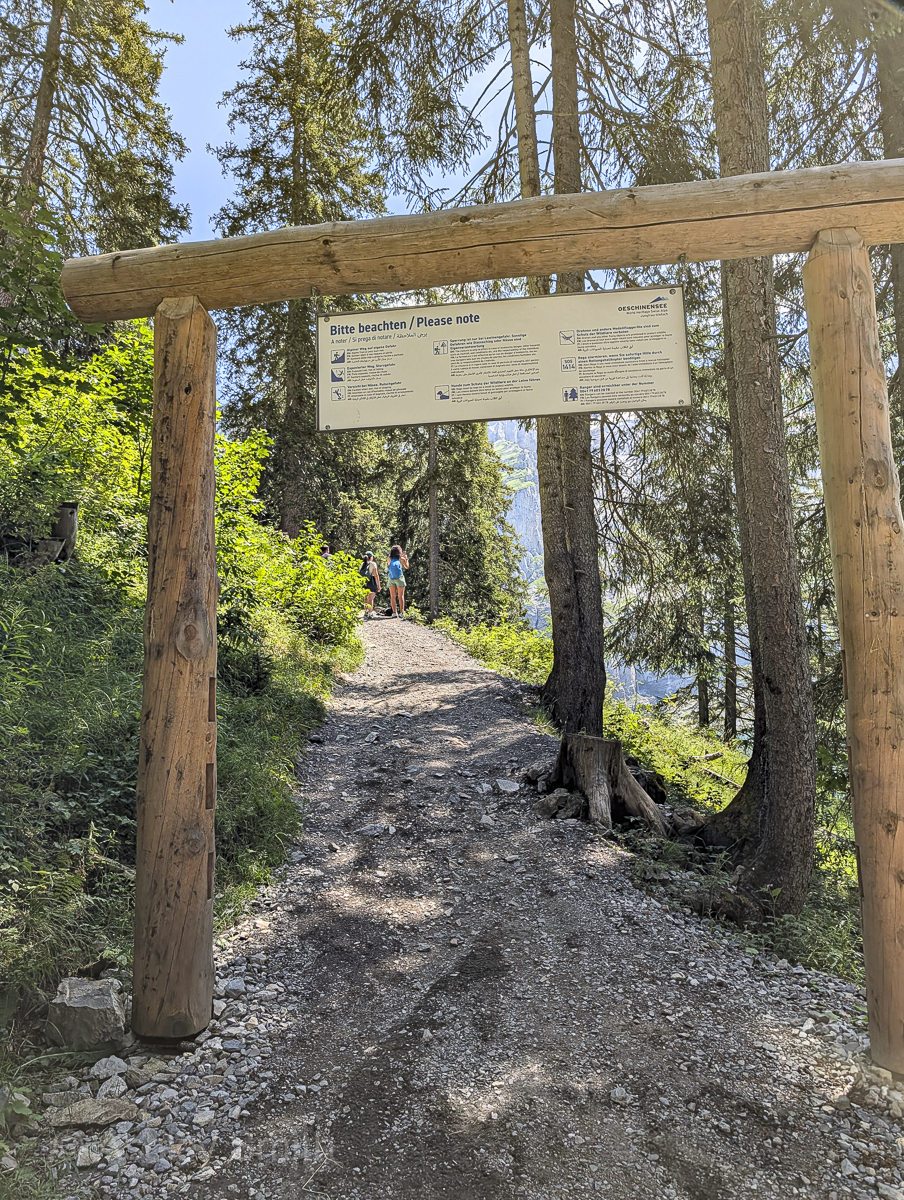
Head back up to the trail where it will continue to climb. Keep your wits about you on this part as the trail narrows here and the heights are dizzying. You’ll likely stop a lot on this part of the trail because the views are incredible.
Time for some breaks
Eventually, this trail will lead you to a small rest hut—Berghaus Unterbärgli. Take a little break here; grab some snacks or eat what you brought and top off your water containers. Continue following the signs towards Ober Bärgli.
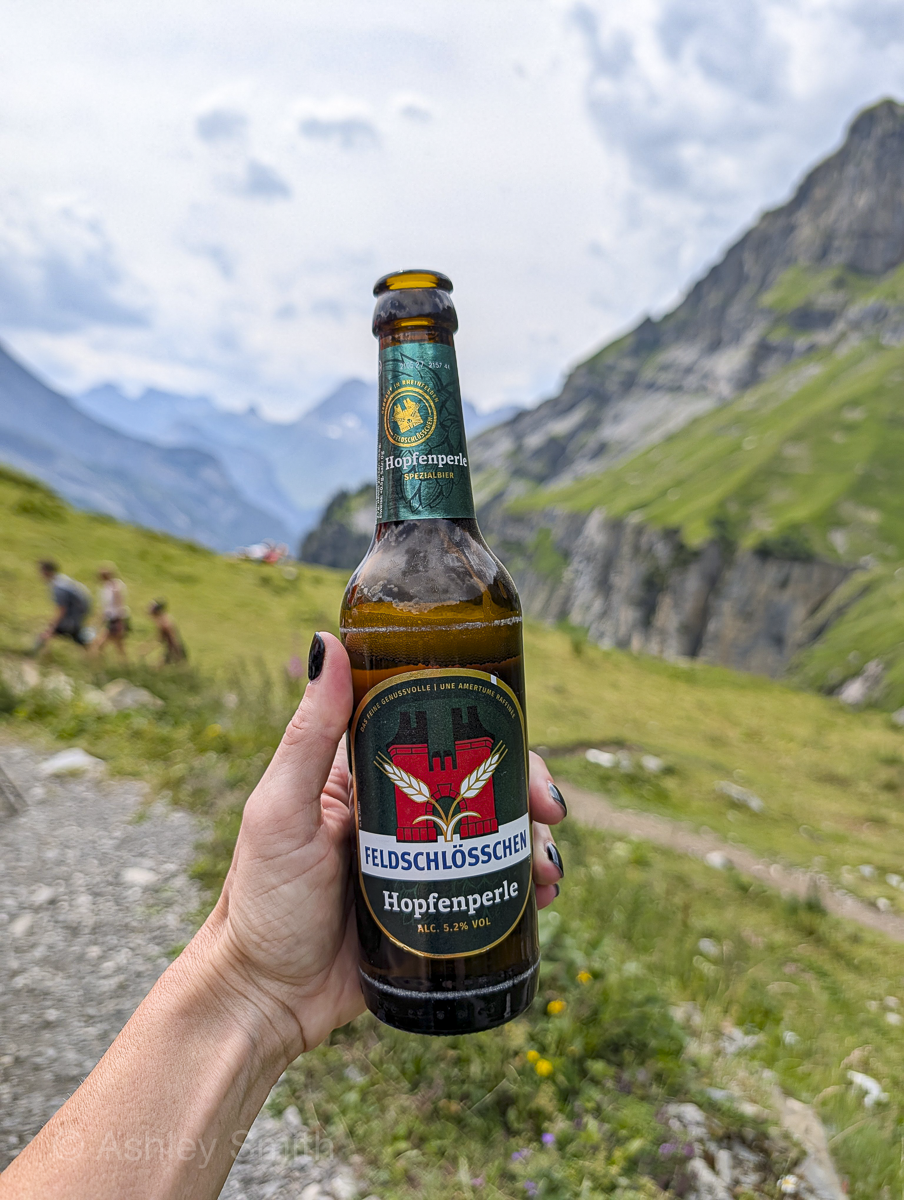
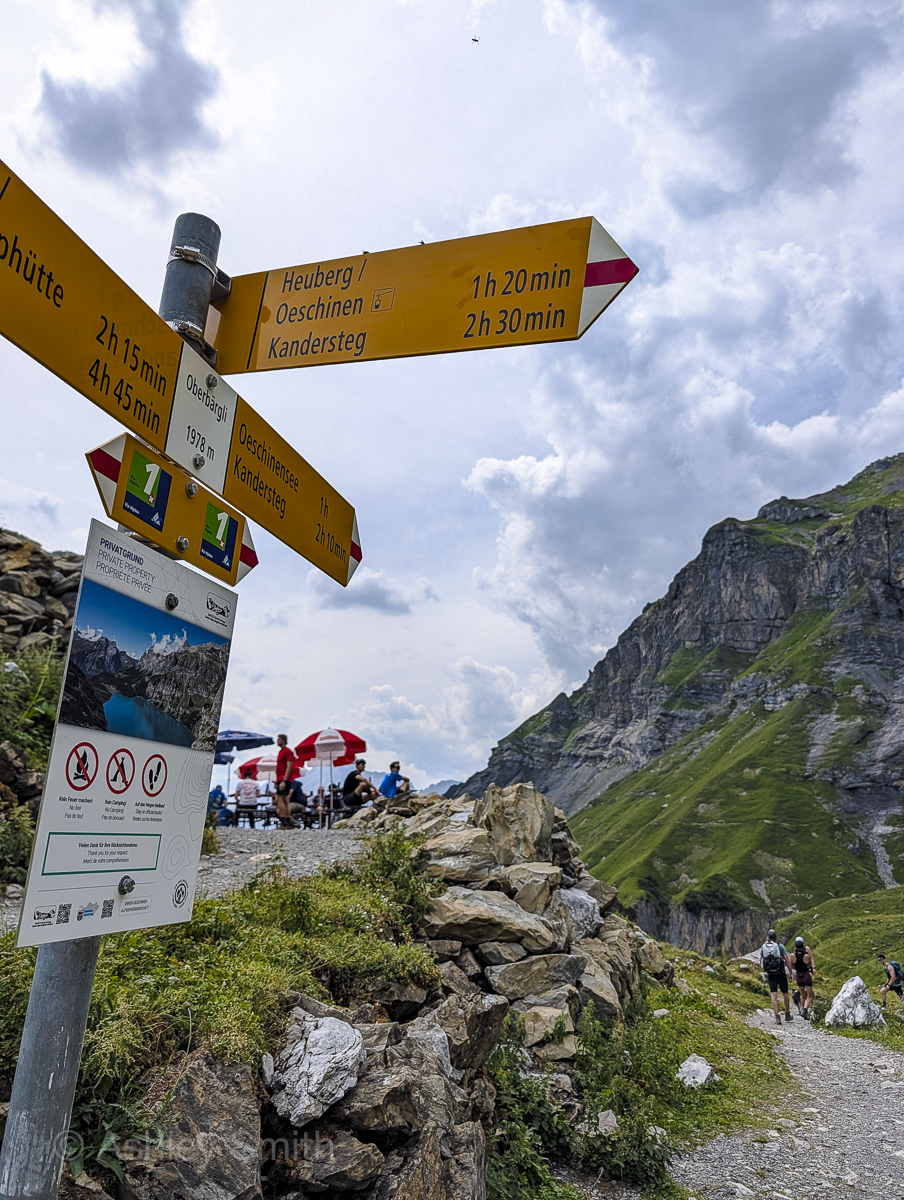
From here, the trail will go up up and more up until you finally reach Oberbärgli. This is another rest hut offering much of the same stuff as the previous one. Definitely take another rest here because that last climb was no joke.
The back half
From here, follow the signs towards “Heuberg/Oeschinen.” Oeschinen is the cable car station and Heuberg is the lookout point about halfway there. So, this route will take you all the way back to the start.
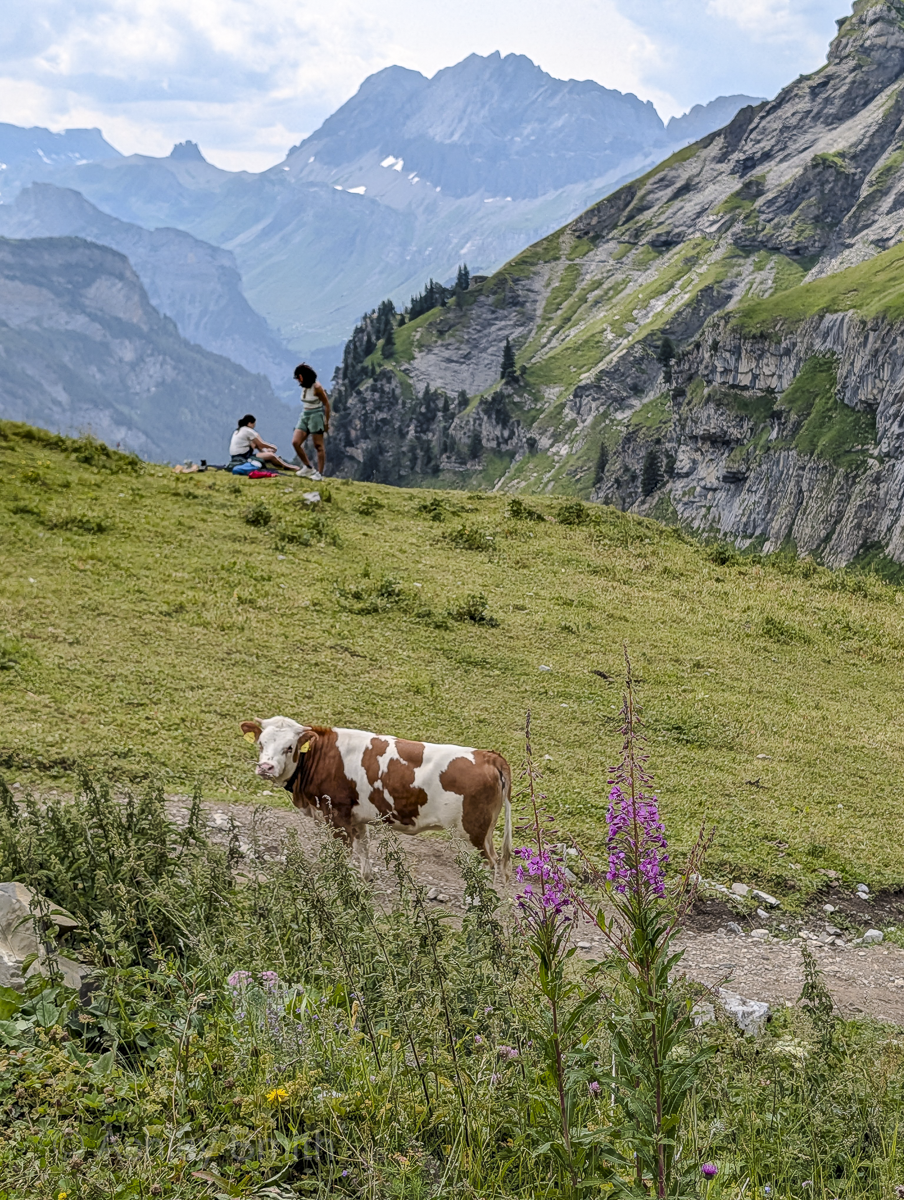
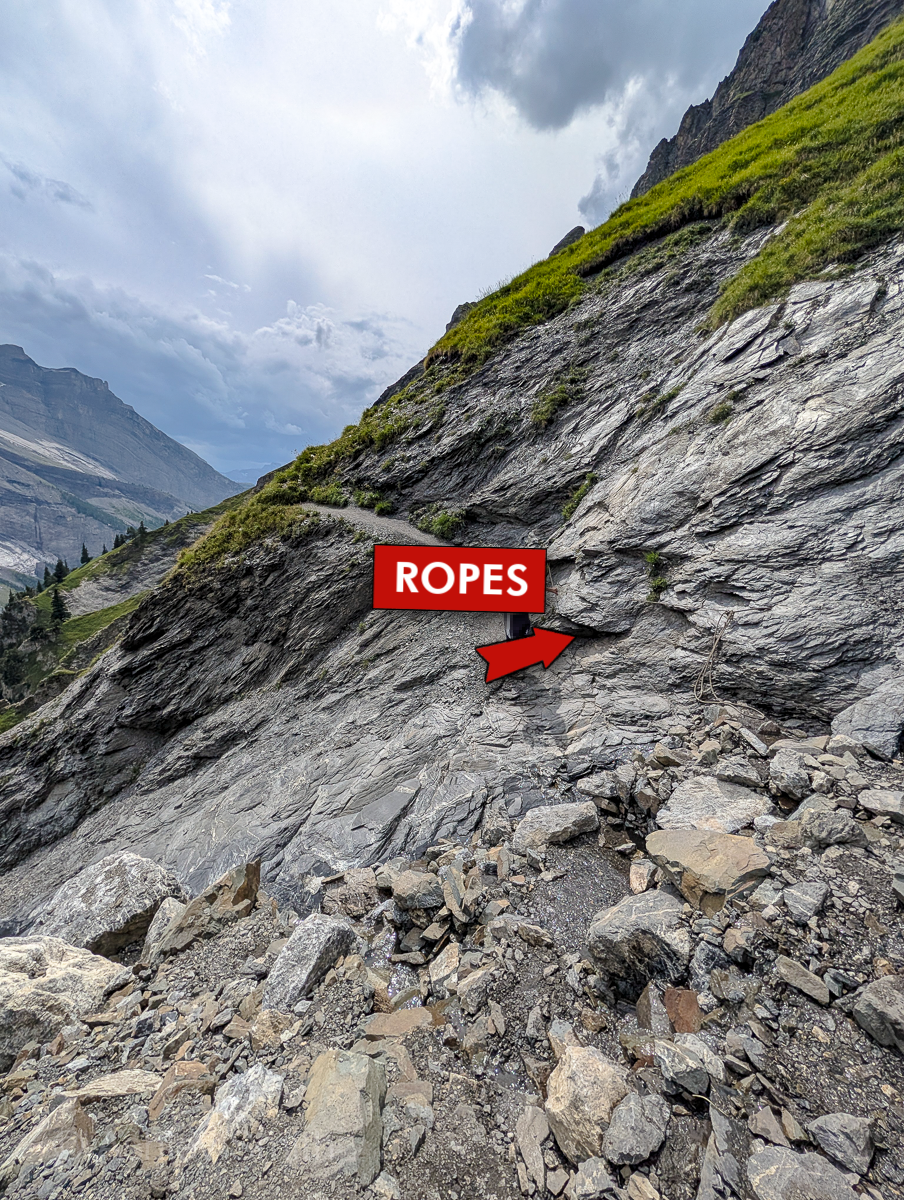
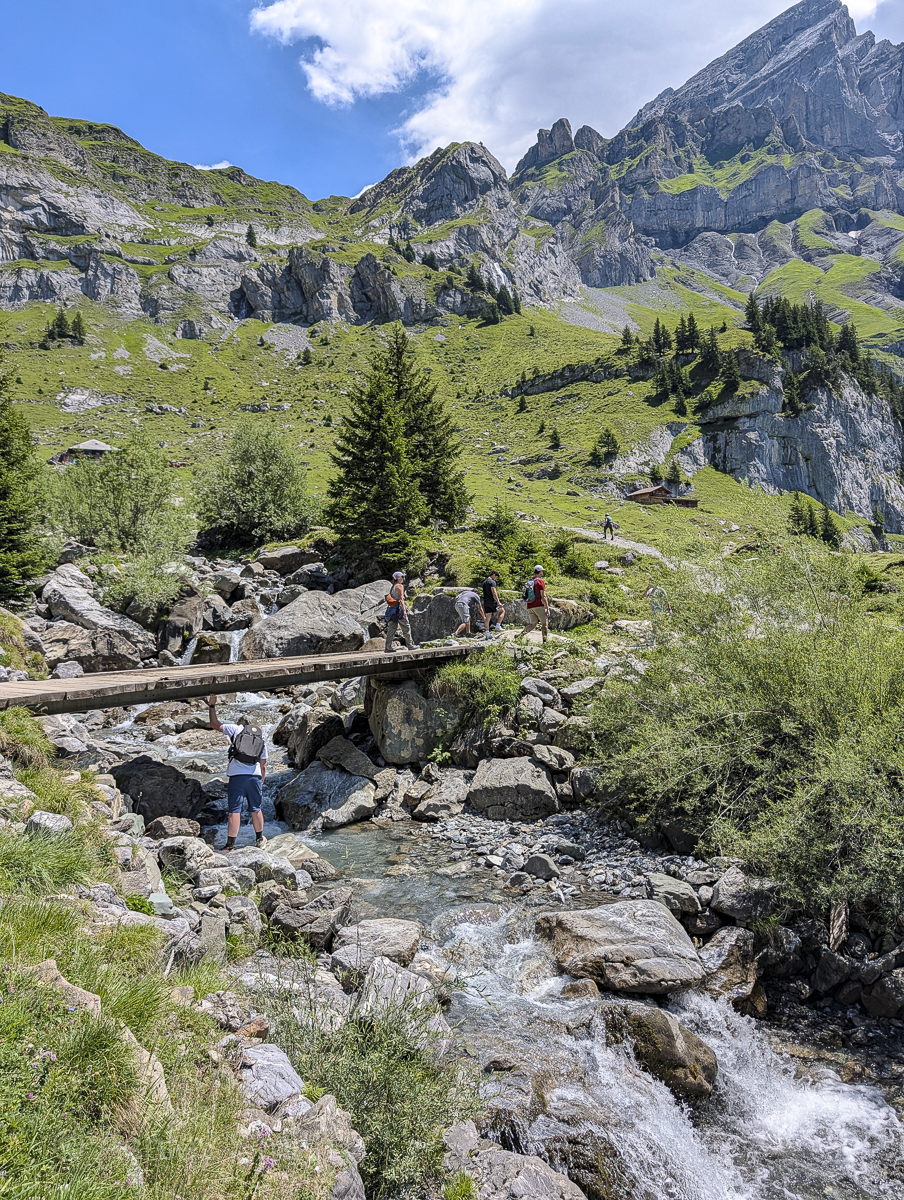
Along the way you’ll pass several worthwhile viewpoints, cross over alpine meadows, over some small streams and waterfalls, through some woods, and over lots and lots of loose rocks. (Some parts of the trail here will have ropes you’ll need to hang on to for certain crossings.) The trail ends back on the main road that runs from the cable car station to the main lake area. You’ll know when you get here.
Exit the trail onto the main road and turn right. From here, it’s about a 15-minute walk back to the cable car station where you can take the cable car back down into the valley to rejoin your car.
Oeschinensee panorama hike – clockwise
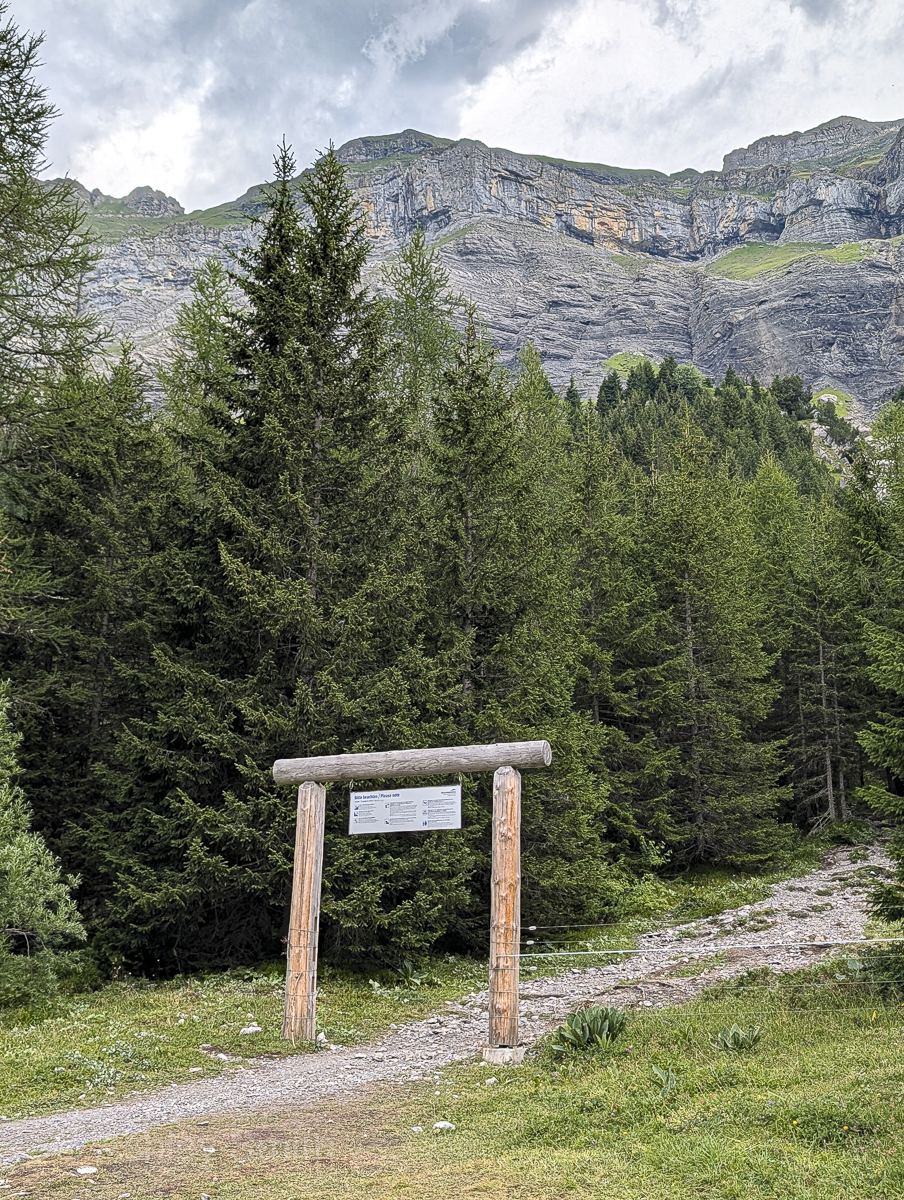
To do this hike clockwise, you’ll start where the trail forks off the main path from the cable car to the main lake area. The trail will be marked with a wooden arch and some directional signs. Follow the signs for “Heuberg – Ober Bärgli.”
From here, the trail will head up up and more up through trees and over loose rocks until you reach the upper portion. You’ll pass by several high viewpoints up here including the Heuberg and “Two Trees” viewpoints. Continue on this trail past the Heuberg, following signs towards “Oberbärgli.”
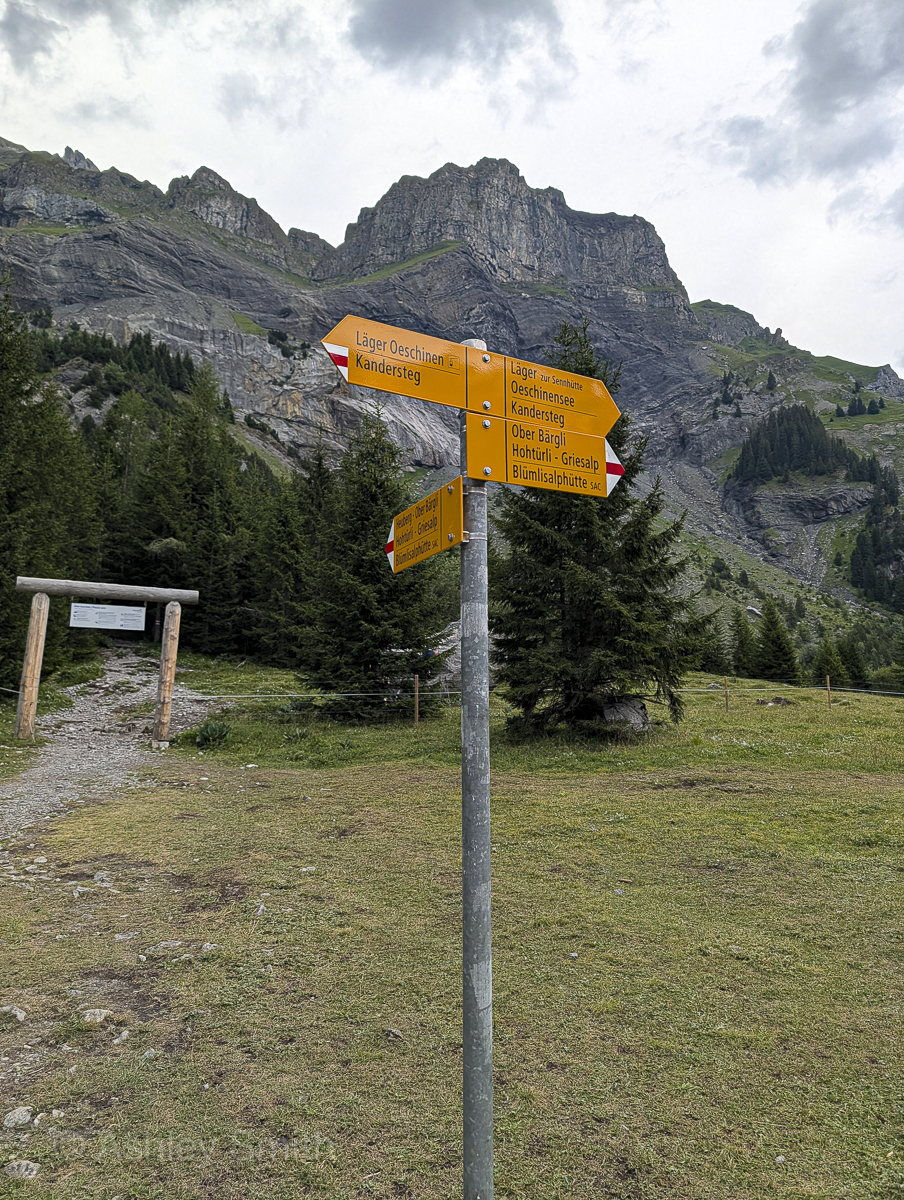
Eventually, you’ll wind around the curve and into the alpine meadows where you’ll eventually come to the Oberbärgli rest stop. Take a well-deserved break here and enjoy the scenery.
From here, follow signs towards “Oeschinensee/Kandersteg.” You’ll immediately head downhill and will soon reach the second rest stop at Unterbärgli. Take another break if you wish, or continue on towards the finish line.
For the rest of this hike, the gorgeous lake will be on your immediate left and the views will be wide open. The trail will end down at the lake itself near the main tourist area. From here, you can walk the extra 25-minute trail to get back to the cable car. (Or opt for the shuttle shortcut; no judgment.)
Tips for hiking the Oeschinensee panorama trail
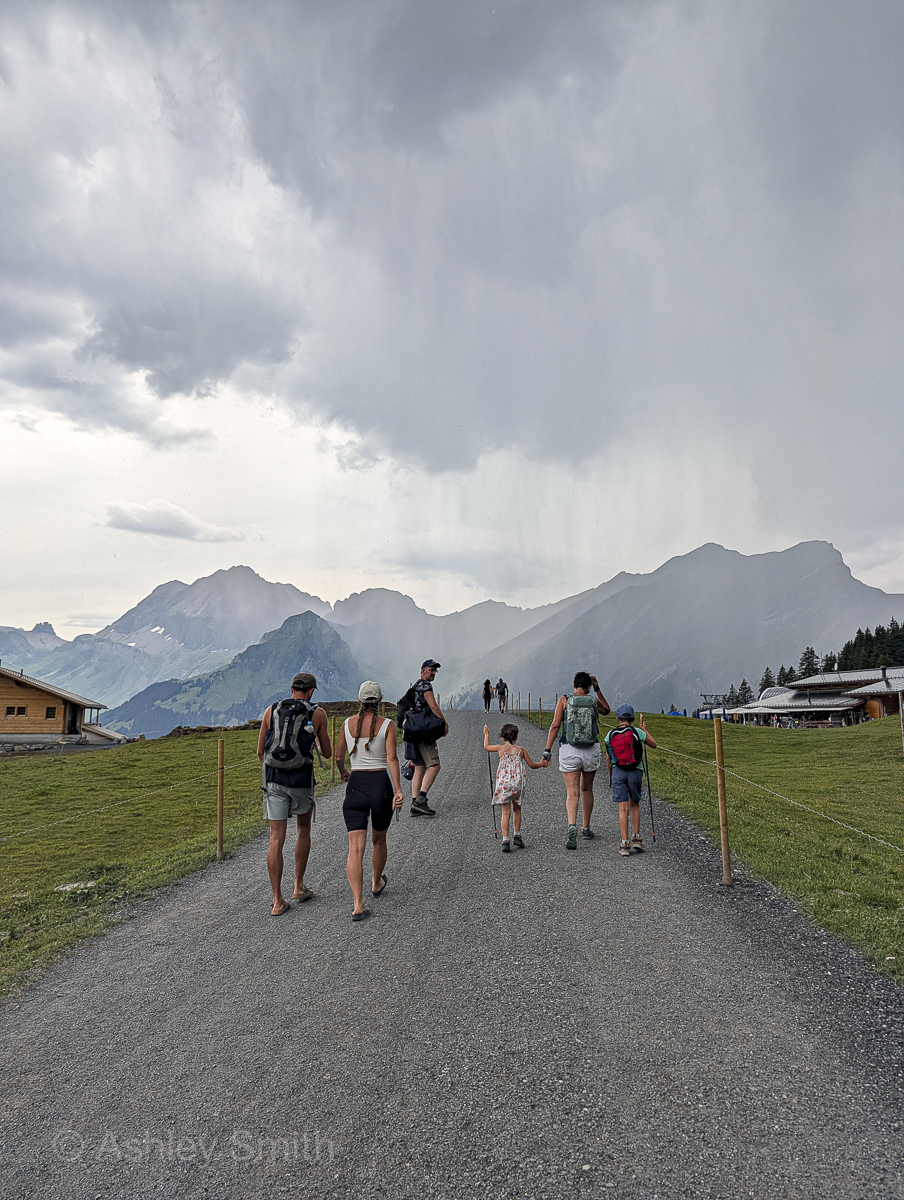
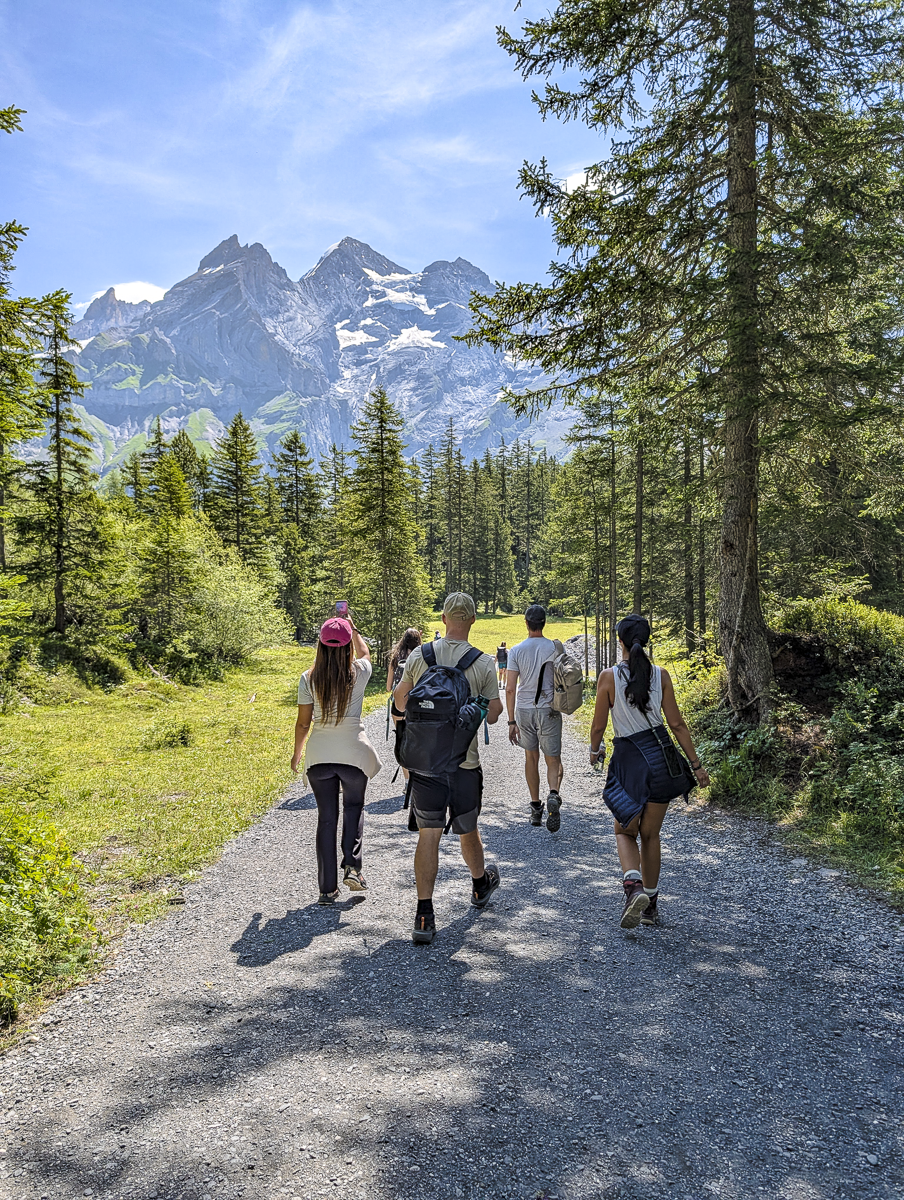
Because this is such a hugely popular hike (especially on Instagram), we saw so many people on this hike that simply didn’t belong or didn’t come adequately prepared. Just so you’re fully aware of what to expect, here are some super important things you need to know first.
1. Dress properly and wear appropriate footwear
Instagram will have anyone thinking they can come out here and take some pretty pictures, but this hike can be pretty dangerous if you’re not taking it seriously. I saw all kinds of people out here in inadequate clothing and ridiculous shoes that should never have made it onto a Swiss hiking trail. Proper hiking attire and proper hiking shoes/boots are mandatory here!
I get most of my hiking gear at REI and my husband and I both wear Oboz hiking boots. I’ve worn them on hikes all over the world and won’t wear anything else.
2. Bring lots and lots of water
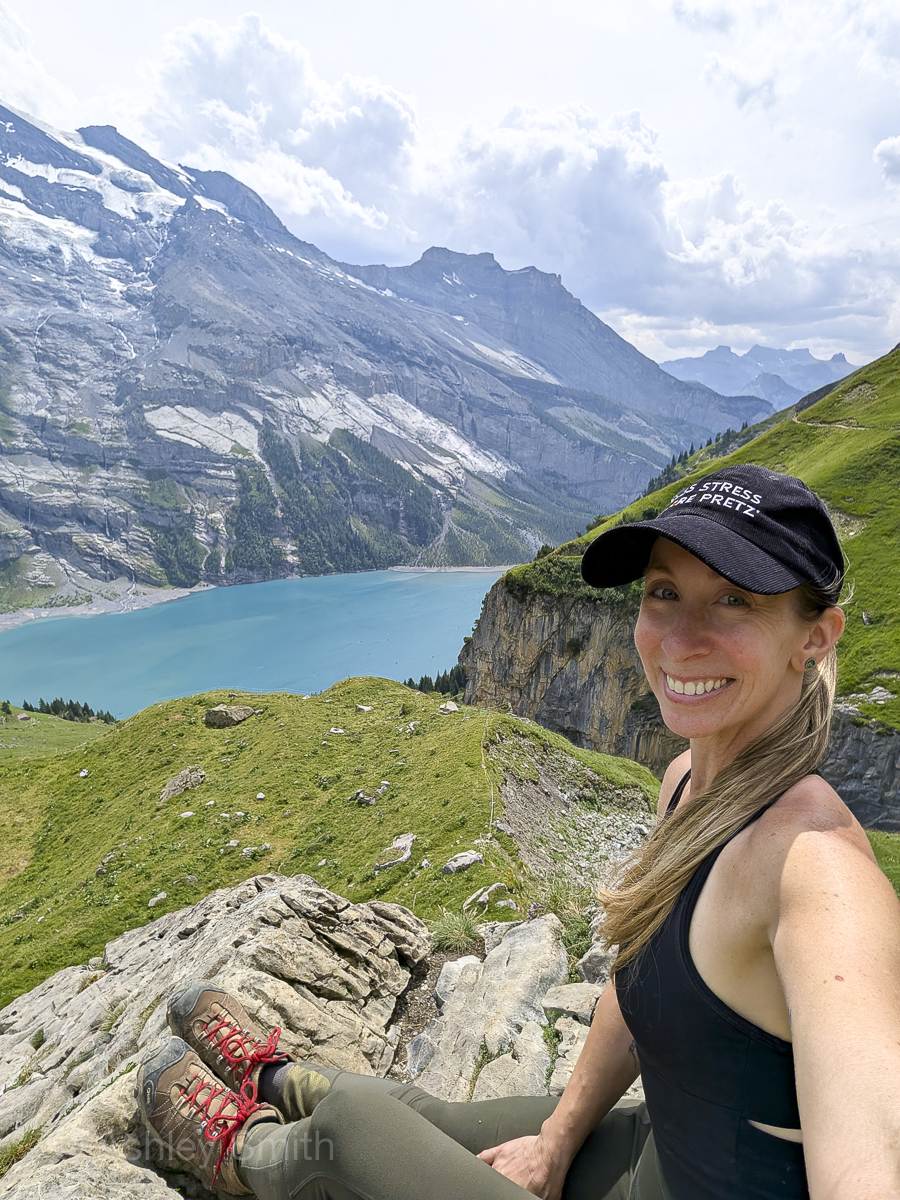
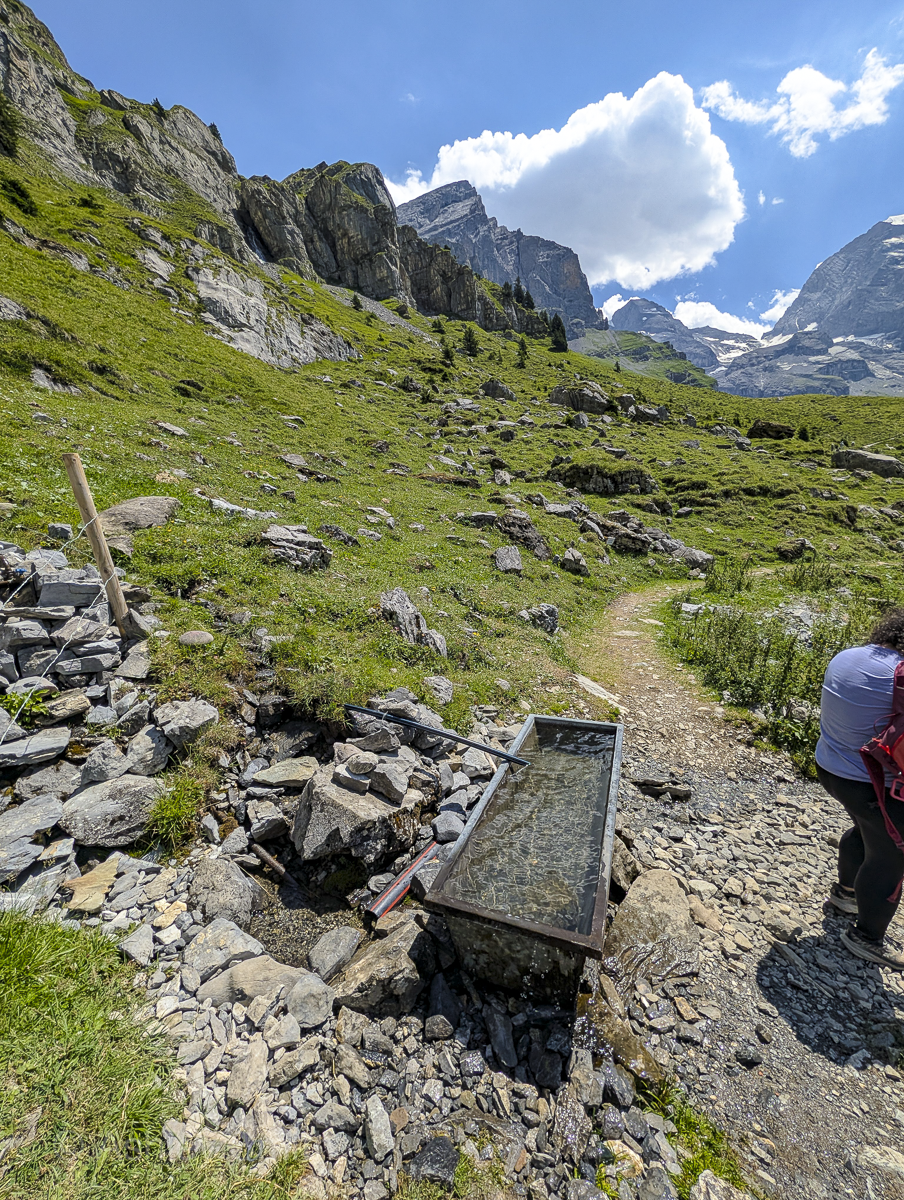
Especially if you’ll be hiking this trail in the summer, make sure you bring lots of water. This hike is a lot longer and probably a lot more demanding than you might expect, so don’t skimp here. Yes, you can refill your water at Unterbärgli, but make sure to bring at least two liters with you regardless.
I always hike with a 2-liter platypus and an insulated water bottle to keep some of it ice cold.
3. Allow for more time than you think you need
Official accounts will say this hike only takes about 3 hours. Sure, if you’re speed walking it the whole time and never stopping to rest or admire our planet’s majesty. Unless you’re a soulless robot, you’ll definitely be adding in a ton of breaks. Plus, the terrain demands taking it slow and safe. For my husband and me, both of whom are pretty physically fit and avid hikers, we still took just over four hours to complete it.
That time is from the very start of the trail to the point where the trail ends. You’ll also need to factor in the 25-minute walk from the cable car to the start of the hike, the cable car trips up and down the mountain, and the time it takes you to walk from your car to the cable car station and back. (Plus, any time you’ll need to spend standing in line for the cable car.)
All in all, it took us a total of six hours from the moment we parked in the morning until the moment we arrived back at the car afterwards. It may be a “3-hour hike,” but I’d go ahead and block off a whole day for it.
4. Bring food and snacks
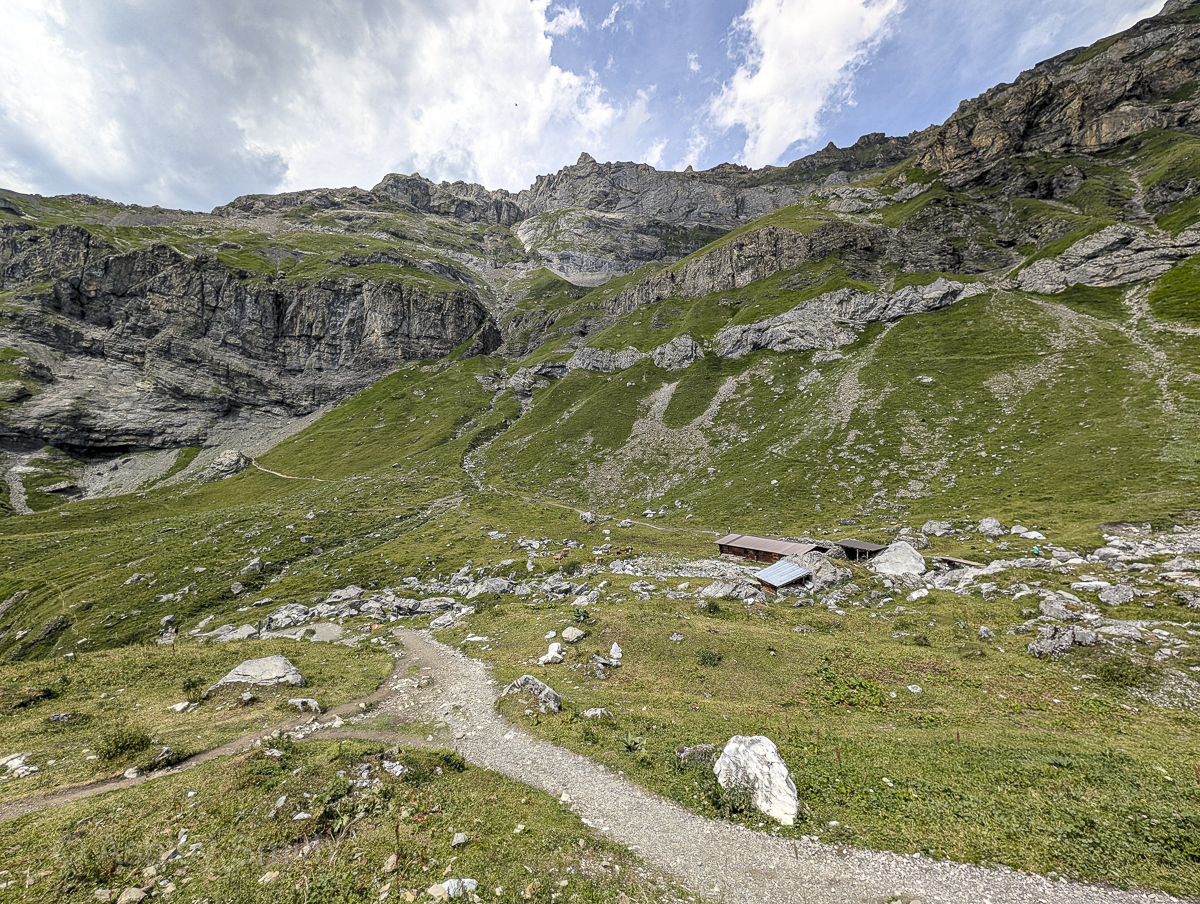
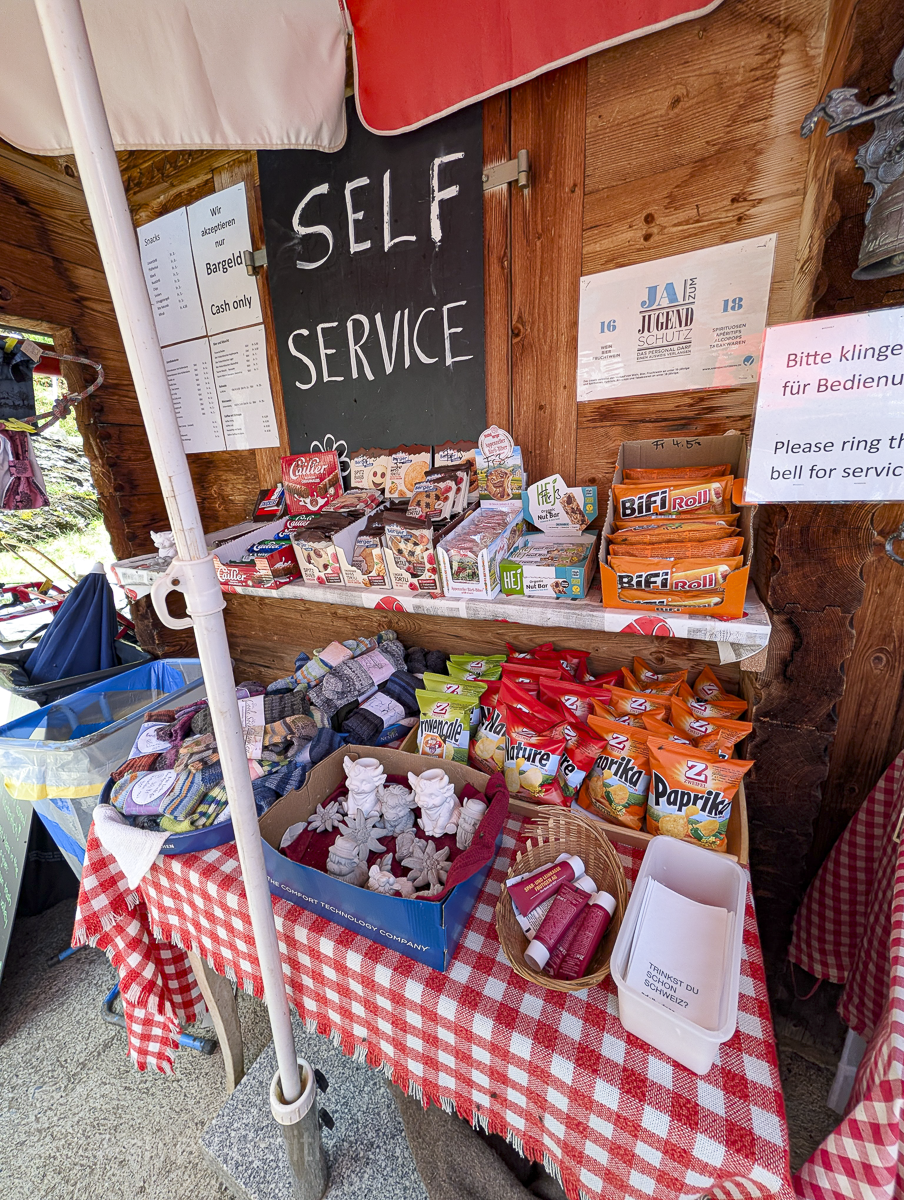
Yes, there are some snack shops along the way, but unless you’re hiking in the peak summer season, there’s a good chance they might not even be open when you get here. The hike is strenuous enough that you’ll definitely need sustenance along the way. Don’t rely on there being an open hut when you hike.
5. Stay paying attention
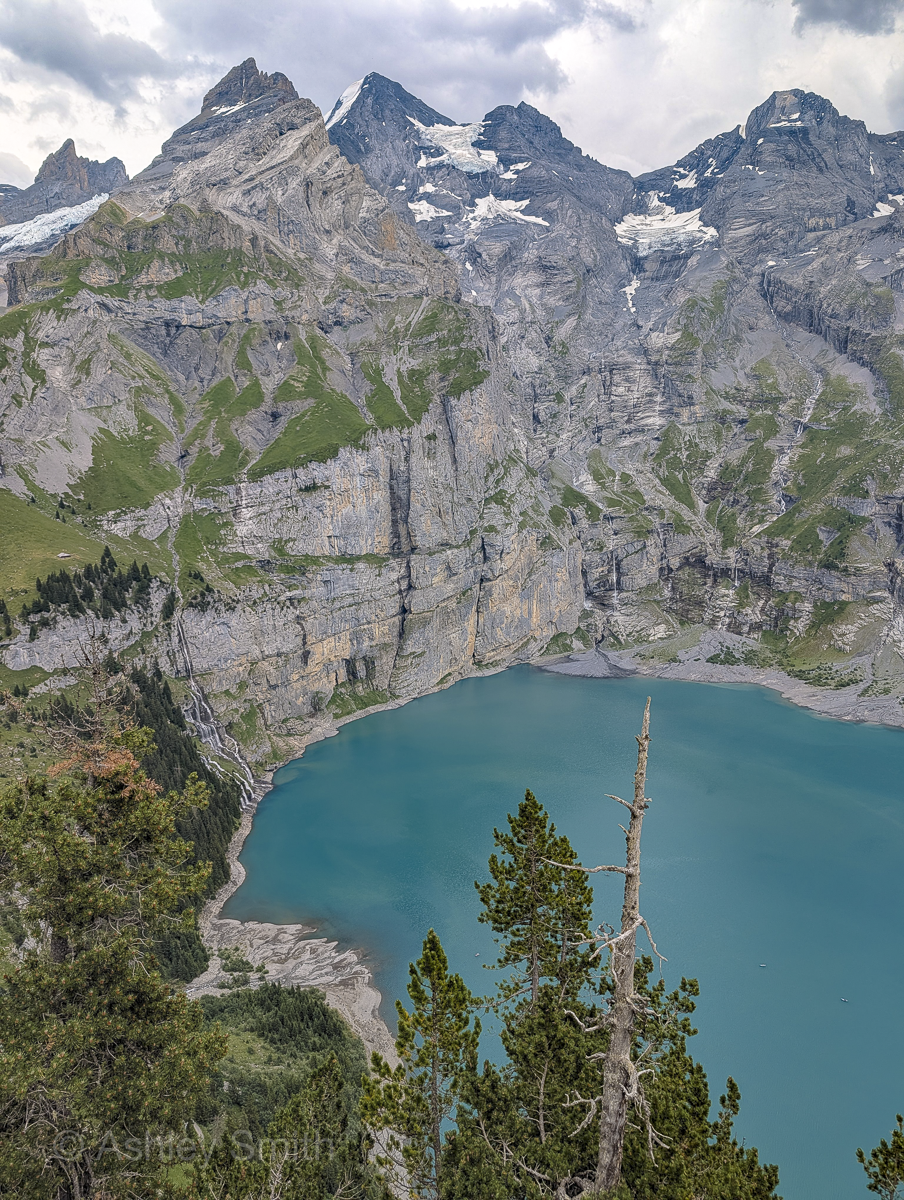
I know the views are ridiculous, but this hike is super dangerous in spots. The drop-offs are no joke and there’s no safety infrastructure whatsoever. The terrain is loose and/or wet in a lot of places and there are tree roots just waiting to trip you. This trail also suffers from the occasional rock slide or avalanche (as happened shortly after our visit). All I’m saying is, stay alert the whole time.
6. Bring hiking poles
This is definitely a hike where you’ll want to bring your trekking poles. Did I bring mine? No – mainly because I need to get some new ones and just hadn’t yet. But did I wish I had some? Yes.
As always, you don’t need anything fancy—even a cheaper pair will do—you just need to know how to properly use them to your advantage.
7. Arrive early
Like I mentioned earlier, parking in Kandersteg is limited and fills up fast, usually before 11am. If you don’t pre-book your parking spot, definitely plan on getting here as early in the day as you possibly can.
This hike and this whole area also get really crowded, so the earlier you go, the less crowded (i.e. more enjoyable and safer) it will be.
8. Download the EasyPark app
I’ve used the EasyPark app a few places around Switzerland and am always shocked by how easy it seriously is. Like why can’t all parking apps—nay, all apps in general—be this easy to use?
Even as an American with an American phone (Android) and an American credit card I was able to download and use the app with zero problems. It will make parking around Switzerland so much easier for you, I promise. (Especially since you can’t pay directly at machines like this and have to either use coins or make an account on a website.)
9. Know the cable car schedule
The cable car schedule changes throughout the year so make sure you know the latest operating times before you head out. If you miss the last cable car down the mountain, you’ll have to hike down that extra 2.5 miles in addition to this long and exhausting hike. See the Oeschinensee cable car timetable here.
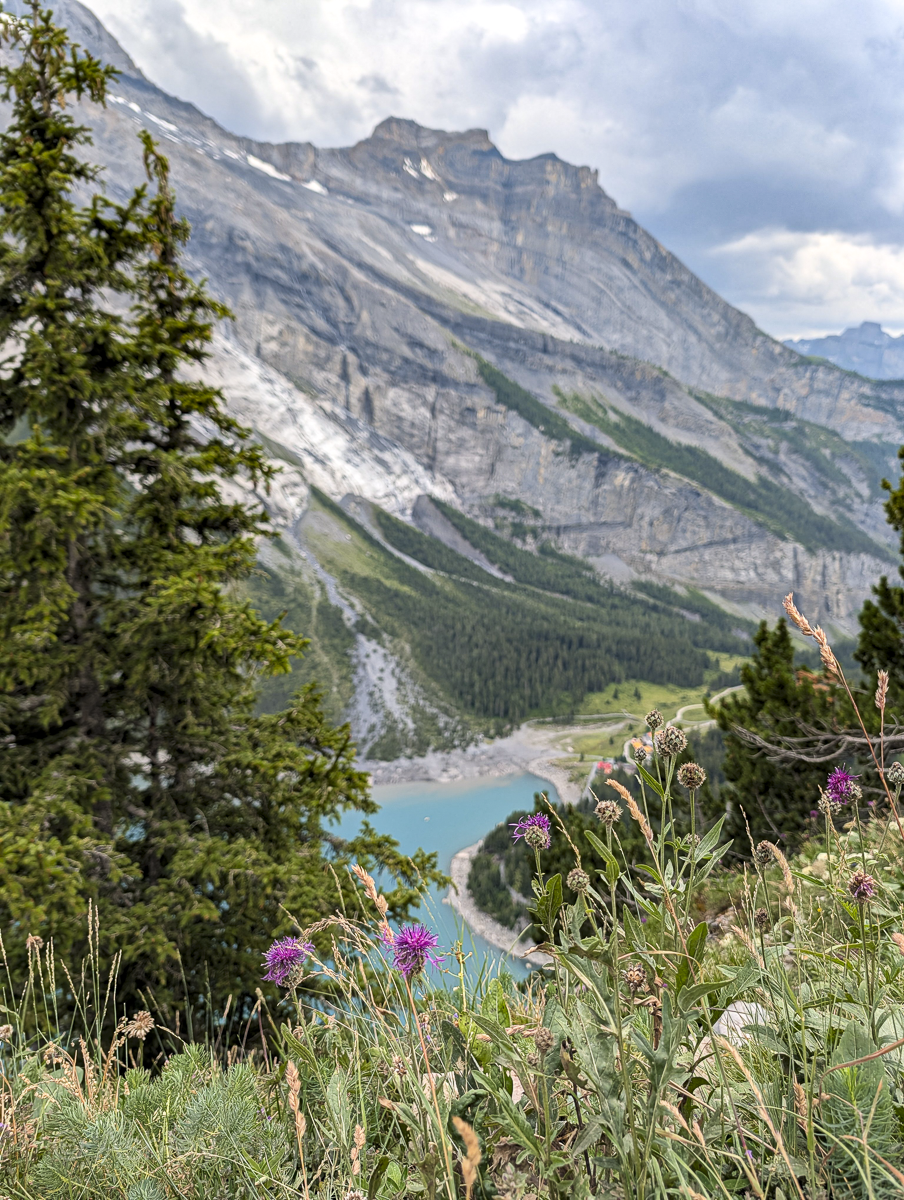
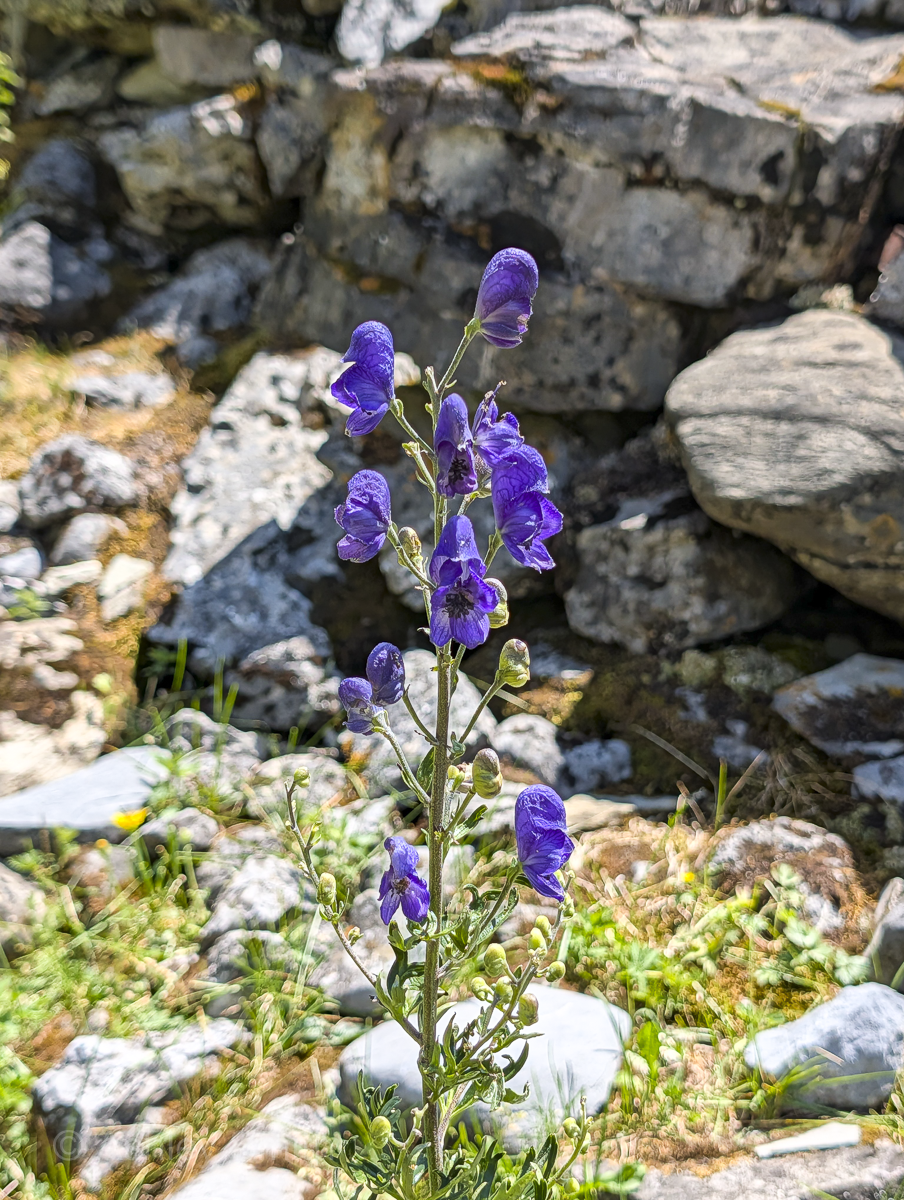
10. Don’t touch the wolfsbane!
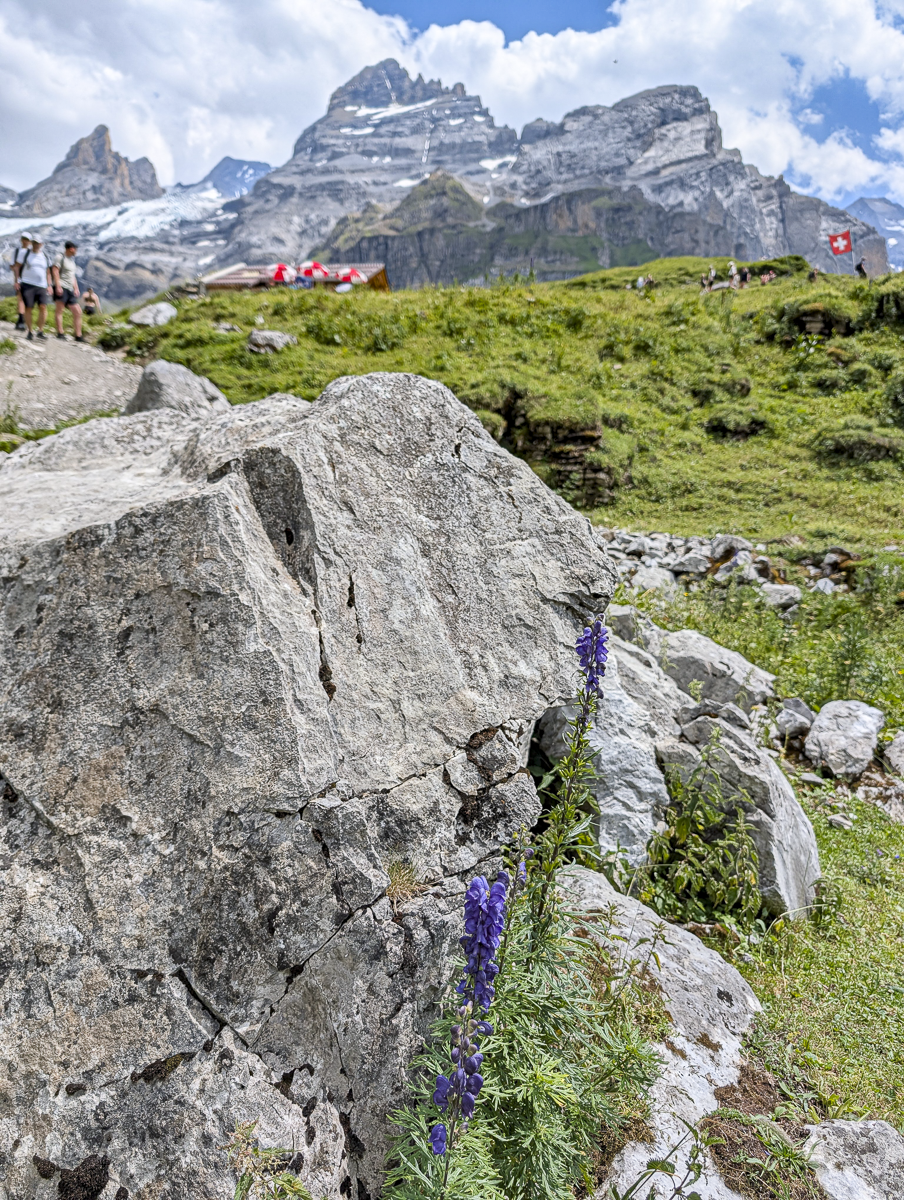
Wolfsbane is a beautiful purple flower that grows, among other places, along hiking trails in Germany and Switzerland. You’ll see it all over around Oeschinensee, but DON’T TOUCH IT. Wolfsbane contains an extremely potent neurotoxin that can literally kill you.
This toxin is present in the roots, stems, leaves, and seeds which means, even though it’s most lethal when ingested, it can seriously harm you just by touching it. The fact that I see this flower growing along hiking trails all the time where anyone could just brush up against it is so wild. Germany and Switzerland just be handing out Darwin awards left and right. You can read more about Wolfsbane toxicity here.
What to pack for the Oeschinensee panorama hike
Here’s a more complete and concise version of the advice mentioned above.

More packing essentials
Oeschinensee panorama hike questions
Here are some quick answers to some of the most popular Oeschinensee questions:
Where to stay near Oeschinensee
Personally, I hiked the Oeschinensee trail while traveling between two destinations. So, the night before I stayed at Gasthaus Brünig Kulm, closer to the Interlaken area. And after our hike we drove back up and over to Lauterbrunnen to spend the next few days in Gimmelwald.
But if you’d like to stay closer to Kandersteg, here are a few great hotel recommendations to get you started:
See all other available Oeschinensee-area hotels here.
More info for your trip to Switzerland
Like this post? Have more questions about the Oeschinensee panorama hike? Let me know in the comments below. Happy hiking!

Save this info, pin these images: