Let’s say, oh I don’t know, that you’ve quit the Tour du Mont Blanc but still want to squeeze in some of the best hikes in Chamonix. Yes, that sounds like a likely scenario.
Well, if that’s the case (as it was for me) I’ve got you covered. Chamonix in the summer is a hiker’s dream destination with day hikes for, well, dayz! And the best part? You don’t have to commit to the 11-day, 110-mile Tour du Mont Blanc to still be able to enjoy some of the best hikes in the Alps.
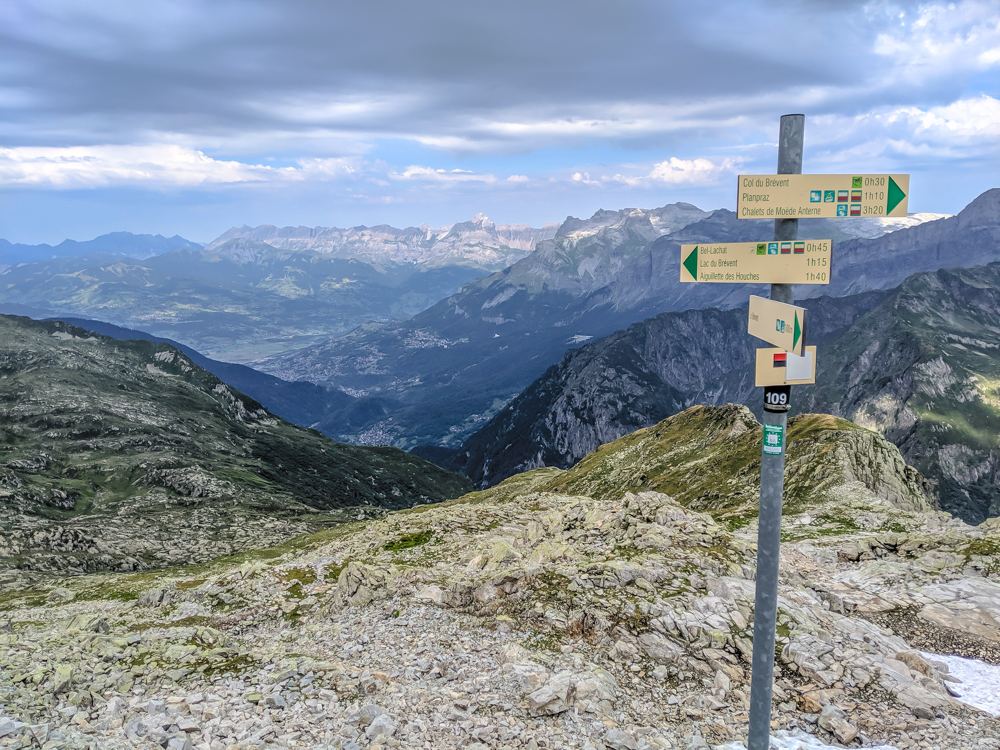
Here are three of the best hikes in Chamonix that can be done in a single day and everything you need to know about them. These range from easy hikes in Chamonix to more moderately difficult ones.
1. Le Brévent > Merlet Animal Park > Lac Sinclair > Chamonix
As I mention in my post on all the awesome things to do in Chamonix, this particular hike is one of the best hikes I’ve ever done in my life. (The others being the Path of the Gods hike along the Amalfi Coast and the via ferrata from Mürren to Gimmelwald, Switzerland – just wow)
This hike has everything:
- Unbelievable views of Mont Blanc, the tallest mountain in the Alps
- An abundance of wildlife
- Pine forests, rocky cliffs, lakes
- a manageable amount of danger
- Filling lunch + beer
- A raspberry forest
- A magical lake with “ancient ruins”
There is so much to keep you occupied on this hike, even those who think hiking is boring will love this one. (Also, who brought them?)
This hike actually starts high atop the mountain and ends in the Chamonix valley which means it’s easy on your lungs but hard on your knees. Personally, I prefer to hike in a downward trajectory to take full advantage of gravity’s sweet pull. But if you have weak knees, consider yourself warned!
This hike at a glance
Type: Loop hike
Length: 7 miles (11 km)
Time: 9 hours, including lunch, beer, and visit to Merlet Animal Park / 6 hours of actual hiking
Difficulty: Moderate
Elevation gain/loss: +96 ft / -4,678 ft (+29 m / -1423 m)
This hike is broken up into five sections:
- Chamonix to the start at Le Brévent (seen as orange place markers in the above map)
- Le Brévent to Refuge Bellachat
- Refuge Bellachat to Merlet Animal Park
- Merlet Animal Park to Lac Sinclair
- Lac Sinclair to Chamonix
And I’ll break down each of them for you here. I’m also going to list how long it took my friend and I to hike each portion, but it’s important to know that we are slow hikers who stop to take a lot of pictures and to look at every flower and creature with four legs. Your hiking times will most likely be faster than ours.
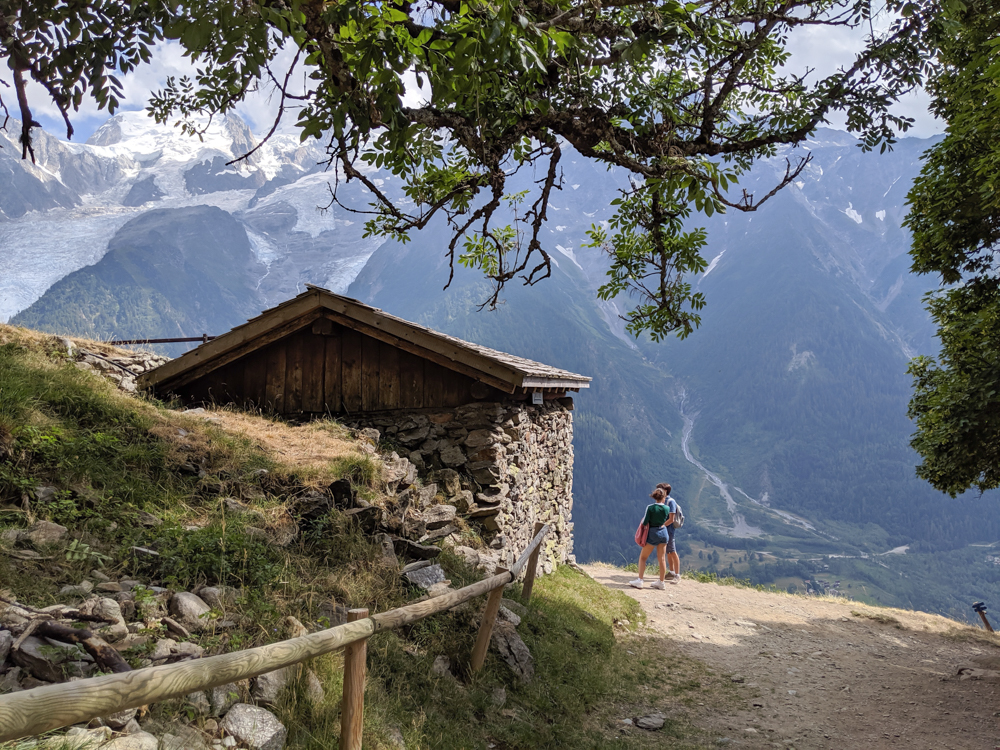
How to get from Chamonix to Le Brévent
Though the hike technically starts in Le Brévent, you still have to get there from Chamonix first—and that’s the easy part. (Chances are you’re staying in Chamonix already and can easily just walk to the Brévent gondola station. If not, check out this post for where to stay in Chamonix.)
To get from Chamonix to Le Brévent, you’ll need to:
- take the gondola lift from Chamonix to Plan Praz
- then take the cable car from Plan Praz to Le Brévent.
You can purchase lift tickets right there at the gondola station and a one-way adult ticket from Chamonix to Le Brévent costs 27,5 € (about the same in USD). Again, make sure when buying your ticket you purchase only a one-way ticket from Chamonix to Le Brévent since you’ll be hiking all the way back. This seems obvious but still, a reminder never hurts. This leg of the journey takes about 20 minutes.
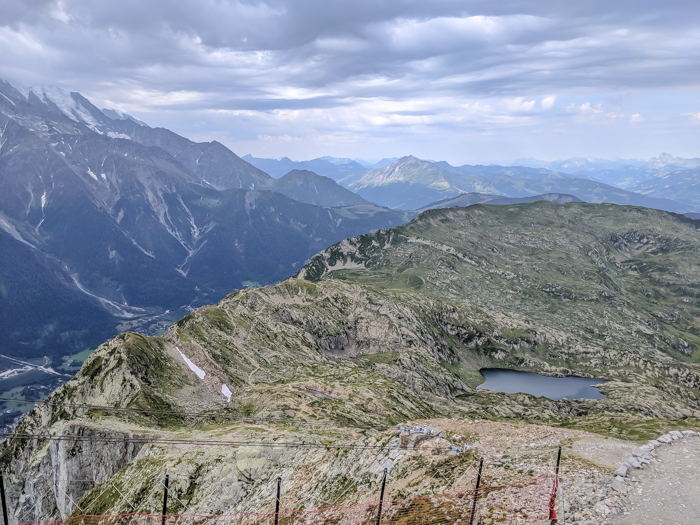
At this point, you’ll be up literally inside the clouds at an elevation of 8,284 feet (2525 m). There will be a few viewing platforms, some trails, and signs to show you what you’re looking at.
Once here, spend some time checking out the area and taking lots of pictures. The Le Brévent observation area is a popular attraction in itself and should be treated as so–you did pay to get up here after all. Time to put your money where your mountains are!
Interested in hiking the Tour du Mont Blanc? Check out this post on self-guided vs. guided TMB tours to see which is best for you.
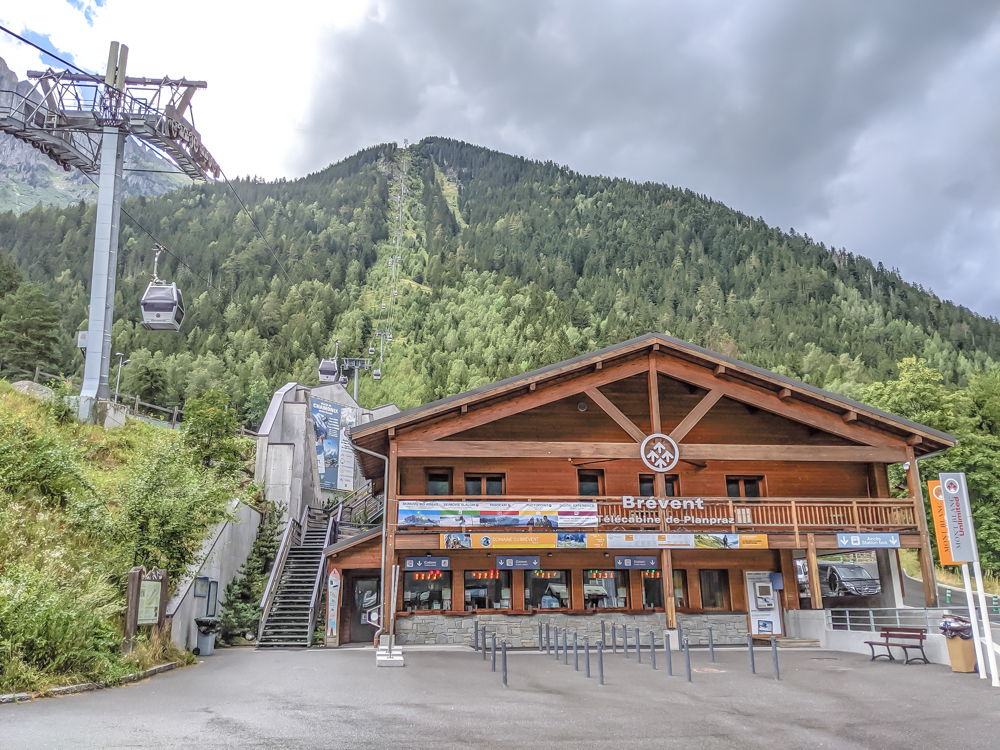
Le Brévent to Refuge Bellachat – 1.5 hours
From Le Brévent, follow the rocky path down, down, down in the direction of Refuge Bellachat. The trail signs will read “Bel-Lachat” – same thing. They’ll also say “45 minutes” but we’ve already established that my hiking alter ego is the sloth from Zootopia.
So let’s just say, this will take you anywhere between 45 minutes and 1.5 hours and the signage is pretty easy to follow.
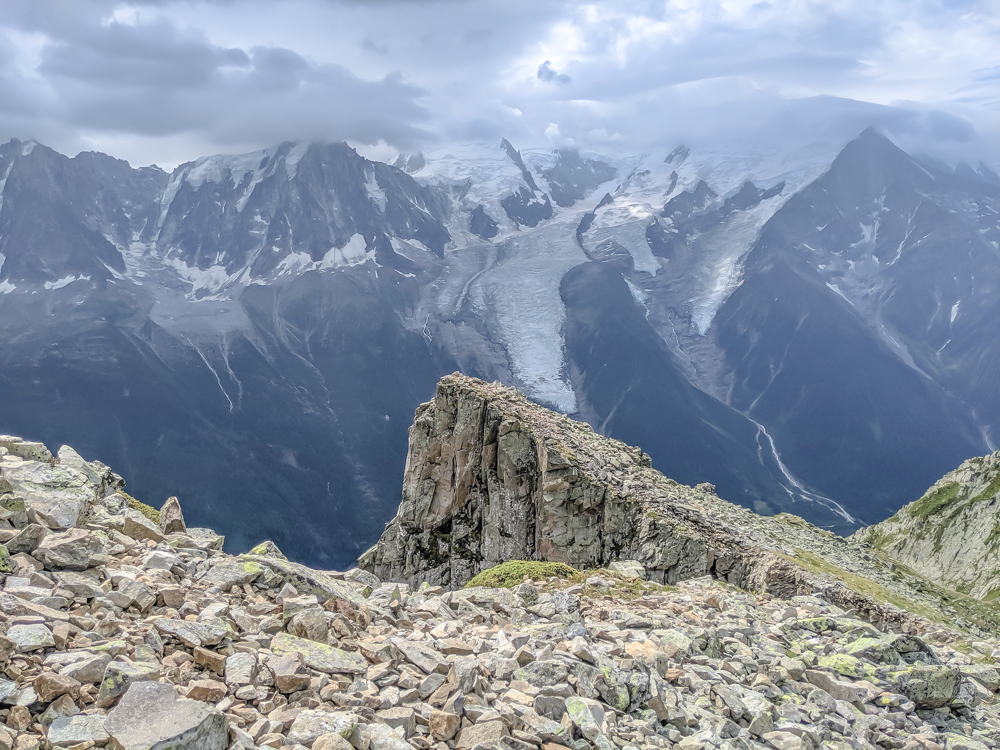
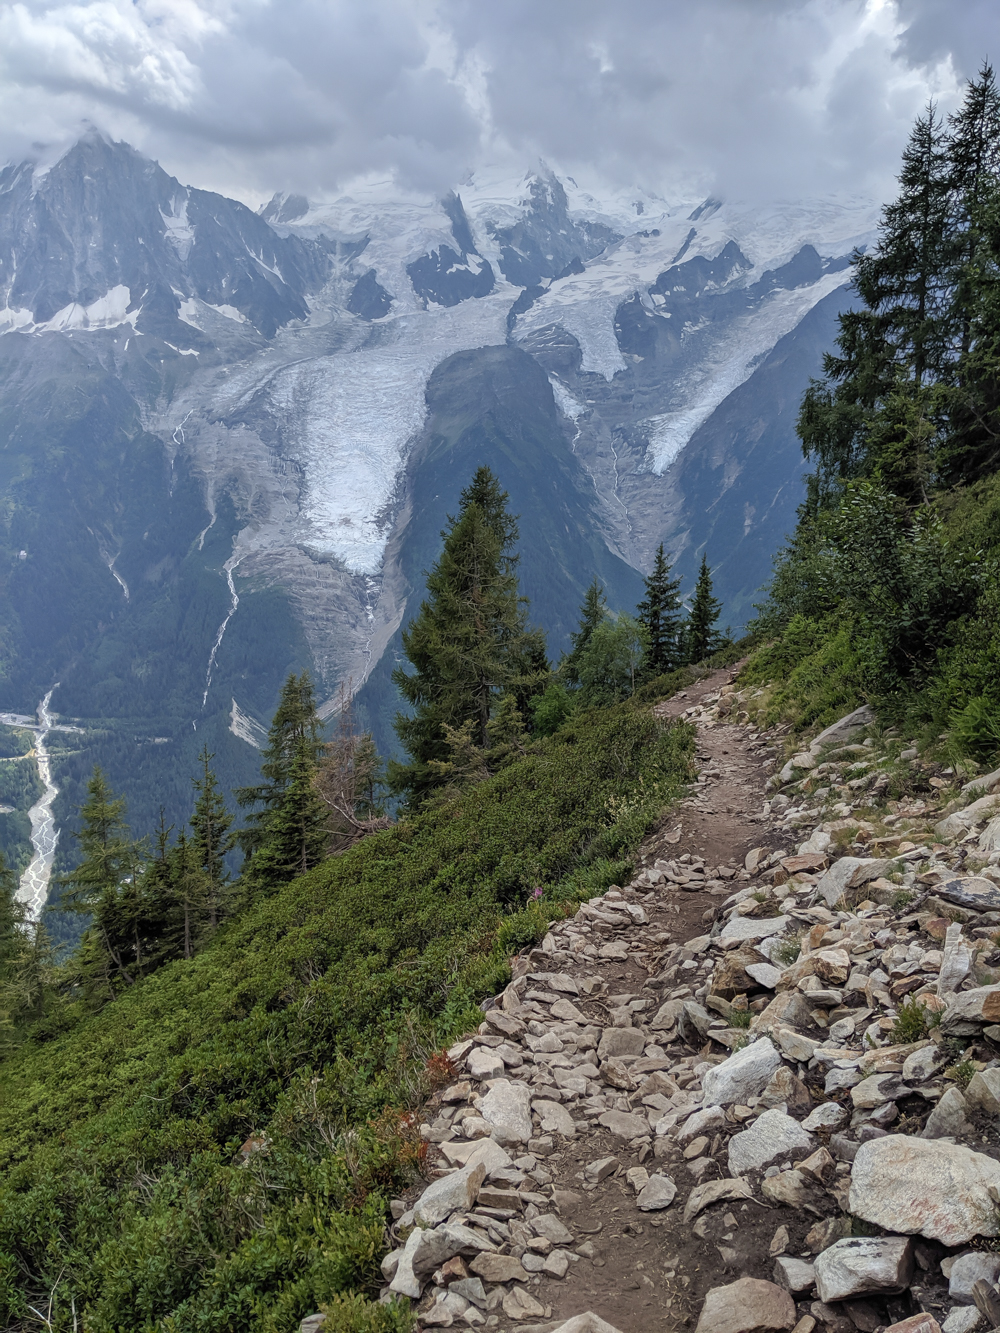
This portion of the hike rewards you with unbelievable views of the Mont Blanc mountain range and the Chamonix valley far below. These are some of the best views in all of Chamonix.
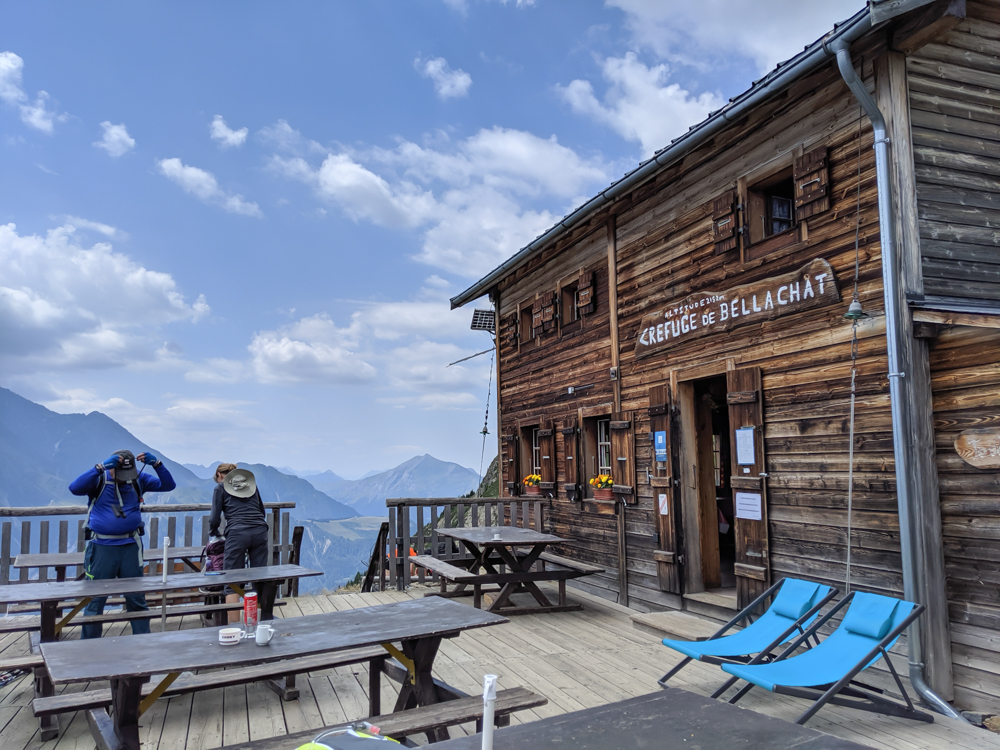
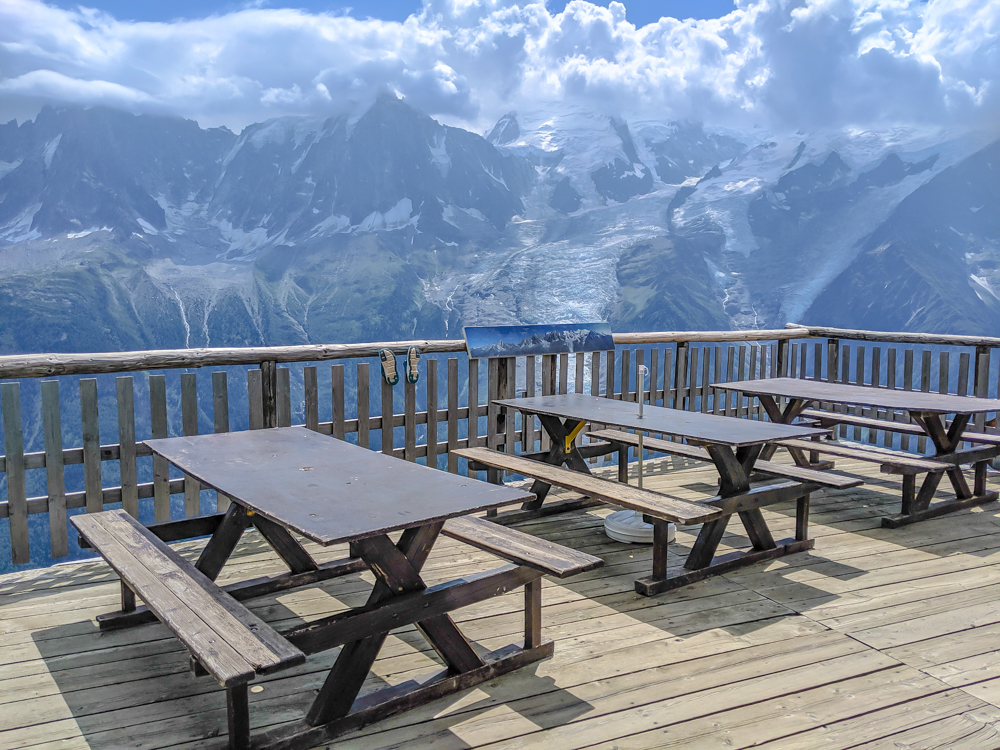
At Refuge Bellachat you can use the restroom (okay it’s a hole in the floor but it’s better than nothing), sit down for lunch and take a rest on their patio. True, you’ve only hiked an hour but every little segment deserves a juicy reward. Plus, when you see the patio at Bellachat, you’ll want to stay for a while.
Refuge Bellachat to Merlet Animal Park – 1.5 hours
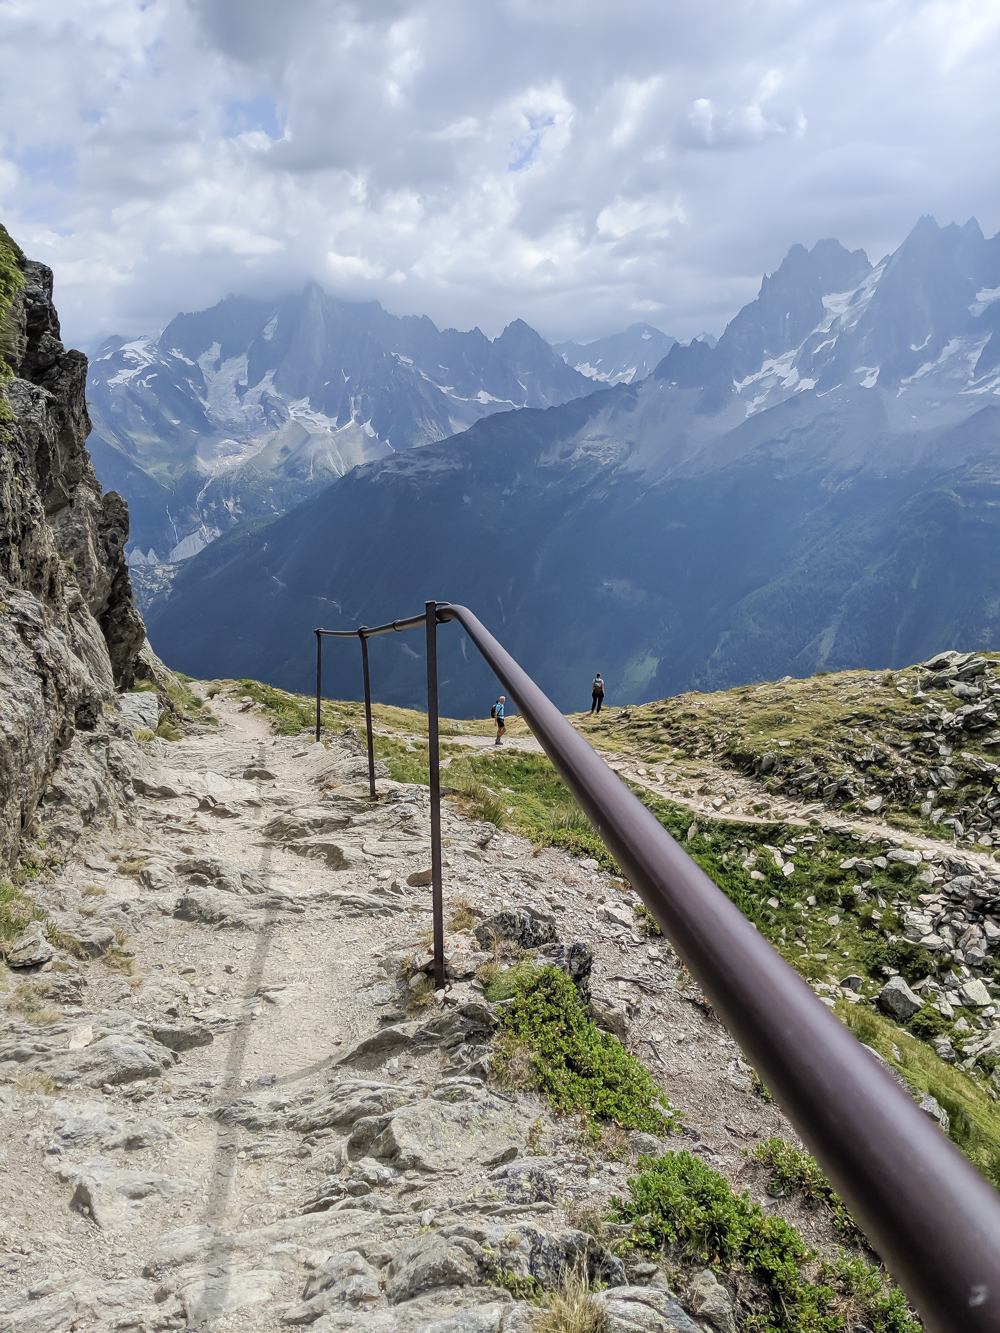
From here, follow the trail down in the direction of “Parc de Merlet.” After leaving Bellachat the trail can get a little dangerous. The woman at Bellachat described the next part of the trail as a little rocky with just one rather dangerous spot. Well, she was right, but she downplayed the sh*t out of it.
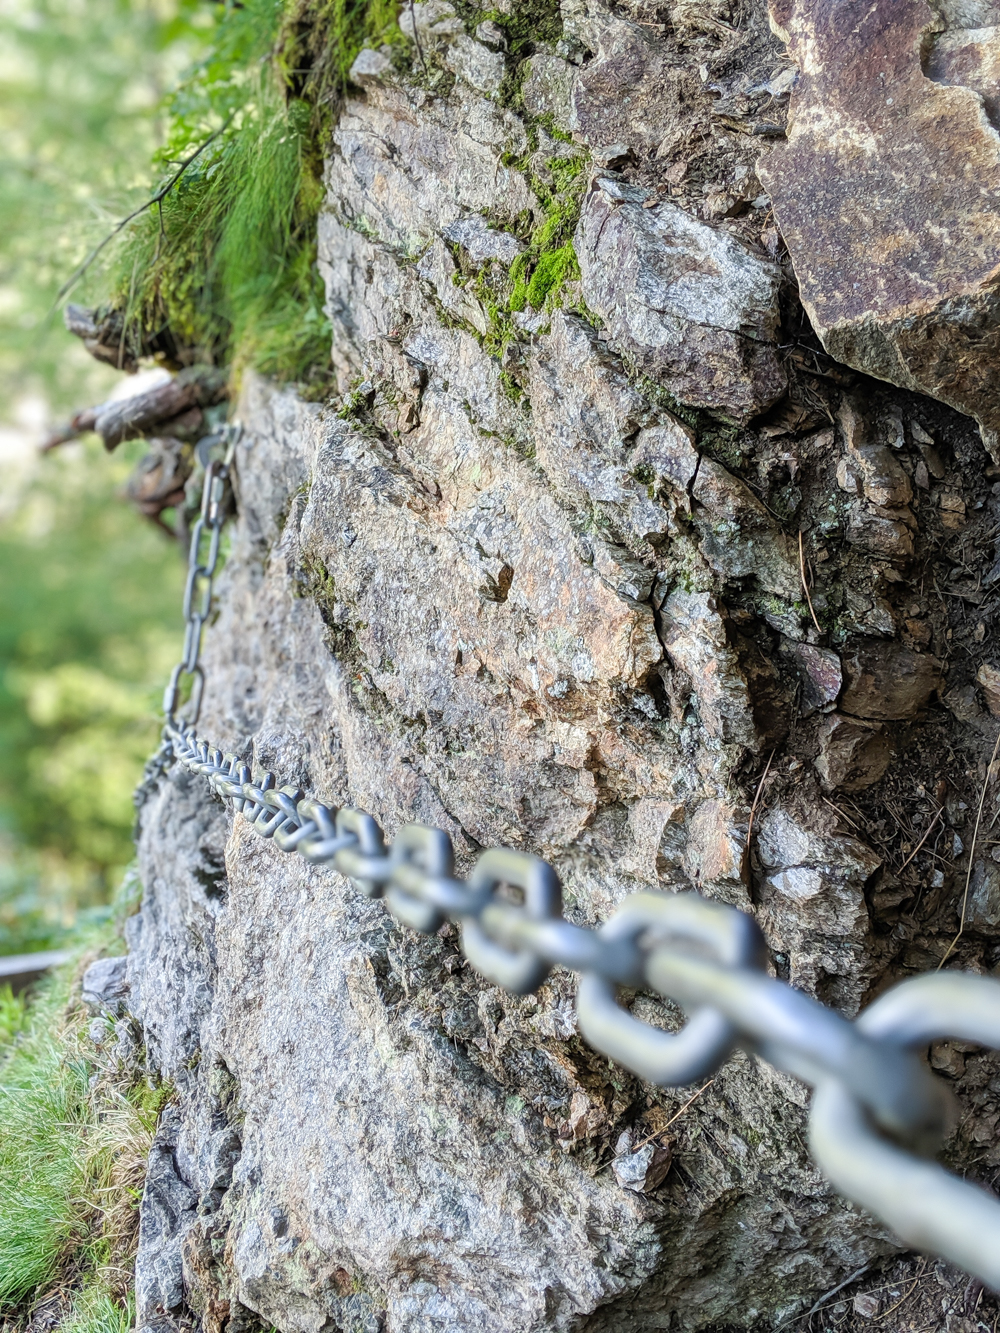
After leaving Refuge Bellachat, the trail zig-zags downward along a slippery dirt path until it reaches an extremely rocky, super steep section where you need to hang onto a chain and/or rebar to keep from falling into the ravine. We saw people going up this part of the trail with full trekking packs on. They were not happy. This section is what makes this a moderate hike rather than an easy one.
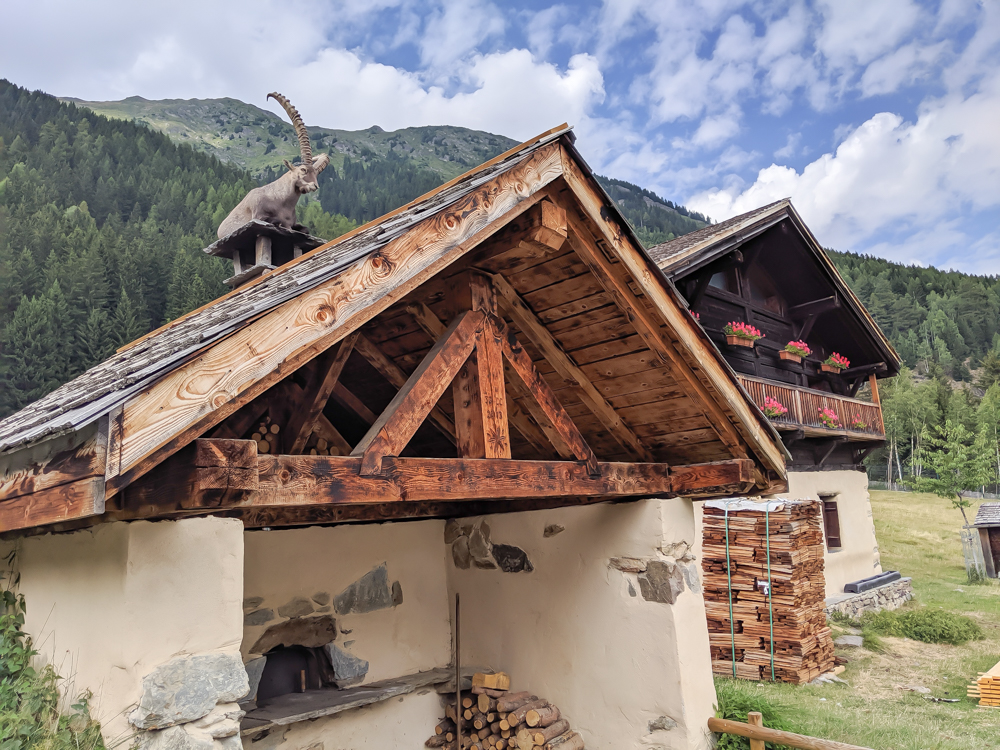
Merlet Animal Park
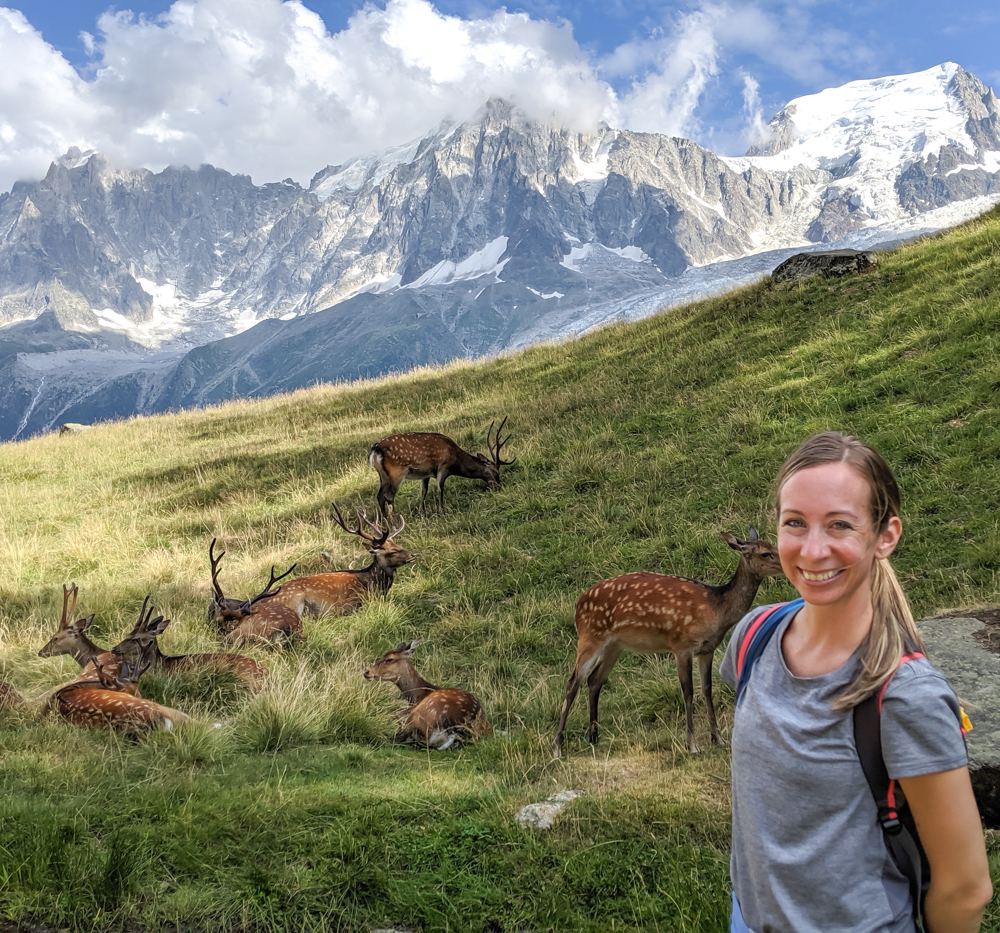
Pretty soon you’ll arrive at Merlet Animal Park, a 52-acre nature preserve where you can view seven species of indigenous wildlife (and llamas) in their natural habitats. The park is a wide-open combination of pine forests, pastures, hiking trails, and rocky outcroppings where the animals roam free without fences or barriers. Visiting here is a cheap and thrilling stop along this hike.
Many people come to Parc de Merlet just for the hiking, but I came for the fuzzy alpine animals. At Merlet Animal Park you can see:
- Ibex – tall ribbed horns (and called bouquetin in French)
- Chamois – small curved horns
- Mouflon – huge curved horns, kind of ram-like
- Fallow deer – huge fuzzy antlers
- Sika deer – regular deer antlers
- Roe deer – tiny pointy antlers
- Marmots – fat little groundhogs
At Merlet you can hike their trails to view these animals, as well as enjoy one of their many nature presentations or chill out on their cliffside patio for drinks and snacks. You can also use the restroom here. Okay, it’s little more than a bucket you sit on but it’s better than nothing.
Parc de Merlet to Lac Sinclair – 1.5 hours
After fawning over some of the cutest Alpine animals you’ll then leave Merlet Animal Park and follow the trail down in the direction of Les Gaillands.
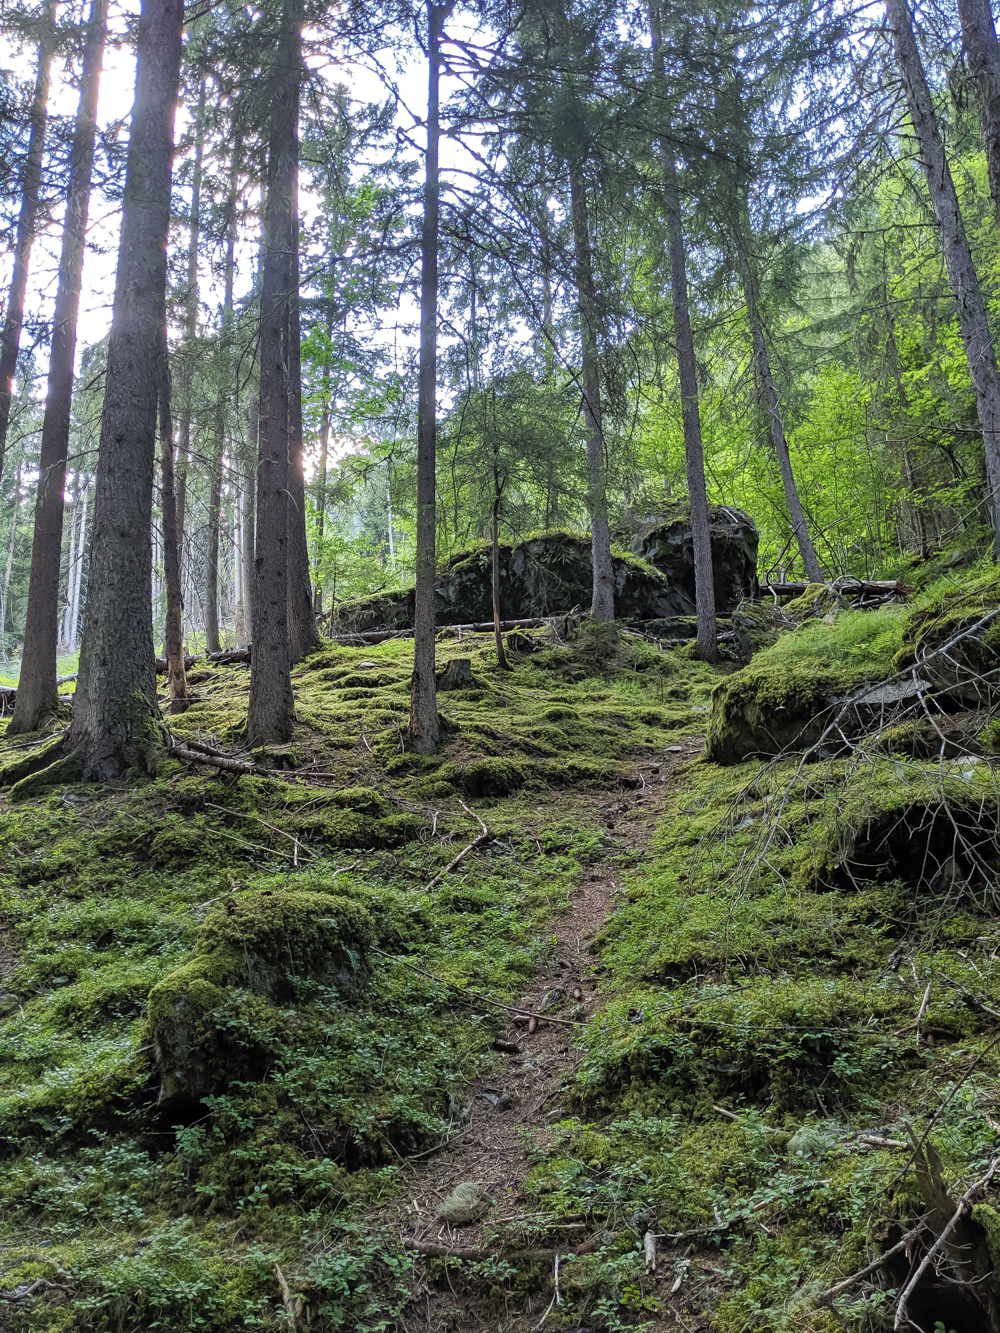
The rest of the way down the path is pretty easy to follow. However, about an hour into the hike the trail starts to break off into smaller paths – maybe I freaked out a little, maybe I didn’t. Regardless, just follow the most obvious path. As long as you’re going down, you’re headed in the right direction.
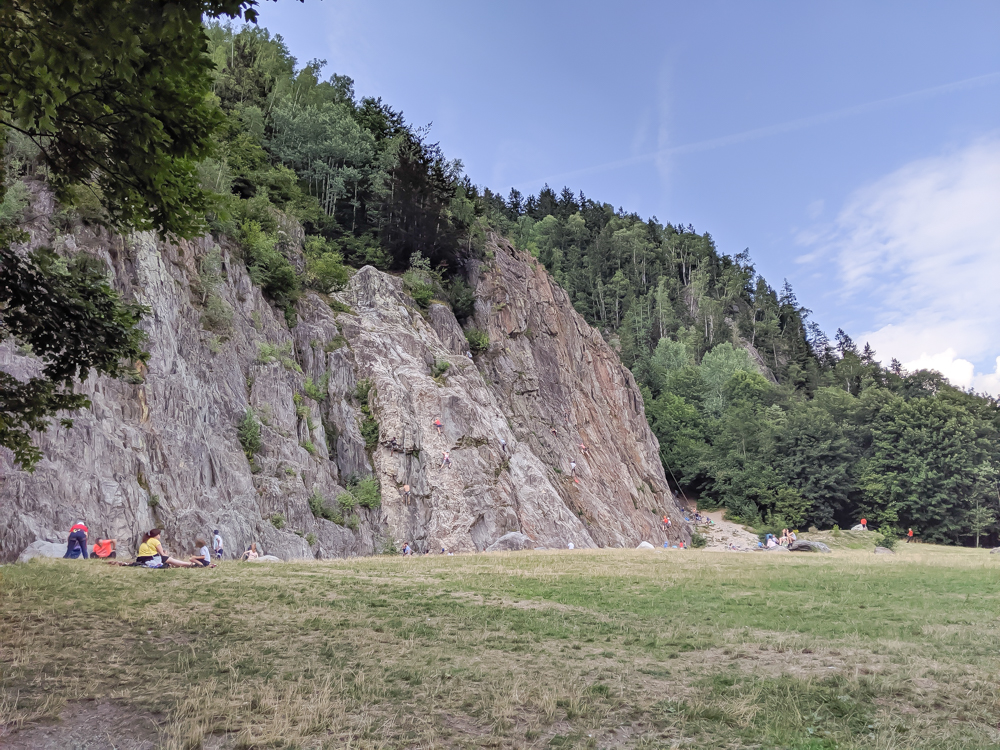
The trail will end in Les Gaillands, a part of Chamonix famous for its rock climbing wall, which you’ll undoubtedly see. Along the way you’ll hike through moss-covered forests and pine forests with tripping hazard root systems. You’ll pass through a legit forest of raspberry bushes and snapdragons and end at a mysterious lake courtesy of a quirky Scotsman. Only Hans Christian Andersen can make this stuff up.
Lac Sinclair
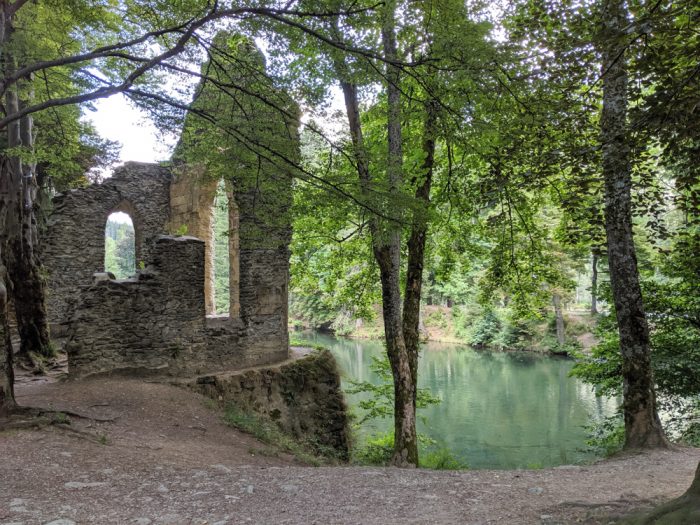
When you exit the woods, follow the road left towards Lac Sinclair. After emerging from the forest, just when you think this hike couldn’t get more Once Upon a Time, the first thing you’ll notice are the ruins of an ancient stone chapel on the shores of a quiet lake. Did you just stumble upon an ancient castle in the woods? I think so!
What you’ve stumbled on, in reality, is Lac Sinclair, a man-made lake featuring a man-made island, a man-made cave, and the fake ruins of a fictional church.
Legend has it that back in the 1800s a quirky Scotsman named Lord Sinclair moved to the area. Missing his homeland, he recreated the mysterious lochs of Scotland here in Chamonix. And this is the level of extra I aspire to be.
Regardless of its authenticity, it’s still a very cool stop along this incredible hike and makes for some great photos.
Lac Sinclair to Chamonix – 45 minutes
After leaving Lac Sinclair you’ll pass by the famous Gaillands climbing wall. The path back to Chamonix is going to be super straightforward and flat-as-hell from here on out. Follow the paved road all the way back to Chamonix and end your day with a drink.
Tips for this hike
For this particular hike, here are a few tips that will help you get the most out of it:
Wear knee braces
If you have knee issues and/or weak knees, you may want to wrap your knees before starting. This hike descends almost 5,000 feet which can be incredibly rough on your knees. These are the knee braces I use and I love them but I’m not a doctor so keep that in mind. (I hyperextended both knees two months before my trip to Chamonix, yay.)
Consider trekking poles
One way to take the pressure off your knees for this hike is to use trekking poles. However, for the parts of the hike in the middle that require you to hold on tight, you’ll need a way to carry your poles without using your hands. Most hiking packs are equipped for this. Make sure yours is!
Fill up water when you can
There aren’t any free, clean water sources along this hike so you’ll need to purchase water at Refuge Bellachat and/or Merlet Animal Park. Both places have water (and food) for sale. If it’s a hot day, be sure to stay hydrated!
Start the hike early
It’s true, this is a long hike—especially if you make all the same stops we did–but it is one of the best hikes in Chamonix. The earlier you start your hike, the slower you can go to really appreciate it.
There is a lot to see on this hike—amazing views, flora, fauna, the list is endless—so don’t make it so you have to rush. Take your time and savor every step of it.
Remember to go down
This hike is downhill all the way. If you find yourself hiking upward, check the map. Just saying.
If you’ll be heading over the mountain to Courmayeur, Italy during your visit to Chamonix, be sure to check out the best day hike in Courmayeur. This beautiful hike has mountains and valleys, adorable cabins, glaciers and heart-shaped lakes, and more!
2. Bossons Glacier hike
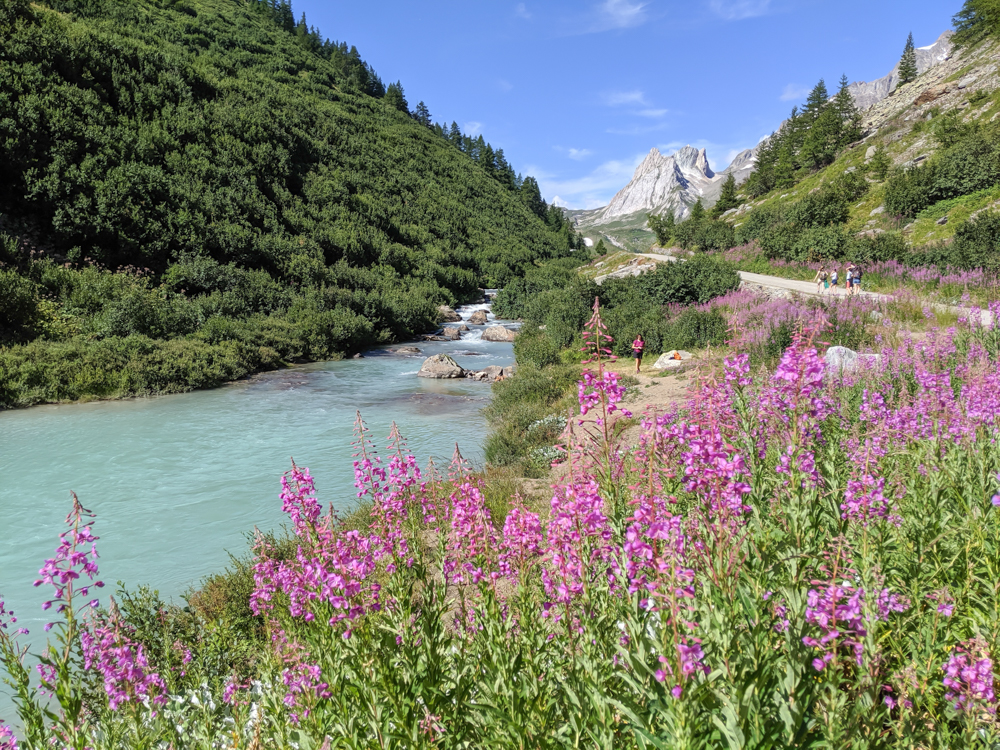
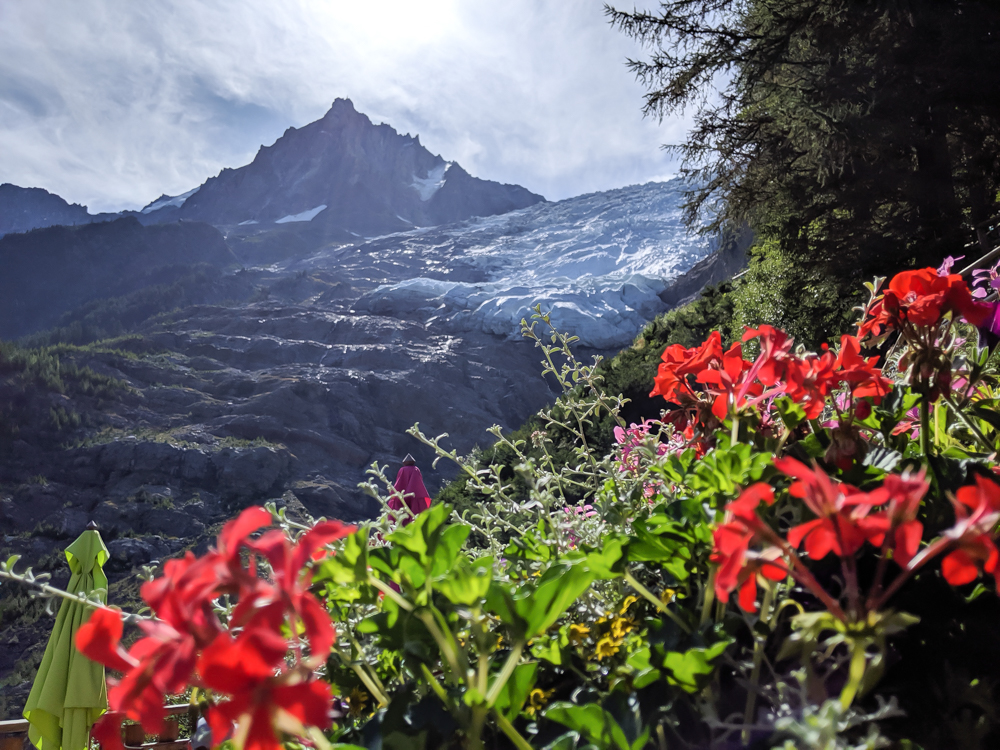
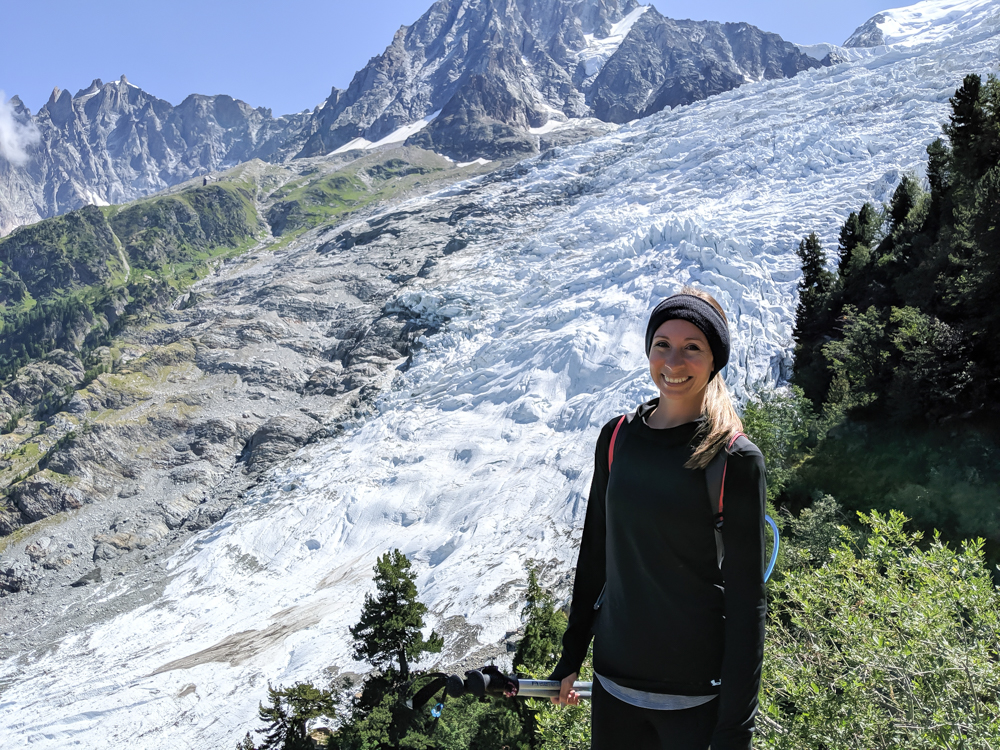
If you’ve spent any time at all in Chamonix, you are already familiar with the Bossons Glacier. It’s the big one just to the left of Mont Blanc itself and it’s probably in every picture you’ve taken since you’ve been here. Well, now you get to get up close and personal with it on another of the best hikes in Chamonix.
The hike up to the Bossons Glacier is much easier than it appears from valley-level. (But you can make it harder if you want, and I’ll show you how.)
Bossons Glacier hike at a glance
Type: Out-and-back hike
Length: 5 miles (8 km)
Time: 7 hours, including coffee, lunch, and chairlifts / 4 hours of actual hiking
Difficulty: Easy to Moderate (It’s easy if you’re a regular hiker. Couch potatoes will find the steep climb taxing.)
Elevation gain/loss: +1,650 ft / -1,650 ft (+503 m / -503 m)
Chamonix to Chalet du Glacier des Bossons
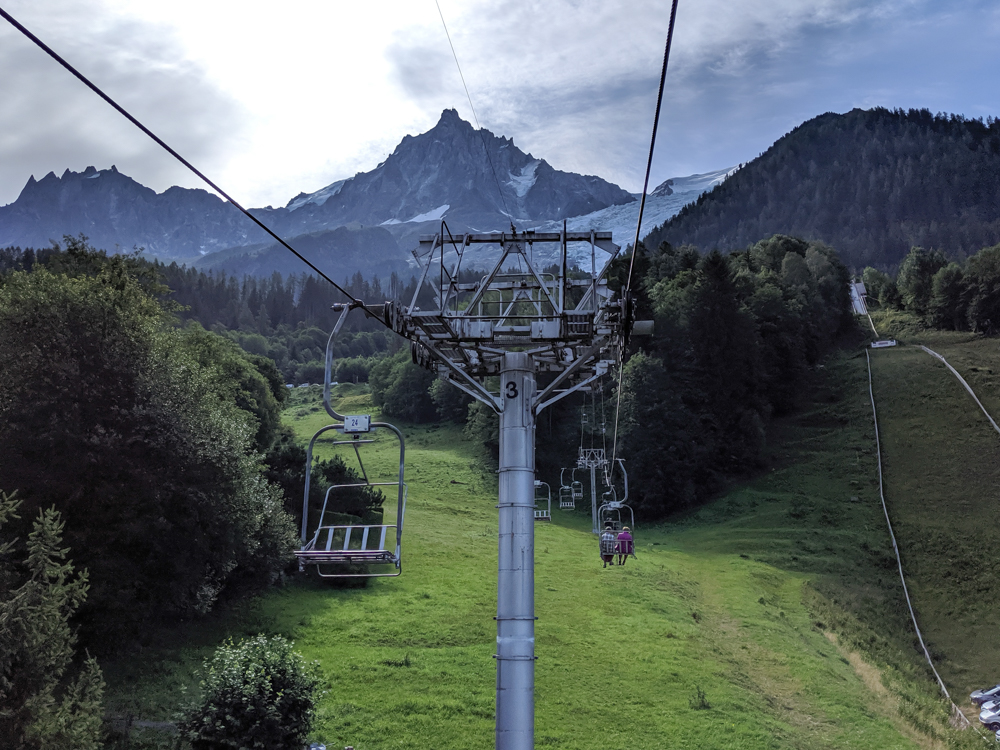
To start this hike, head over to the Chamonix Sud bus station and catch the #2 bus to the Glacier des Bossons stop. The bus will drop you off right at the Bossons chairlift, a simple chairlift that takes you up the mountain and deposits you just below the bottom of the Bossons Glacier. Call this cheating if you want, I call it efficiency.
For this hike you’ll need to purchase a round-trip ticket on the Bossons chairlift (unless you plan on hiking up or back down, which I’ll get to). A round-trip adult ticket on the Bossons chairlift costs 13,40 €.
After a peaceful ride up the chairlift, the Chalet du Glacier des Bossons will be just a 5-minute walk from where the chairlift drops you off.
Chalet du Glacier des Bossons
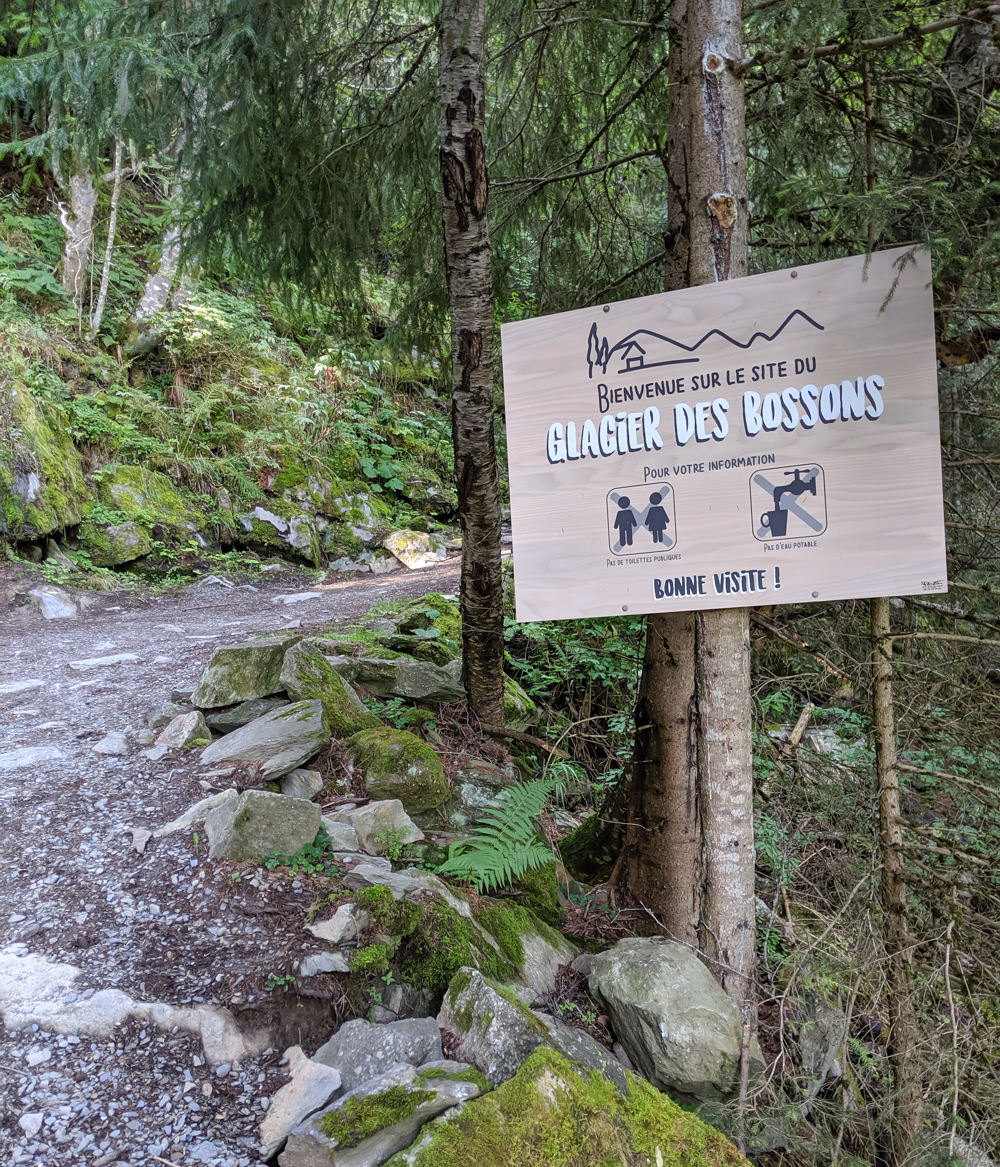
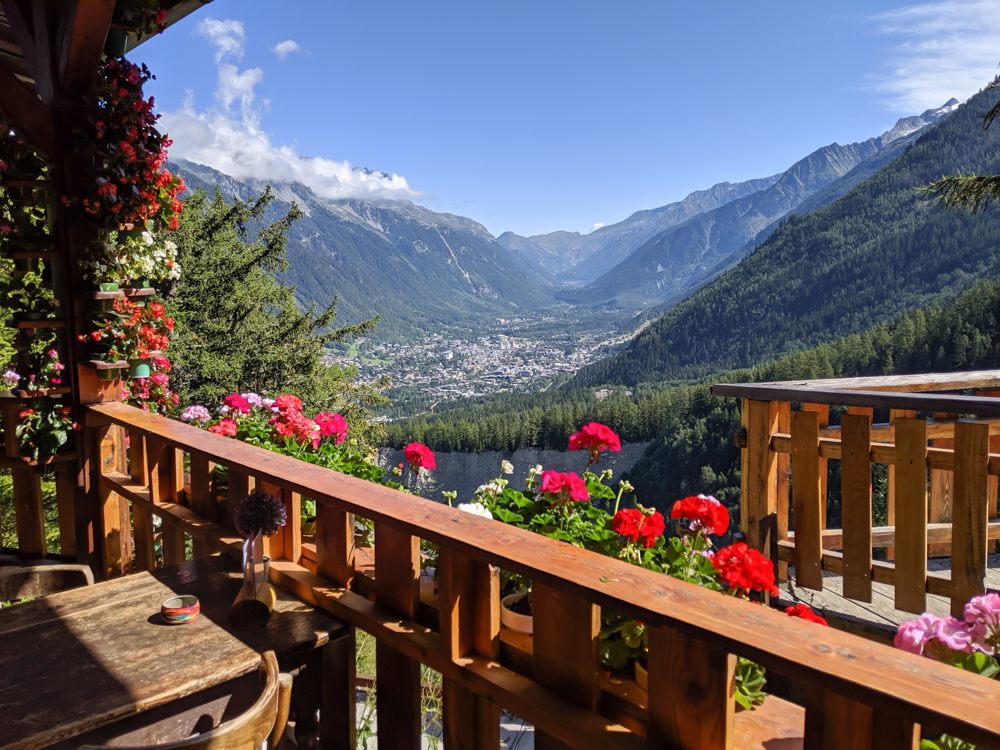
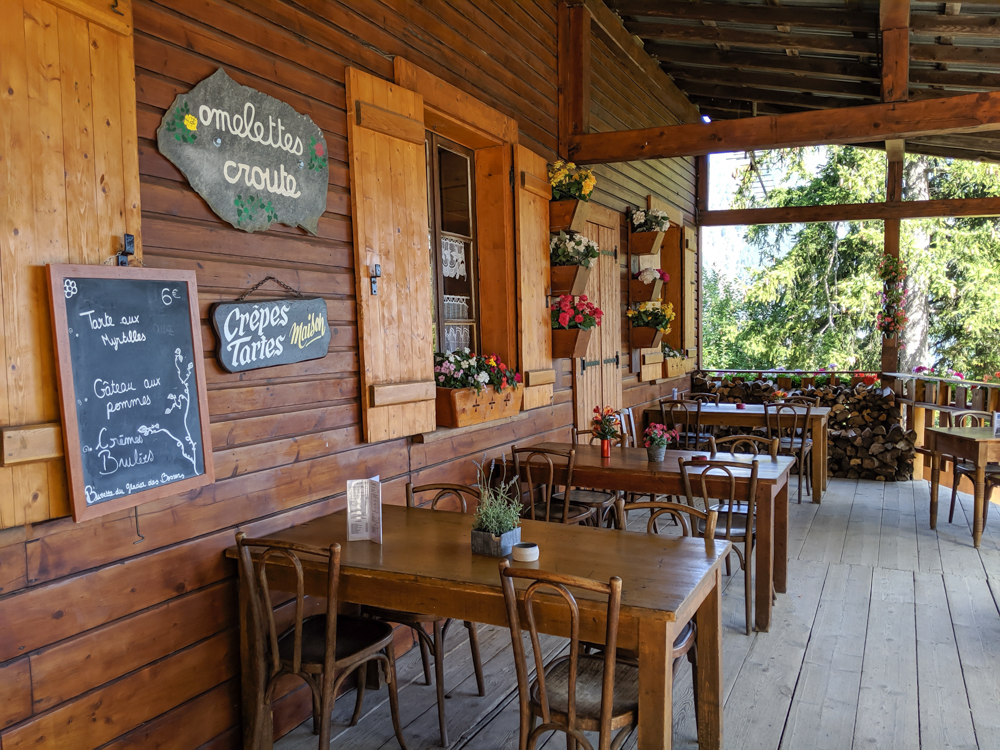
I highly recommend a stop here because WOW is this place beautiful. Chalet du Glacier des Bossons serves coffee, beer, and meals on one of the most stunning patios above Chamonix. The views both of the Chamonix valley on one side and the Bossons Glacier on the other are awesome. Even if you don’t plan on doing this hike, I still recommend coming up here for coffee and breakfast one day.
Paying customers can also use the restroom here which is the best one I encountered on all my Chamonix day hikes and pretty adorable as far as bathrooms go. You’ll see.
If taking the chairlift to start the hike isn’t for you, you can definitely hike up to Chalet du Glacier des Bossons from downtown Chamonix. In that case, you’ll trade in a 10-minute bus ride and the 10-minute chairlift ride for an additional two hours of hiking.
Chalet du Glacier des Bossons to Chalet des Pyramides
From Chalet du Glacier des Bossons, you’ll want to follow the trail signs in the directions of Les Pyramides.
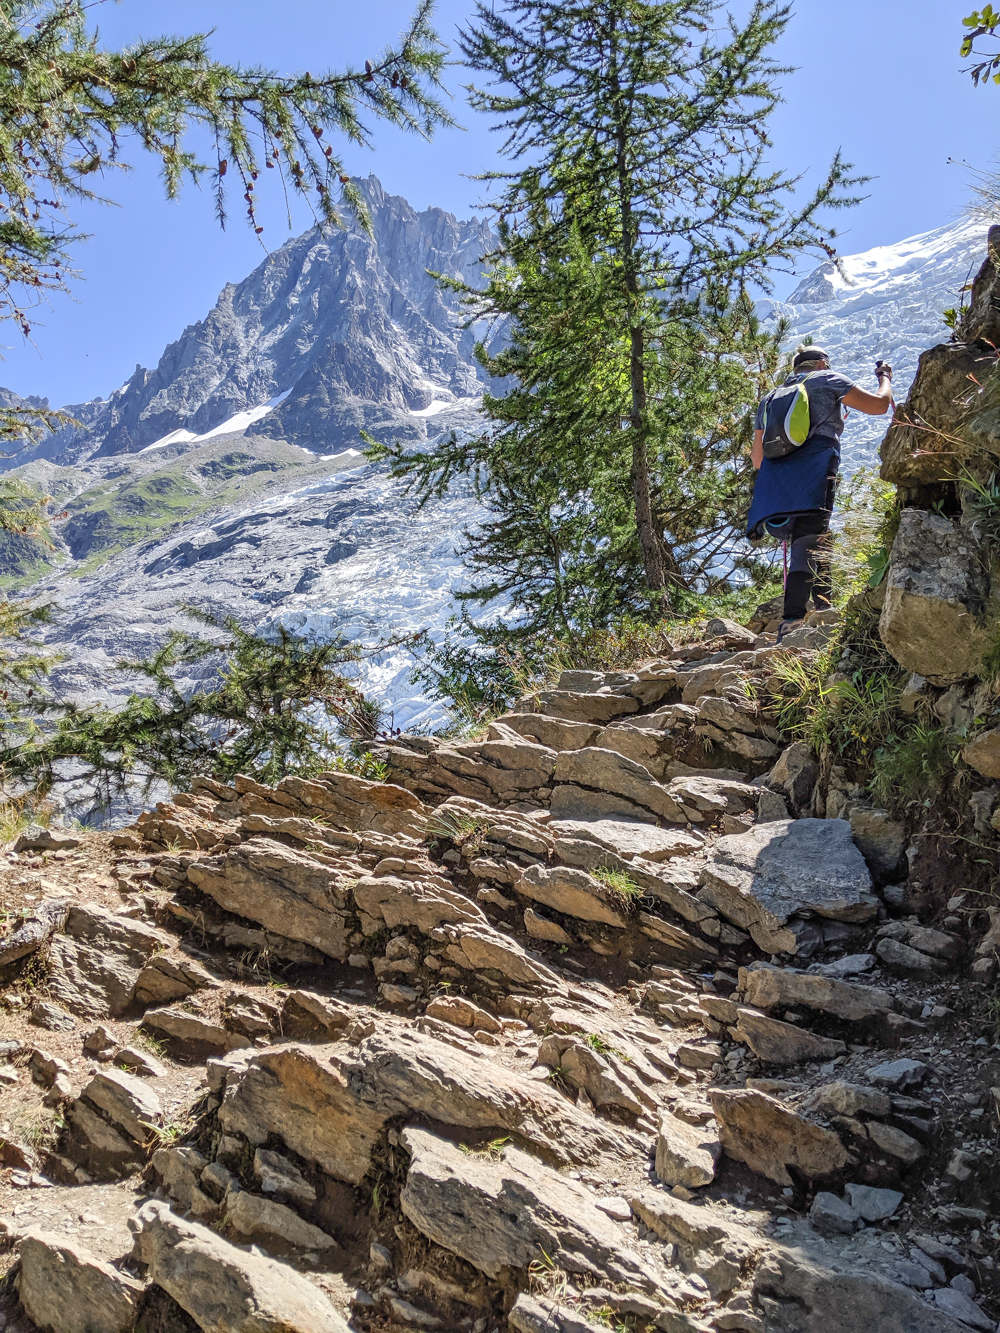
From here, the trail zig-zags up the mountain, back and forth, back and forth, through mostly wooded areas. However, there are many opportunities to look out over the Bossons Glacier on one side, and the Taconnaz Glacier and Mont Blanc on the other. Make sure to say Bonjour! to every single hiker you pass along the way.
The higher you go, the rockier and more interesting the terrain will get. This part of the trail also has chains reinforcing the path.
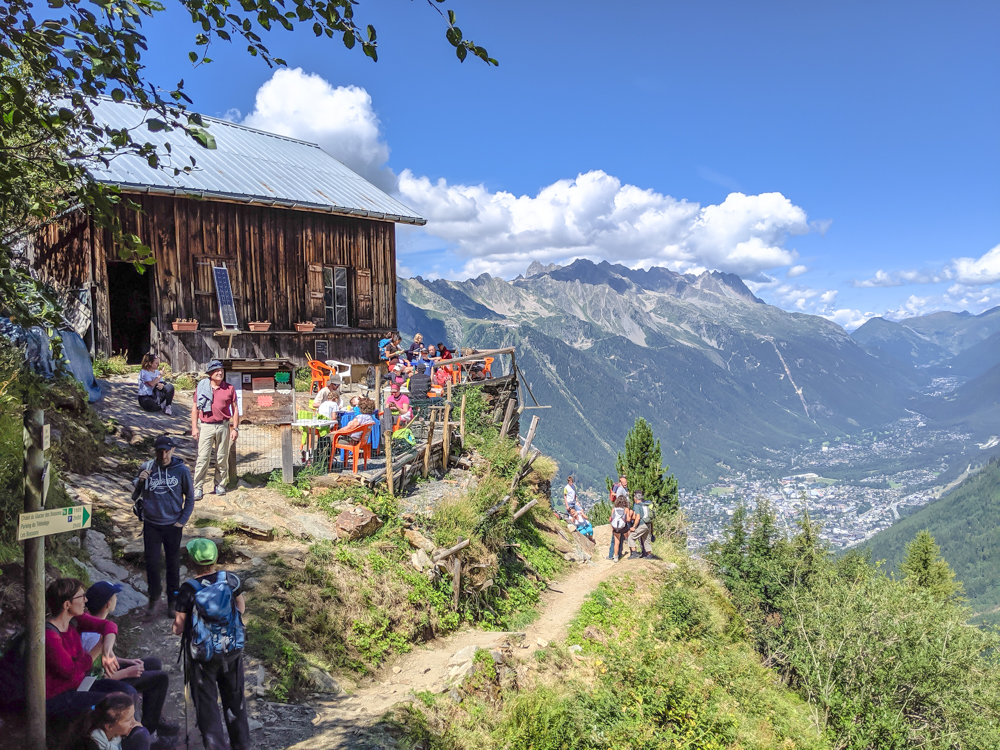
Once you get to the Chalet des Pyramides, you can hike up even further for some great photo opportunities and to get pretty close (relatively) to the Bossons Glacier. After you do this, hike back down to Chalet des Pyramides for an amazing lunch.
Chalet des Pyramides
Chalet des Pyramides serves hot and cold meals, sandwiches, dessert, wine, coffee, and more. And I can honestly say, after almost three weeks in Chamonix and Northern Italy, the croûte au fromage I had at Chalet des Pyramides was the best meal of my entire trip. Maybe it was how hard I had to work for it, or maybe it’s just that it’s cheese, bread, wine, and cream and you really can’t go wrong with a combination like that.
Note: Chalet des Pyramides only accepts cash.
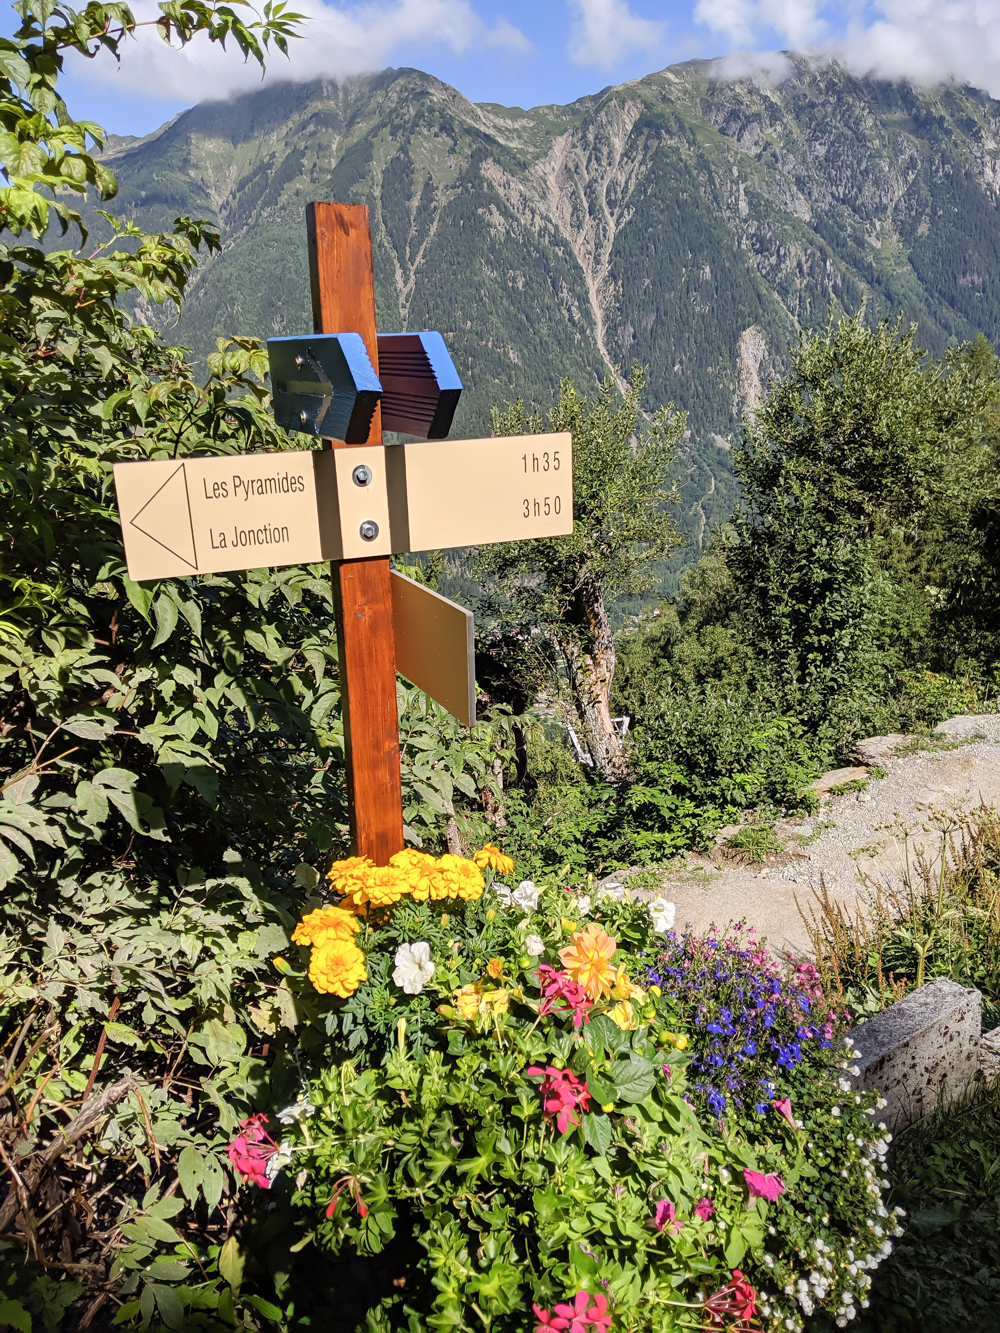
Admittedly, the Glacier des Bossons hike as I’ve described here is relatively easy. If you want an extra challenge, continue the hike up to La Jonction. This is the junction of the Bossons and Taconnaz Glaciers and is known as the last stop before you reach the “kingdom of ice.” This leg will take you an extra three hours up (and less going down) but is probably totally worth it. I’m doing this next time.
The return trip
The Bossons Glacier is an out-and-back hike so after your lunch at Chalet des Pyramides, simply turn around and head back the way you came. Once back at Chalet du Glacier des Bossons, simply continue on to the chairlift and make your way peacefully down the mountain.
Tips for this hike
Trekking poles
I definitely recommend bringing trekking poles for this hike. For the most part the terrain is fairly flat, but the trail can be steep. Trekking poles definitely helped me on this hike.
Bring cash
Chalet du Glacier des Bossons does accept credit cards but Chalet des Pyramides does not. If you want to eat and drink at these amazing places, as on most of the Chamonix hikes, be sure to have cash with you at all times.
Don’t lose your chairlift ticket
Since you bought a round-trip ticket at the beginning, you’ll need to save it for your ride back down. There will be many chances to lose a small ticket on a mountain hike so keep it in a safe space!
3. Plan de l’Aiguille to Mer de Glace
Another of the best hikes in Chamonix is the hike from Plan de l’Aiguille to the Mer de Glace Glacier. (So many glaciers.) This hike can be tacked on to a visit to Chamonix’s biggest attractions and actually connects this one with another.
This hike begins at the halfway point on the way to the Aiguille du Midi, and ends at Mer de Glace, the largest glacier in France. On this hike you’ll get amazing views of the Chamonix Valley on one side and Mont Blanc and the Aiguille du Midi on the other.
You’ll ride cable cars, gondolas, and mountain trains in addition to getting around on your own two feet.
This hike at a glance
Type: Point-to-point hike
Length: 4.6 miles (7.4 km)
Time: 3 hours
Difficulty: Easy
Elevation gain/loss: +242 ft / -1432 ft (+74 m / -436 m)
How to get to Plan de l’Aiguille
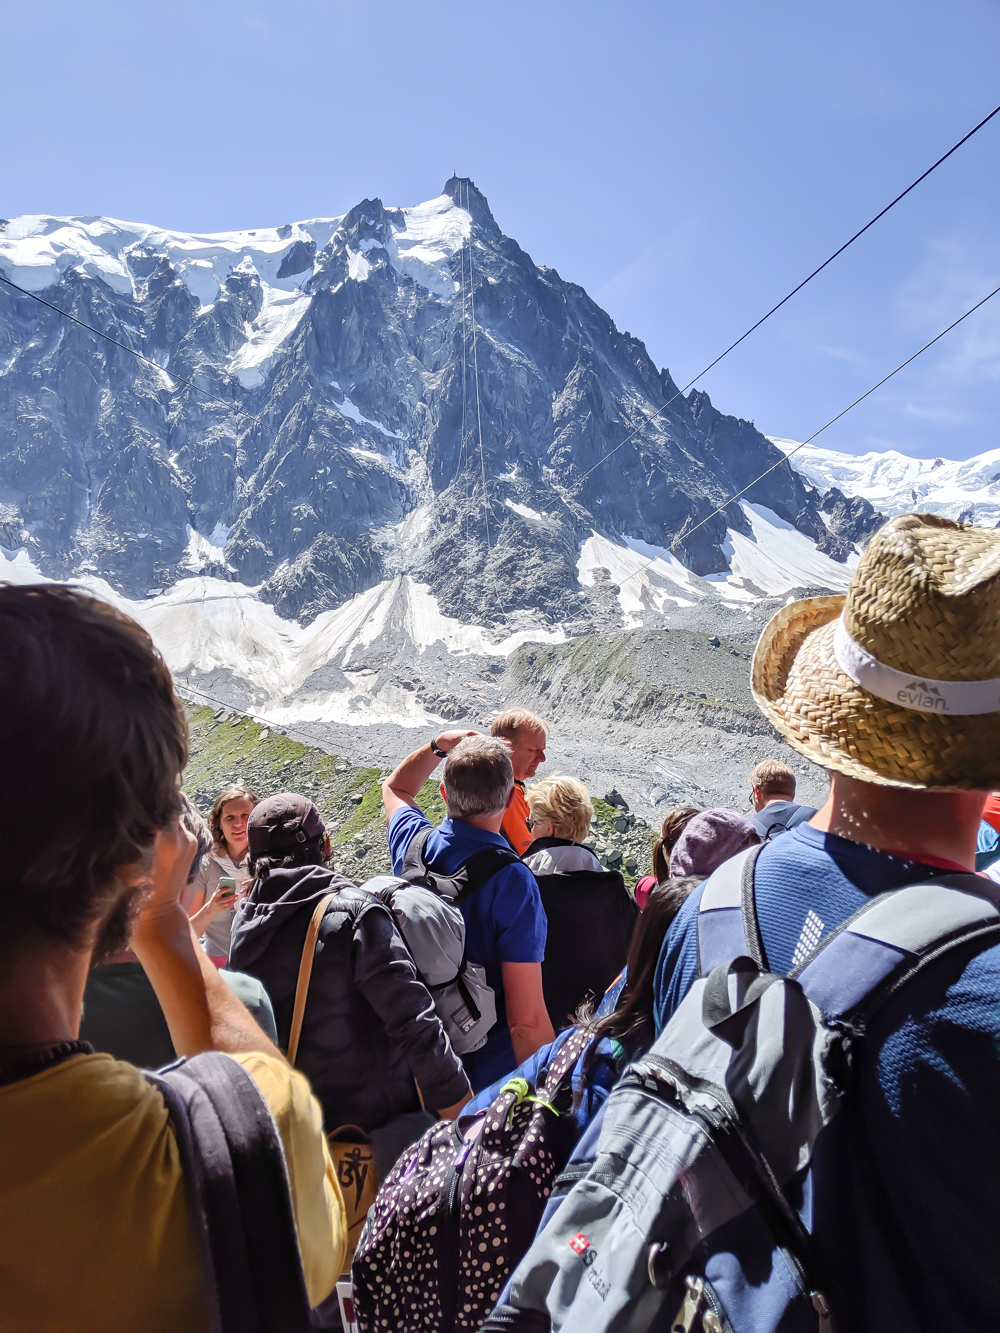
Plan de l’Aiguille is the halfway point between Chamonix and the top of the Aiguille du Midi, Chamonix’s #1 attraction.
The Aiguille du Midi, though the name of the peak, actually refers to the cable car that takes you up to the top of the mountain where you can enjoy viewing platforms like none other. It’s the most popular thing to do in Chamonix and for good reason.
The trip from Chamonix to the Aiguille du Midi happens in two parts:
- Cable car from Chamonix to Plan de l’Aiguille
- Then another cable car from Plan de l’Aiguille to the Aiguille du Midi
- Repeat the two steps on the way back down.
To get to Plan de l’Aiguille, you can take the Aiguille du Midi cable car halfway up. However, I recommend going to the top and checking out the Aiguille du Midi, riding the cable car back down, but getting off at the halfway point—Plan de l’Aiguille. That way you get to experience the Aiguille du Midi since you are paying to ride the cable car after all.
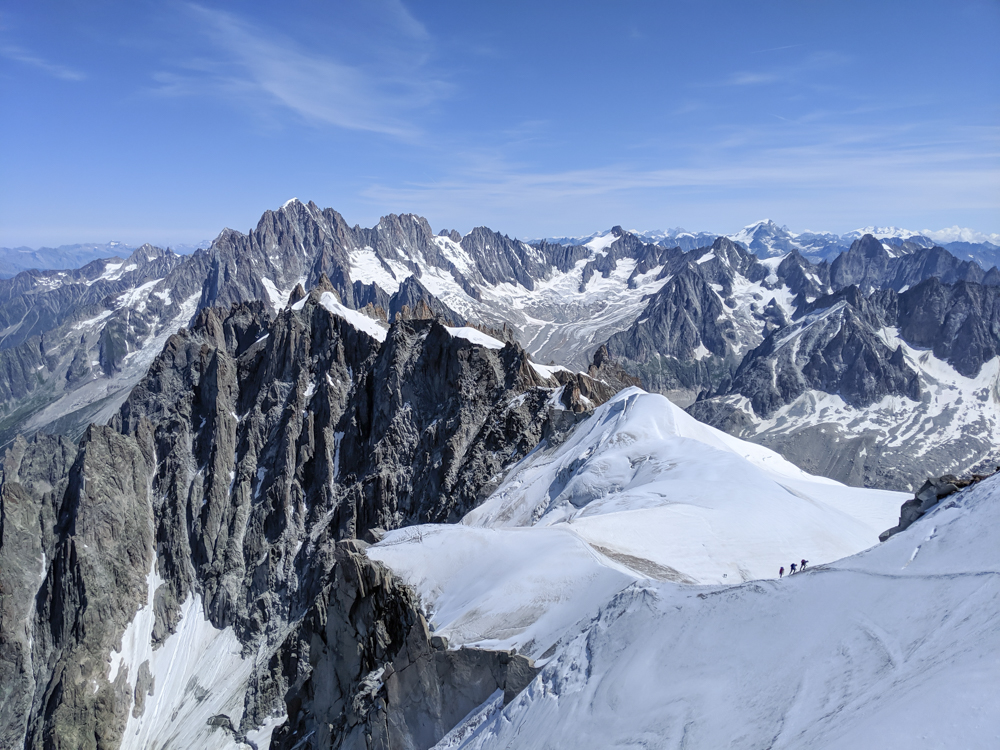
The Special Hiker ticket
For this, there’s actually a special admission: the “Special Hiker” or “Spécial randonneur.” This ticket gets you up to the top of Aiguille du Midi and halfway back down for a discounted price. (The Special Hiker ticket costs just 2 euros more than a one-way Aiguille du Midi ticket, so you might as well, honestly.)
So, to start this hike:
- Take the cable car from Chamonix to Aiguille du Midi.
- Enjoy the Aiguille du Midi and its viewing platforms, restaurants, museums, etc.
- Take the cable car back down to the halfway point—Plan de l’Aiguille.
The Aiguille du Midi is Chamonix’s most popular thing to do and you’ll see why when you get up there. Definitely take advantage of being able to experience this in addition to the Plan de l’Aiguille hike. And for everything you need to know about this attraction, check out my guide to visiting the Aiguille du Midi. This will help you be able to fit this attraction and hike into a single day.
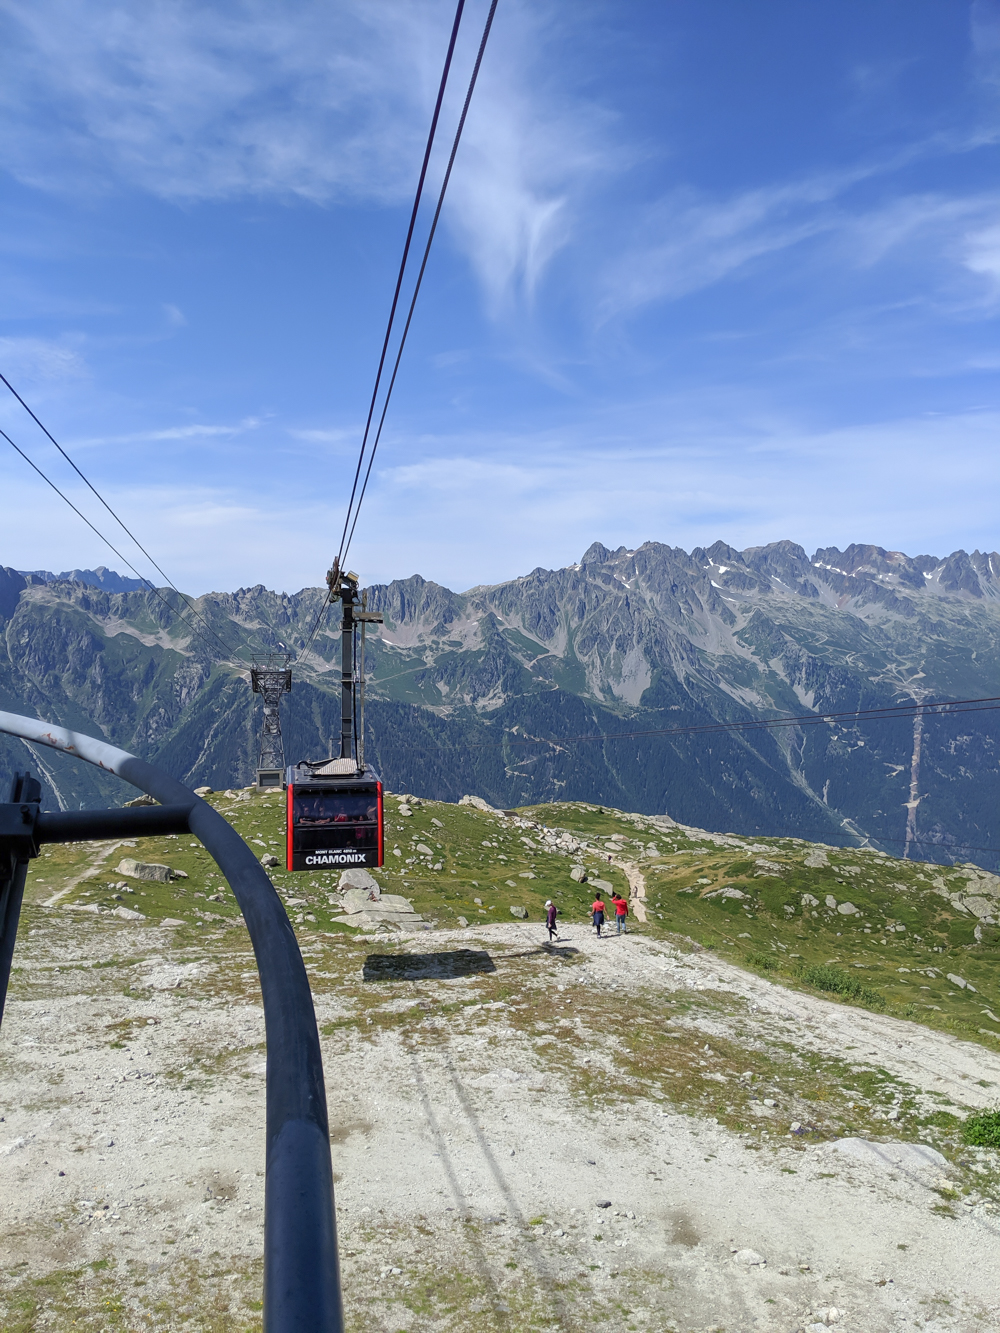
Refuge du Plan de l’Aiguille to Signal Forbes
After you disembark the cable car at the Plan de l’Aiguille station, a few minutes’ walk will bring you to Refuge du Plan de l’Aiguille where you can stop for refreshments or even stay the night if you’re pooped already.
From Refuge du Plan de l’Aiguille, follow the signs toward “Montenvers Mer de Glace.” This trail will lead you downhill on a rocky, mostly exposed path. This trail is super easy to follow and your chances of getting lost are virtually zero. (Coming from the girl who always. gets. lost.) The wide, rocky path will give way to a more narrow dirt path in some areas, then rocks in others.
When you come to a junction where your options are: go left to head to Montenvers/Mer de Glace, or right to head to “Le Signal,” go right.
Sure, the left path to Montenvers will take you straight there, but the path to Signal Forbes will take you there via a higher, much more scenic route. From Signal Forbes you’ll get amazing views of the Mer de Glace glacier that you wouldn’t get on the easy path.

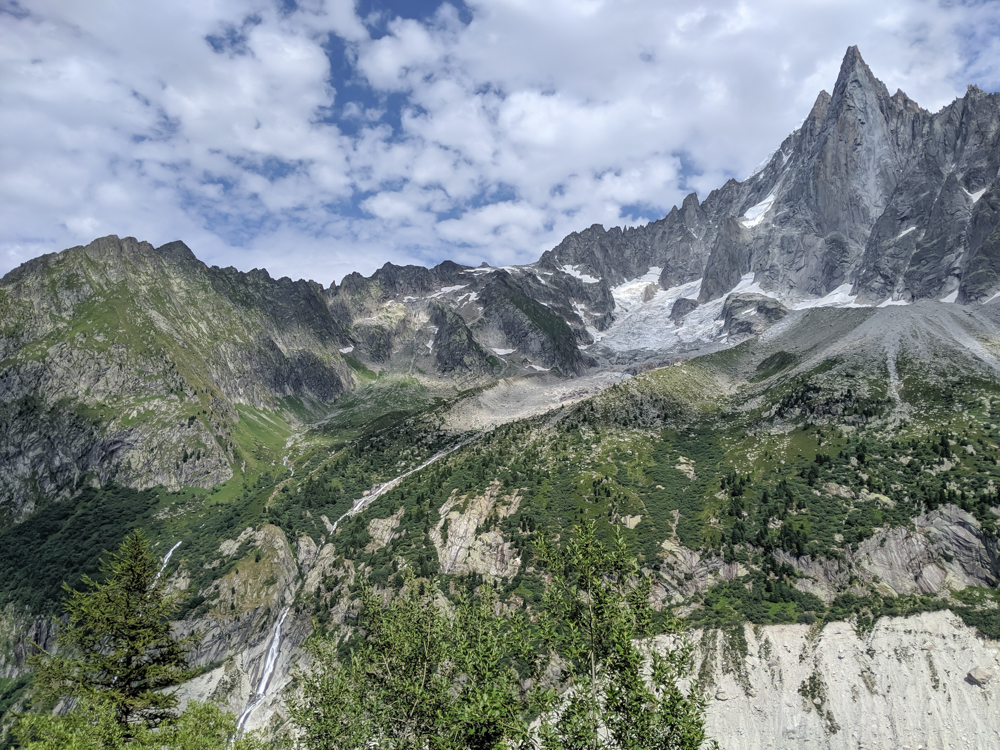
Signal Forbes to Mer de Glace
After stopping to enjoy the views, continue on to Montenvers and the Mer de Glace.
Want to check this hike out from the comfort of your own home? You can actually walk this entire route using Street View on Google Maps. Here, I’ve already got you started.
Click on “More options” at the top left. When the map opens up in your browser, click and hold on the little yellow man in the bottom righthand corner and drop him onto the Refuge du Plan de l’Aiguille. From there you can virtually hike the entire thing to the end.
Mer de Glace
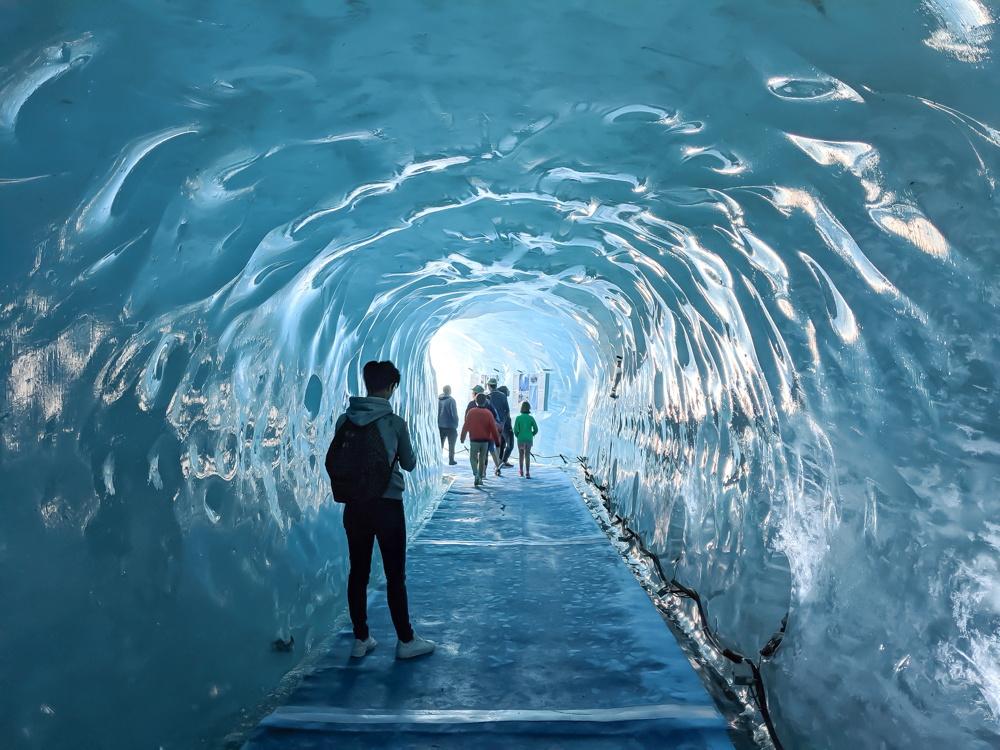
Once there, you can enjoy a restaurant and gift shop as well as a small glacier museum. You can also, and I highly recommend this, take the gondola down into the glacial valley. From there you will descend 430 steps where you can then go inside the glacier.
Each summer the Mer de Glace ice cave is carved anew. You can walk around inside and learn about glaciers, as well as check out the different “rooms” they’ve made and different ice sculptures. This is pretty much the perfect place to cool off after a summer hike, no?
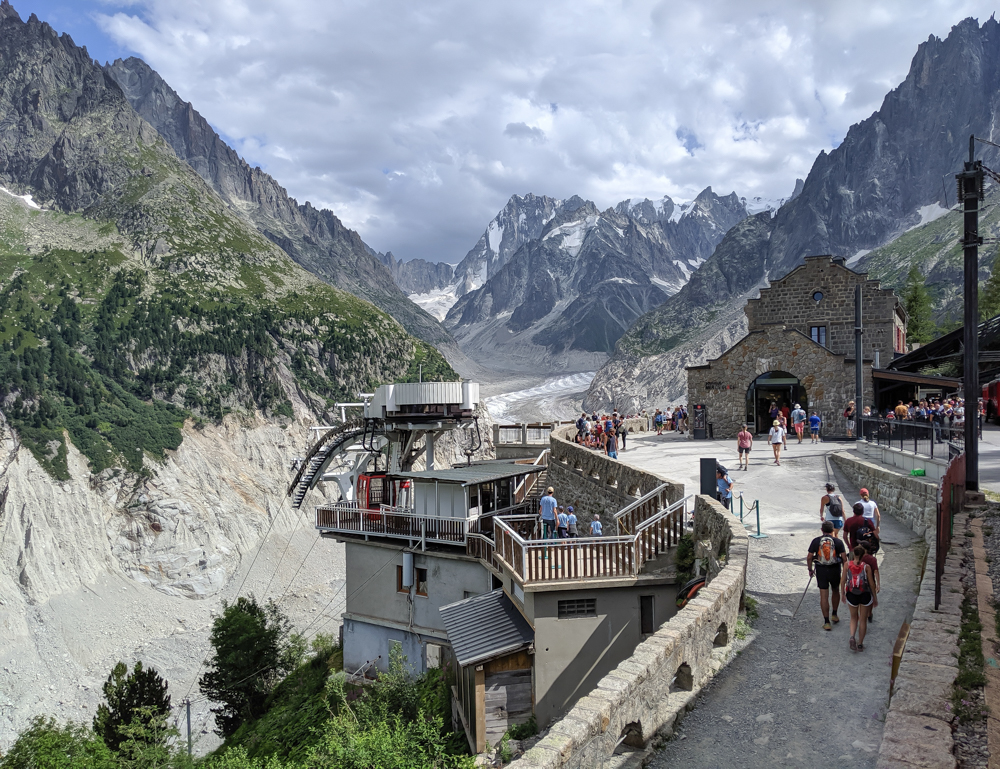
Mer de Glace to Chamonix
After you’re done exploring Mer de Glace, you’ll have to climb back up the 430 steps (sorry) and take the gondola back up to Montenvers.
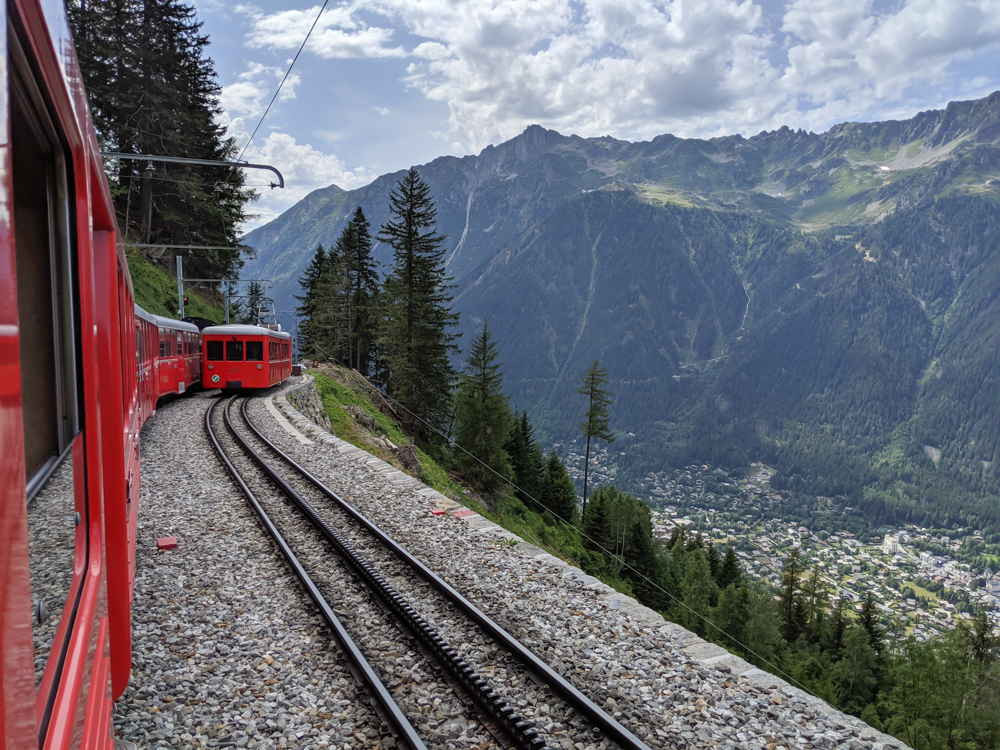
From there, you can take the Montenvers train directly into the center of Chamonix. This ride is on a little red mountain train that takes you around the edge and down into the Chamonix Valley. The views are incredible (which you’ve already seen) and this will be the perfect way to rest after a long day.
Along with the Aiguille du Midi, the Montenvers train and Mer de Glace are the other top attractions in Chamonix. To read more about them and how to save money if you plan to visit all three on this same day (like I did), check out my post on what to do in Chamonix.
Tips for this hike
Save money
Save money on visiting these three attractions by purchasing the Mont Blanc Multipass. More information on this (and how much money I saved) in the link above!
Wear sunscreen
And plenty of it. Almost all of this hike is exposed and that sun can be brutal, even on cloudy days.
4. Lac Blanc Chamonix
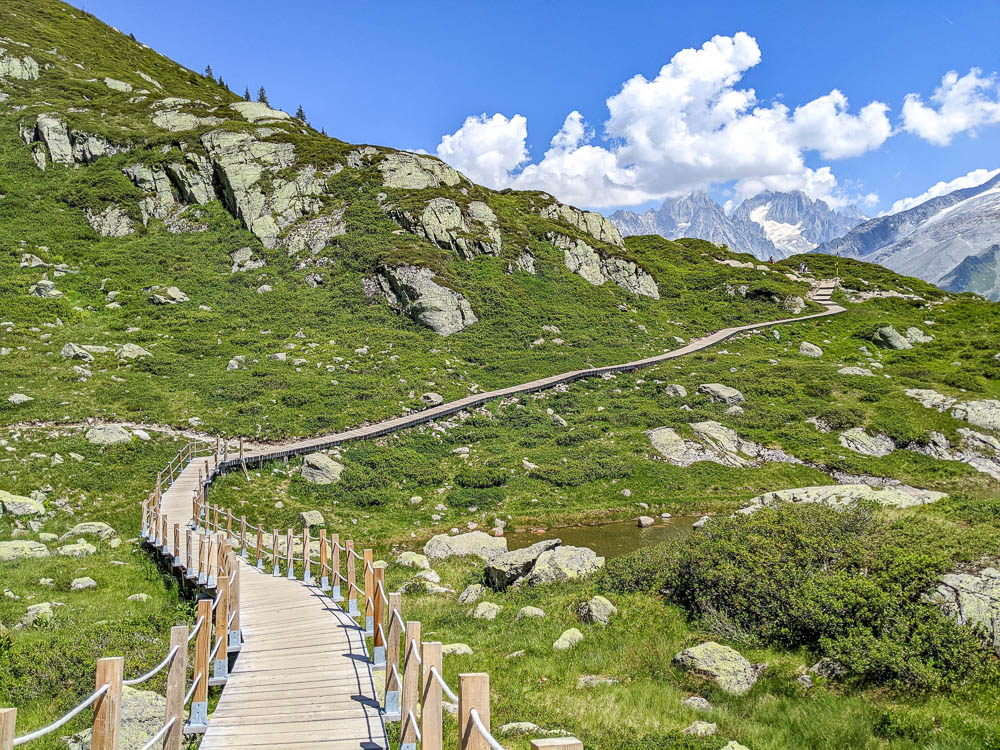
The hike to Lac Blanc from Chamonix is one of the most popular day hikes in the area, and when you get there you’ll see why! Lac Blanc is easily one of the most stunning locations I have visited, ever.
I didn’t get the chance to hike there in 2019 because the route was closed, but I made up for it in 2022 when I made the day hike from Chamonix to Lac Blanc twice in five days.
The Lac Blanc day hike is on the more challenging end of the Chamonix day hikes, but it’s certainly doable. It’s not technically difficult or anything, the challenge is simply in the steepness and distance.
Lac Blanc day hike at a glance
Type: Loop hike (but can also be done as an out-and-back, keep reading)
Length: 3.5 miles (6 km)
Time: 2-3 hours of hiking, not including the cable car up and the chairlift down and time spent at the lake
Difficulty: Moderate to challenging (but doable)
Elevation gain/loss: +2106 ft (642m) / -403 ft (123m)
Lac Blanc day hike options
There are actually a few ways to do the Lac Blanc day hike. You can:
- Take the cable car from Chamonix to La Flégère, hike up from there to Lac Blanc, turn around and hike back down to La Flégère, return to Chamonix via cable car.
- Take the cable car from Chamonix then the chairlift to L’Index, hike to Lac Blanc and back, return the same way.
- Take the cable car from Chamonix then the chairlift to L’Index, hike to Lac Blanc, turn around and hike down to La Flégère, take the cable car back to Chamonix.
- Take the cable car from Chamonix to La Flégère, hike up from there to Lac Blanc, hike from Lac Blanc back to L’Index, then taking the chairlift and cable car back down to Chamonix (forming a triangle). This is the one I did and the one I will describe. Yes, this is the most challenging way to do it.
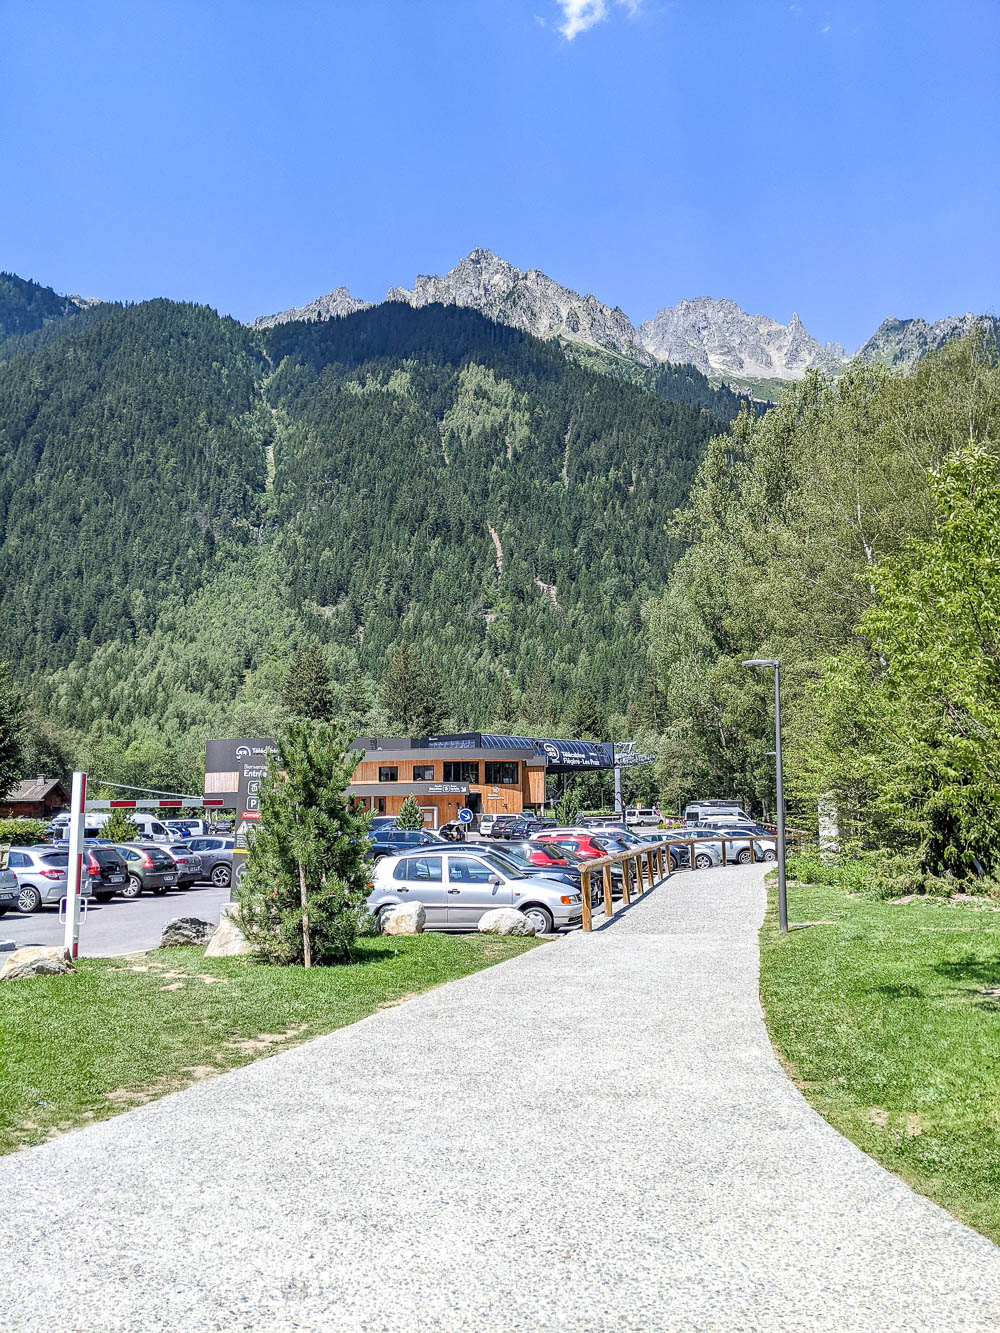
Chamonix to La Flégère
This unforgettable day hike starts with a quick bus trip from Chamonix to… the far end of Chamonix known as Les Praz. Once there, you’ll take the cable car from Les Praz up to La Flégère.
If you follow this route, you’ll be going up from Chamonix to La Flégère, then down from L’Index to Chamonix. Make sure to purchase the correct pass. The staff at the cable car desk will be happy to assist you.
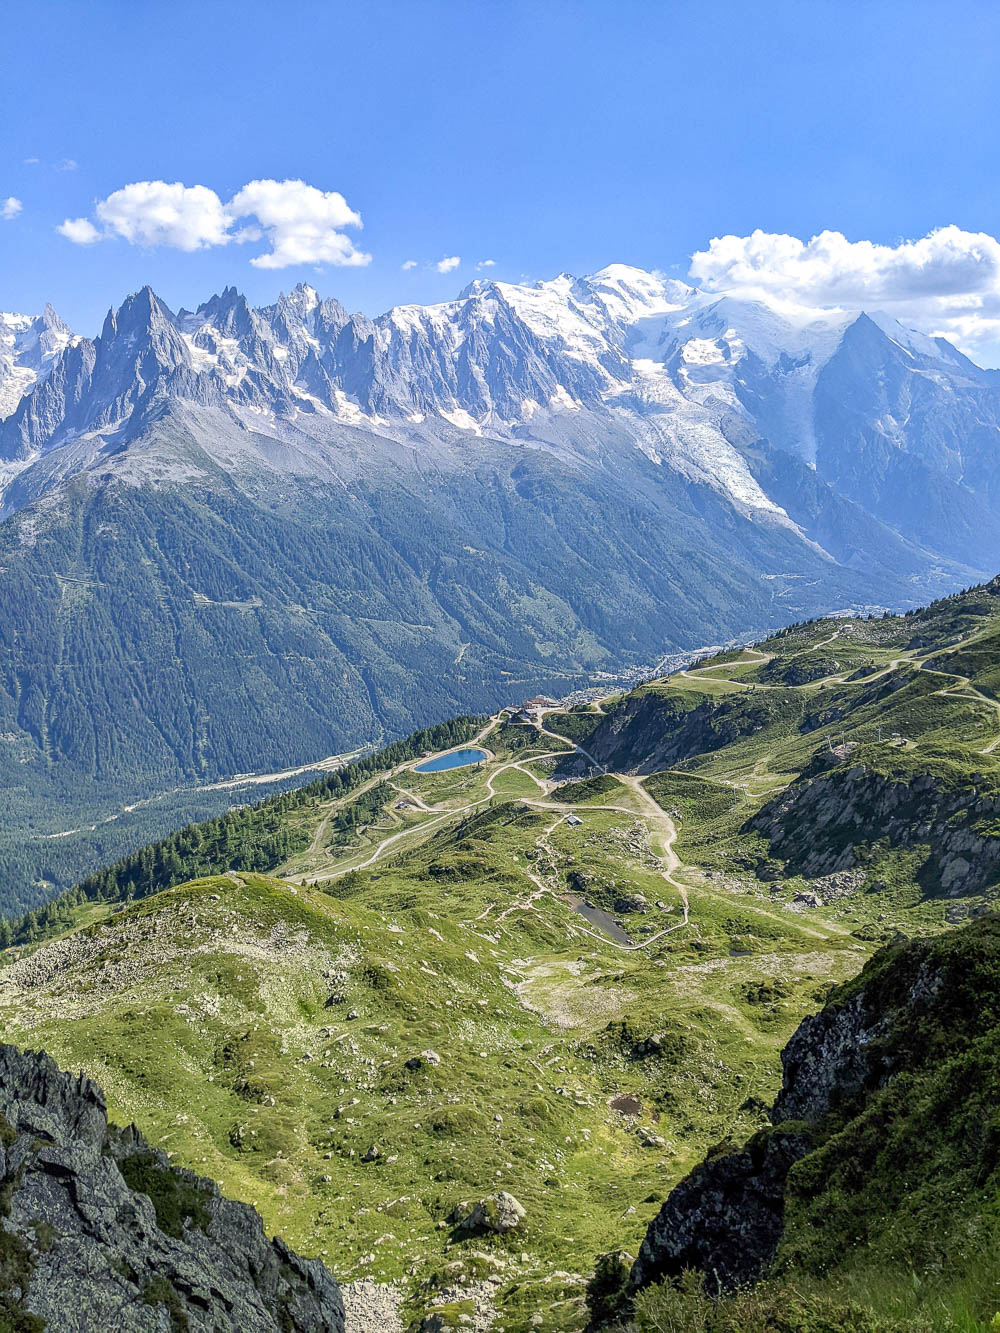
La Flégère to Lac Blanc
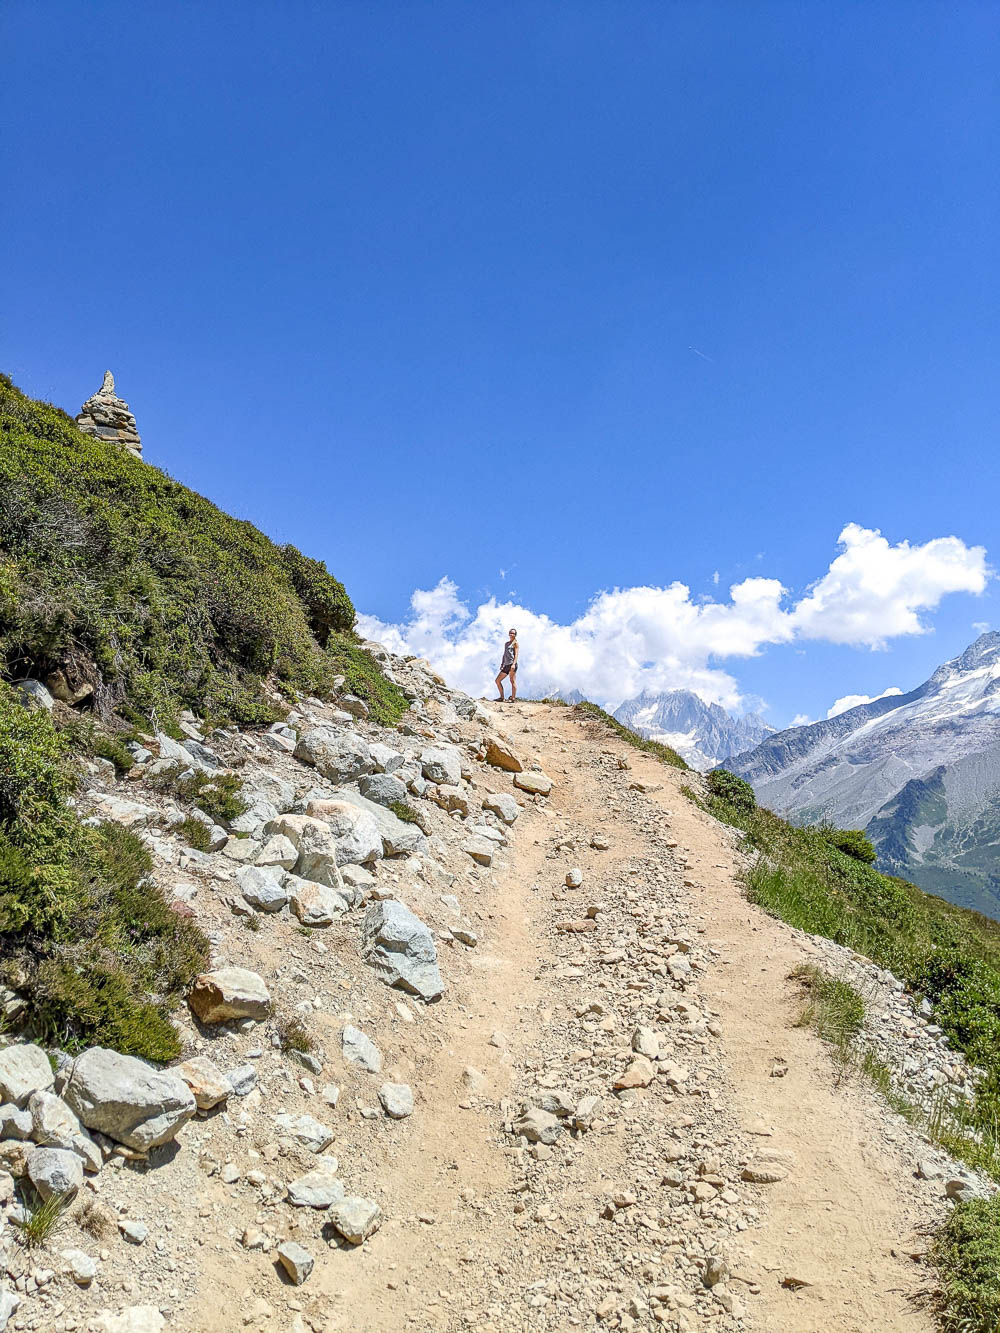
Once at La Flégère, the trail to Lac Blanc will be easy to follow. It will be long and straight uphill from here on out. The key thing to remember here is take it slow. Don’t try to rush this hike or you will lose momentum almost immediately. TAKE IT SLOW.
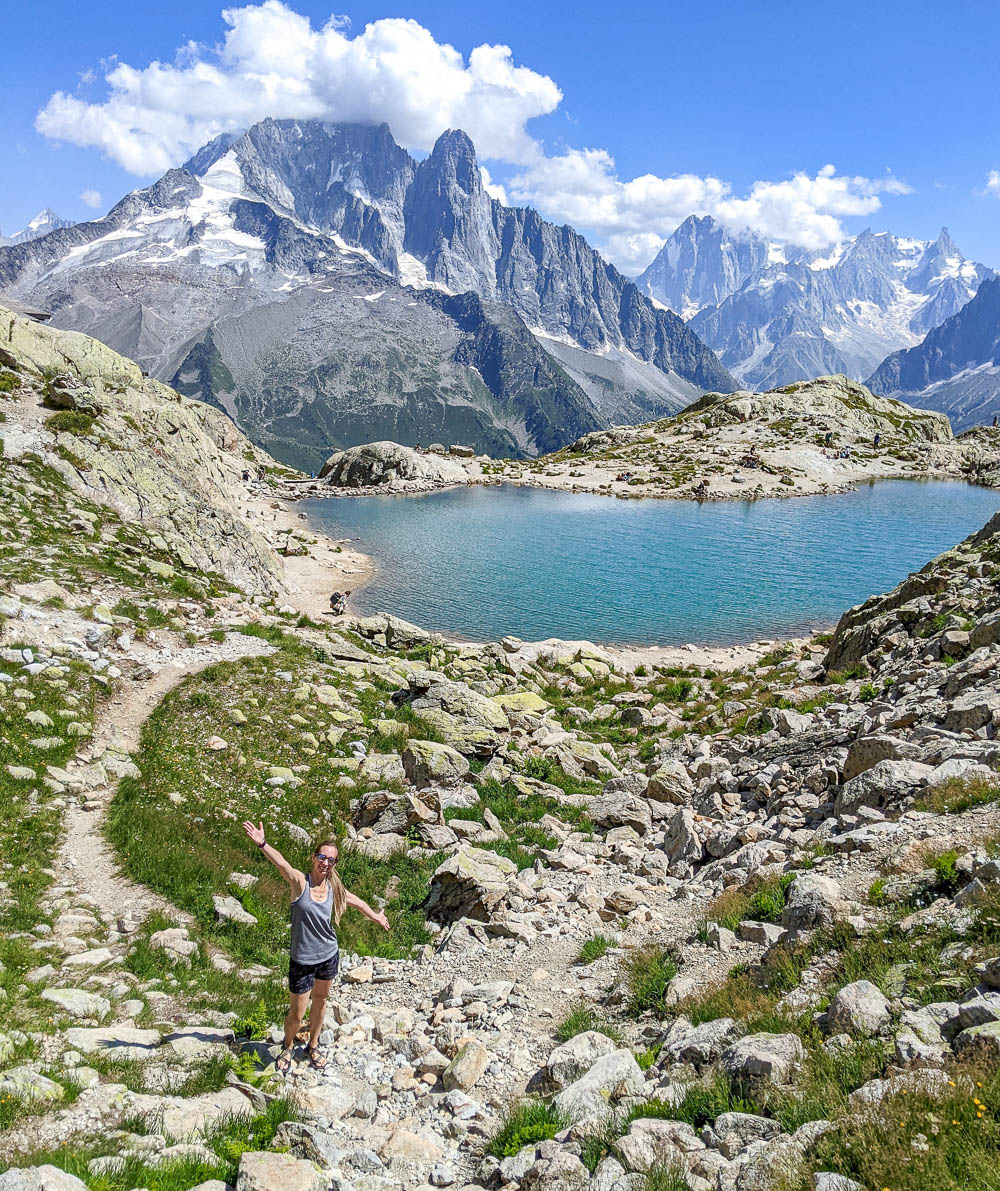
You’ll know when you arrive at Lac Blanc. From here, head towards the refuge and follow the path around the lake going counter clockwise. Once on the other side of the lake, turn around and you’ll see this:
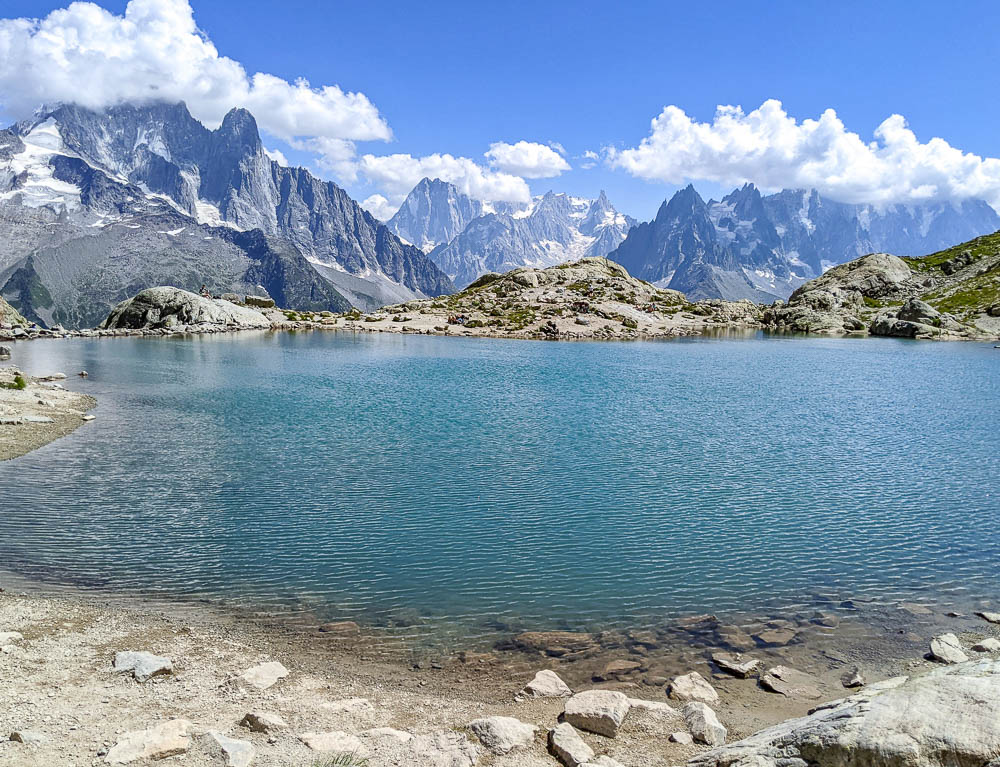
Stunning, right? Spend some time here just walking around and checking it all out. Take tons of photos, relax after your grueling hike up here.
If you’re making this an out-and-back hike, simply make your way around the lake back to where you started, turn around, and follow the path back to the La Flégère cable car.
Lac Blanc to L’Index
If you’re making this a loop hike like I did, go back to where you started and follow the signs towards L’Index.
Why did I make this a loop hike if it’s more challenging? Because I like to get something out of my entire hike—new views, new experiences, new challenges. And that’s exactly what I got.
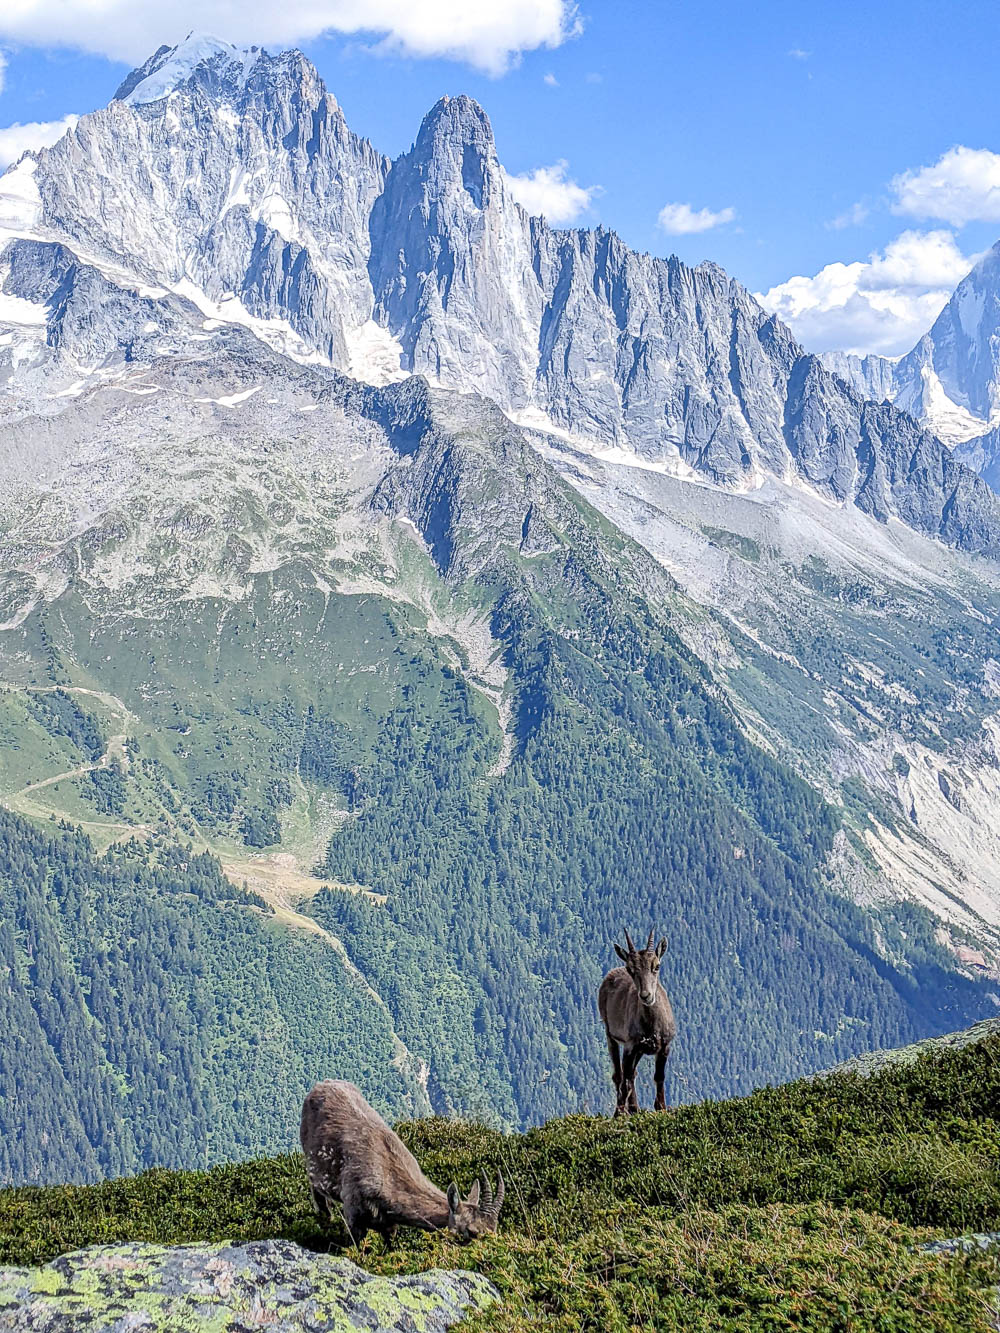
Because the route from Lac Blanc to L’Index is so much less crowded than the return to La Flégère, I got to see a whole family of Ibex! Papa with big round horns, mama ibex, and two adorable babies.
I also got to experience all new terrain including rock scrambles and lots more interesting hiking than the path up at the beginning. Just FYI.
L’Index to Chamonix
At L’Index, jump on the next available chairlift down to La Flégère. Back at La Flégère you’ll switch over to the cable car and make your way back down to Chamonix.
This really is such a straightforward day hike. The hiking itself can be challenging but the rewards are so sweet.
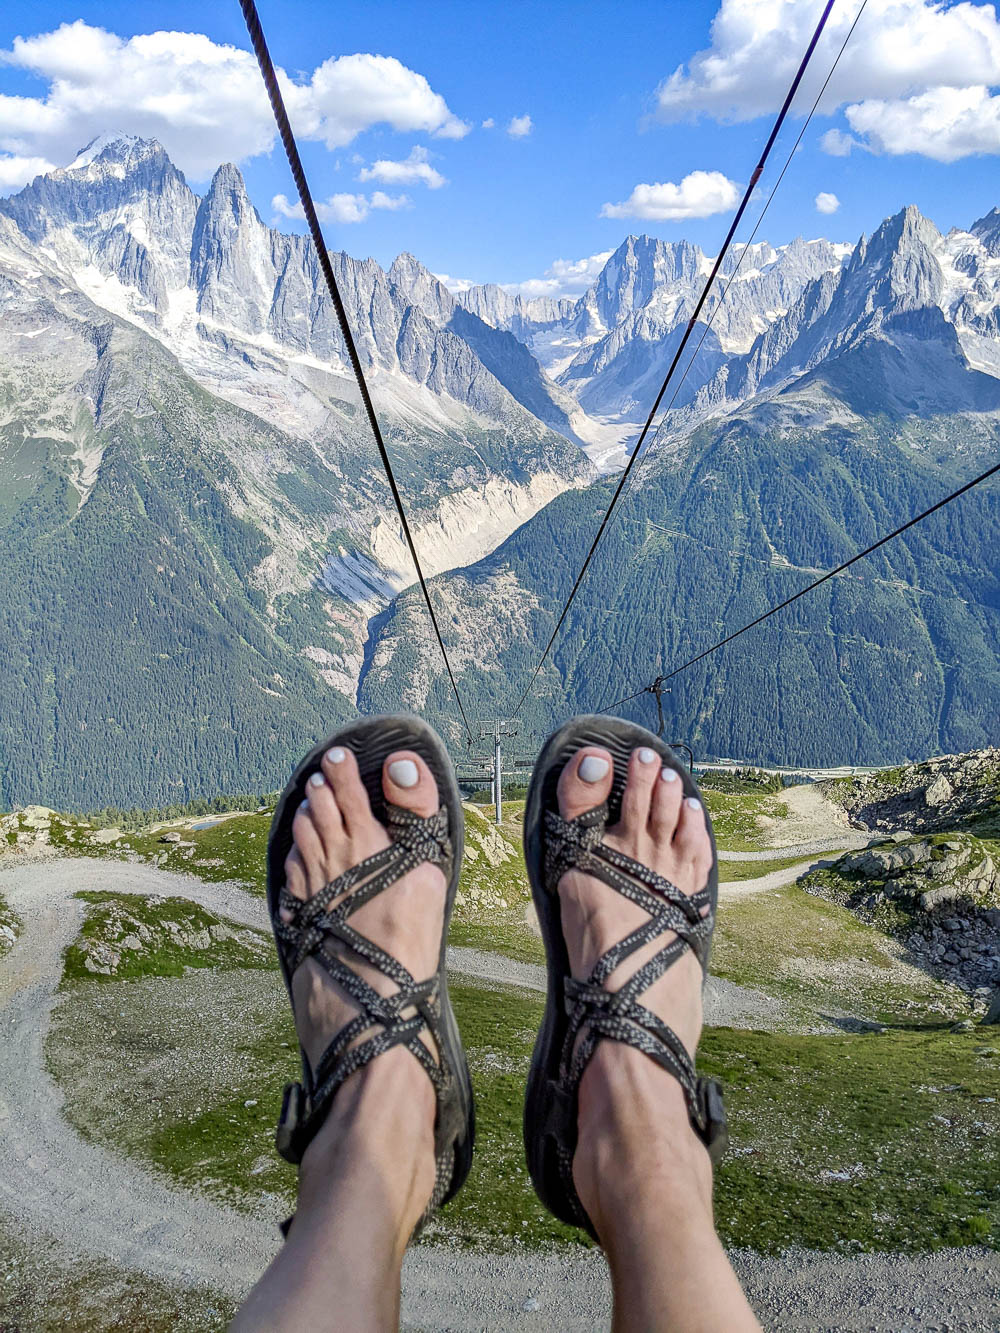
Tips for the Lac Blanc day hike
As straightforward as it is, there are still a few things to keep in mind:
Trekking poles will help you immensely on this hike. I didn’t take them the first time, but when I did the second time I noticed a huge difference.
DO NOT go swimming in Lac Blanc. This is forbidden, despite what many annoying Instagram influencers tell you. Please always be respectful on your Chamonix day hikes.
This is a popular hike and the trails may be crowded. You’ll avoid this if you go later in the day, but you risk getting trapped if you can’t make it back to the cable car stations before the last trip. Be sure to leave yourself enough time and don’t forget to ask when the last chairlift down is.
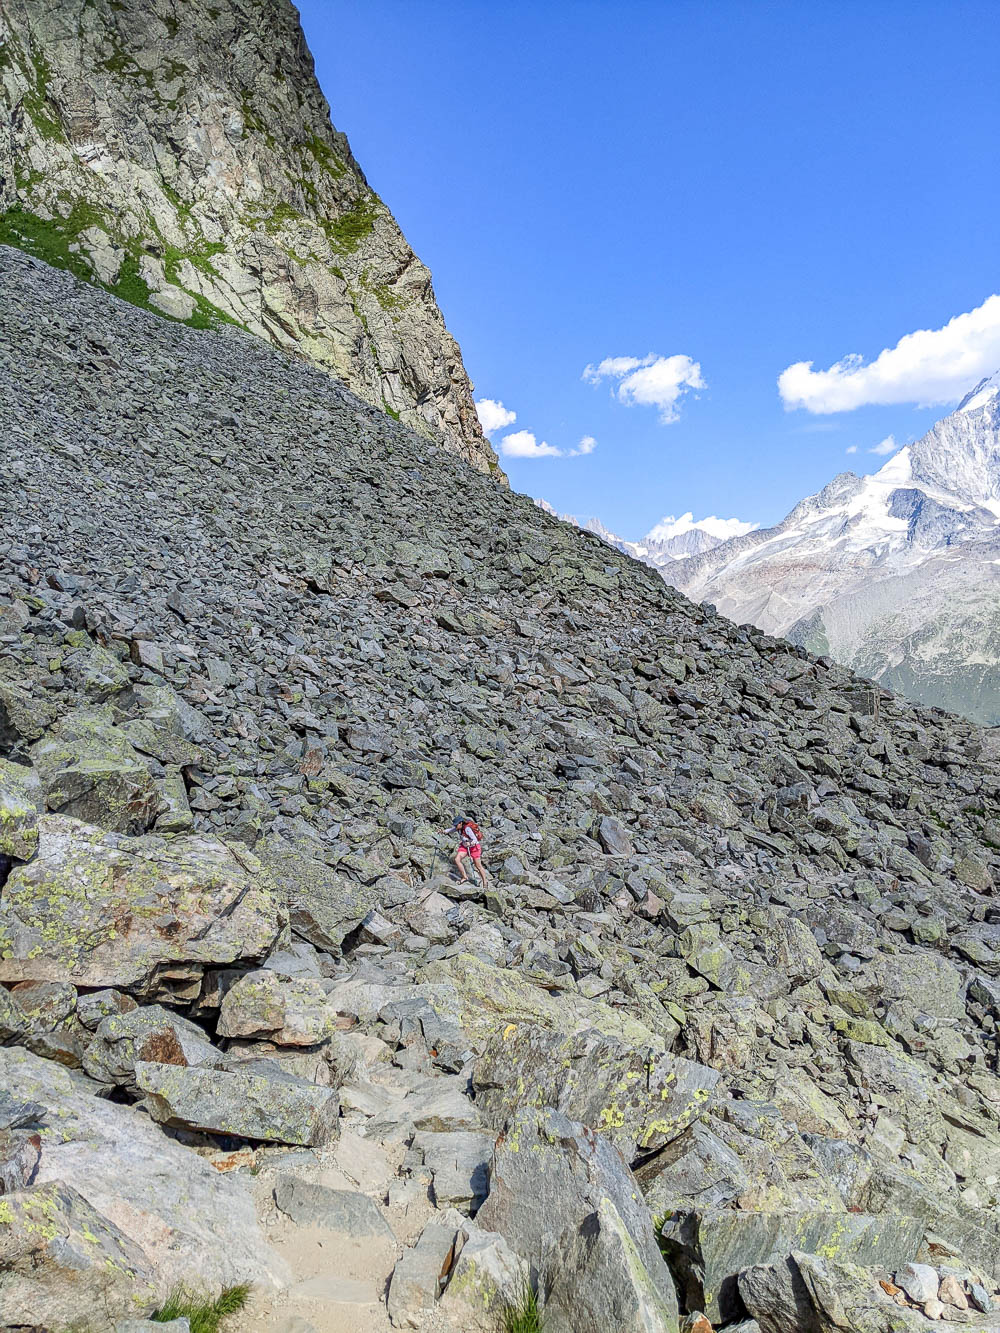
Or you can play it safe and hike to Lac Blanc in the early morning. It’s still beautiful but you’ll notice more people for sure.
You can make this hike easier by simply taking the cable car from Les Praz to La Flégère, then the chairlift from there up to L’Index. Then hike to Lac Blanc and back. Then the chairlift down followed by the cable car.
Tips for hiking in Chamonix
When hiking in Chamonix, there are a few things you’ll need to remember. Here are some of the most important:
Hydrate!
Many of Chamonix’s hiking trails are exposed which means so are you… to the sun’s powerful rays. Be sure to stay hydrated during your hikes.
The good thing about the best day hikes in Chamonix is that a water source is never far away. Even on the hottest days you should be able to find a vendor with water for sale. (Just remember to always keep cash in your day pack.)
How I stay hydrated on my hikes is with this 2-liter Platypus hydration bladder. I tend to drink a lot of water (while hiking or otherwise) so I need one that can hold enough and fit snuggly into my day pack.
Pay attention to the weather each day
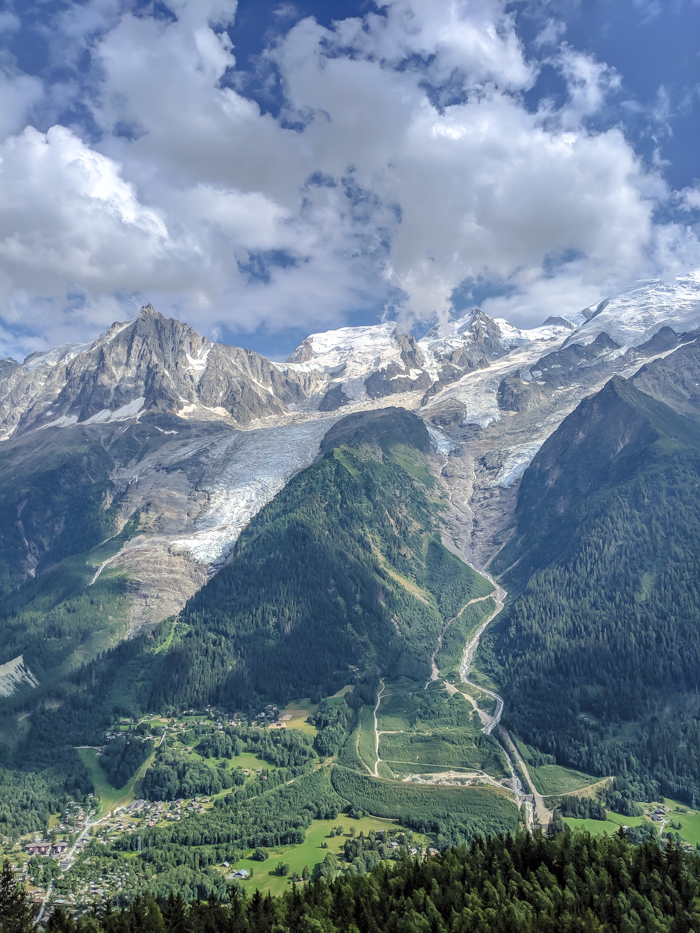
For many of Chamonix’s best hikes, weather will play a major part in whether your hike will be a success or a dangerous, muddy mess.
Besides just being wet and uncomfortable, some trails see snow as late as early summer, and others are entirely too slippery/dangerous when wet. Foggy conditions can make trails hard to follow and you’ll need to know what temperatures to expect.
Check the weather around Chamonix often and especially right before you head out to hike. Also, remember that Chamonix’s weather reports typically concentrate on the valley. The higher elevation hikes will have cooler temperatures and may see different conditions. And keep in mind that the earlier you hike, the better the weather will be.
You can check Chamonix’s weather at these sites:
- Weather-and-climate.com’s 10-day Chamonix weather forecast
- Chamonix.com’s 8-day Chamonix forecast with illustrated, easy-to-read graphs
- Aiguille du Midi weather on Mountain-Forecast
- Le Brévent weather on Mountain-Forecast
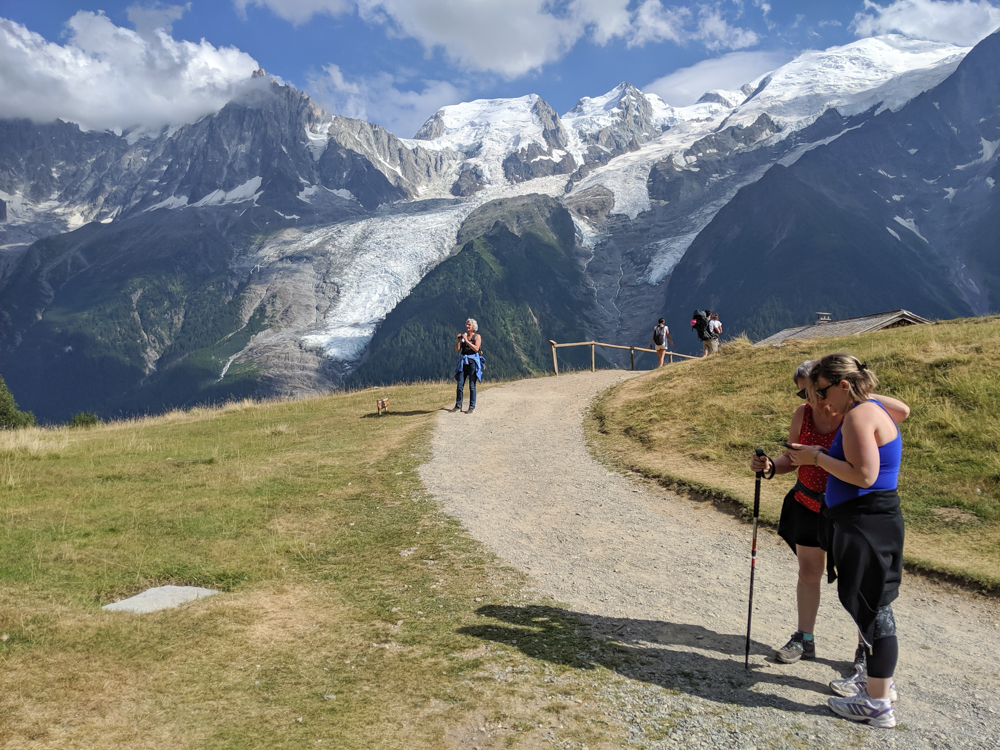
Double-check lift schedules
Before you head out for your day of hiking in Chamonix, be sure to double-check the schedules of the cable cars, gondolas, and chairlifts you’ll take. Also, make sure they’re operating in the first place as they often close for renovation, weather, etc.
Double-checking the schedules helps you to nail down a time by which you must return, or else miss your lift and have to add on a few more hours of hiking. (Not the worst way to waste time.)
The lifts you’ll need to check for these 4 best Chamonix day hikes are:
- Gondola from Chamonix to Plan Praz
- Cable car from Plan Praz to Le Brévent
- Cable car to Aiguille du Midi
- Bossons chairlift
- Mer de Glace gondola
- Montenvers train
One definitive way to find this information would be to stop by the Chamonix tourism office in the town center. The staff there will be able to tell you which lifts are open and which are closed, as well as confirm their operating dates and times.
Beforehand, you can check out the Chamonix lift map on this page and get up-to-date opening information for each.
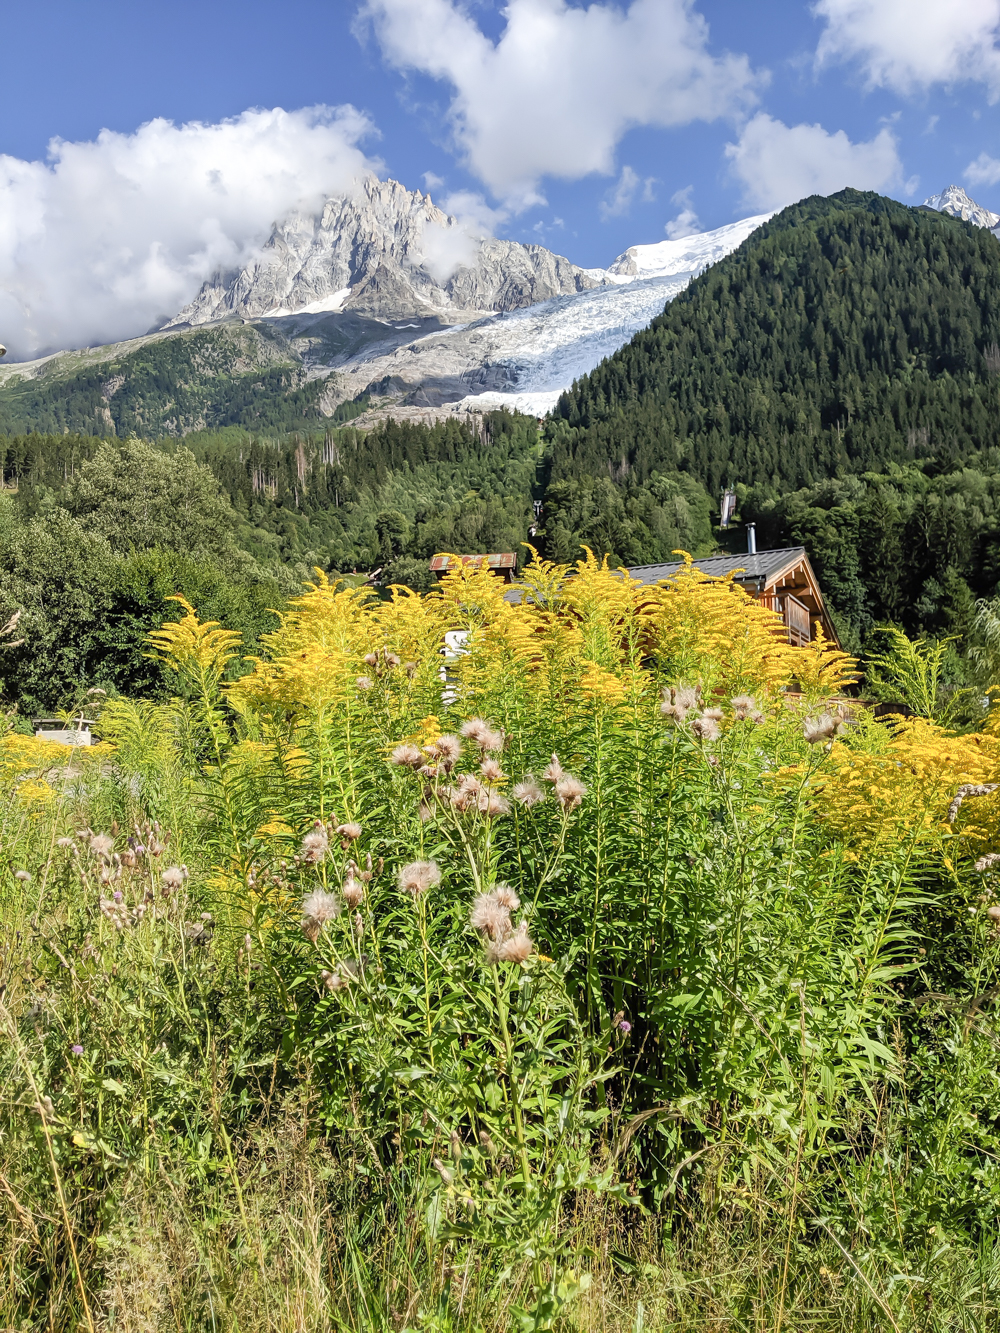
Don’t worry about these things
Now that you’ve got the things you do need to worry about out of the way, there are a few things while hiking in Chamonix that you don’t need to worry about.
- Bears – There are no bears in the Chamonix region of the Alps and especially not on these well-trafficked hikes.
- Other large carnivores – While there are wolves, lynx, wild boars, and massive mouflons in the wilder parts of the region, these aren’t things you’ll really need to worry about on your day hikes.
- Crampons – While snow is possible in some of the higher elevations around Chamonix as late as June, for these hikes, especially during July and August, you won’t need to worry about things like crampons or ice axes.
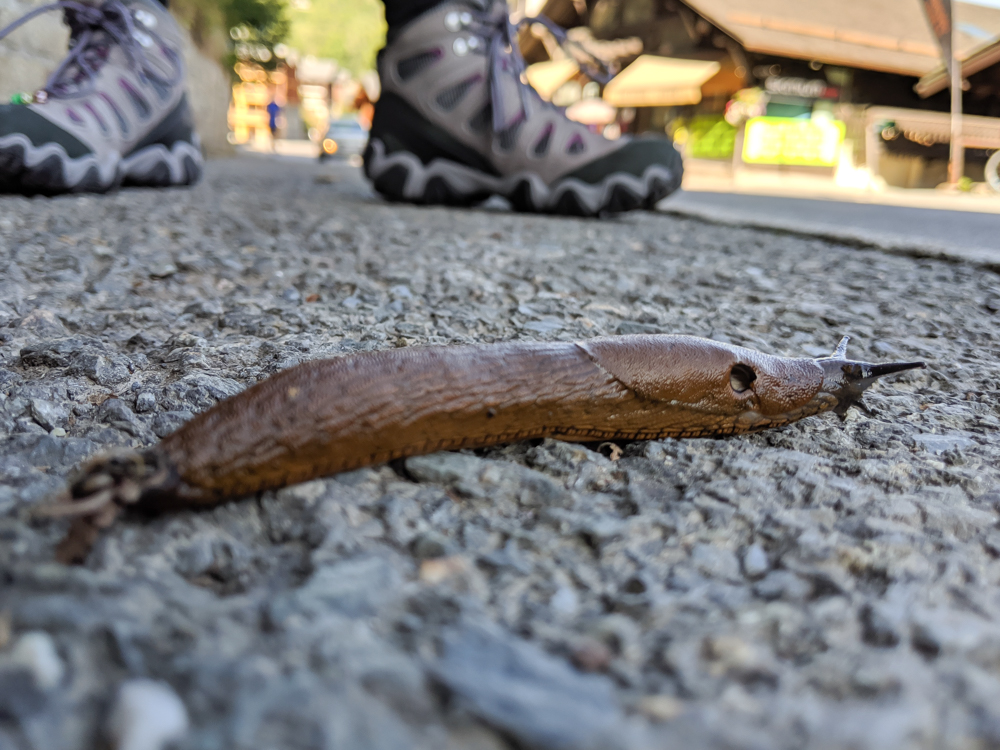
- Insects – Sure, ticks and other biting insects technically exist in parts of the Alps, but insect repellant is not something you’ll need on your Chamonix day hikes. Tick sightings in this region are extremely rare and other insects just keep to themselves. I did see a slug and a pretty cool caterpillar once.
What to bring on the best hikes in Chamonix
There are a few things you’ll need to pack if you intend on doing these awesome Chamonix day hikes. If you’re an avid hiker, chances are you’ll already own most of these. Otherwise, here you go:
Proper hiking attire
When hiking in Chamonix (and anywhere else) proper hiking attire is necessary for a comfortable and safe hike. This includes moisture-wicking tops, reinforced pants or shorts, and most importantly, great hiking boots and socks.
Personally, I wear:
- HeatGear tops and sports bras from Under Armour
- Hiking pants similar to these Fjallraven trekking tights
- or these hiking shorts depending on the weather
- Darn Tough hiking socks – the best out there and guaranteed for life
- Oboz Bridger B-Dry hiking boots
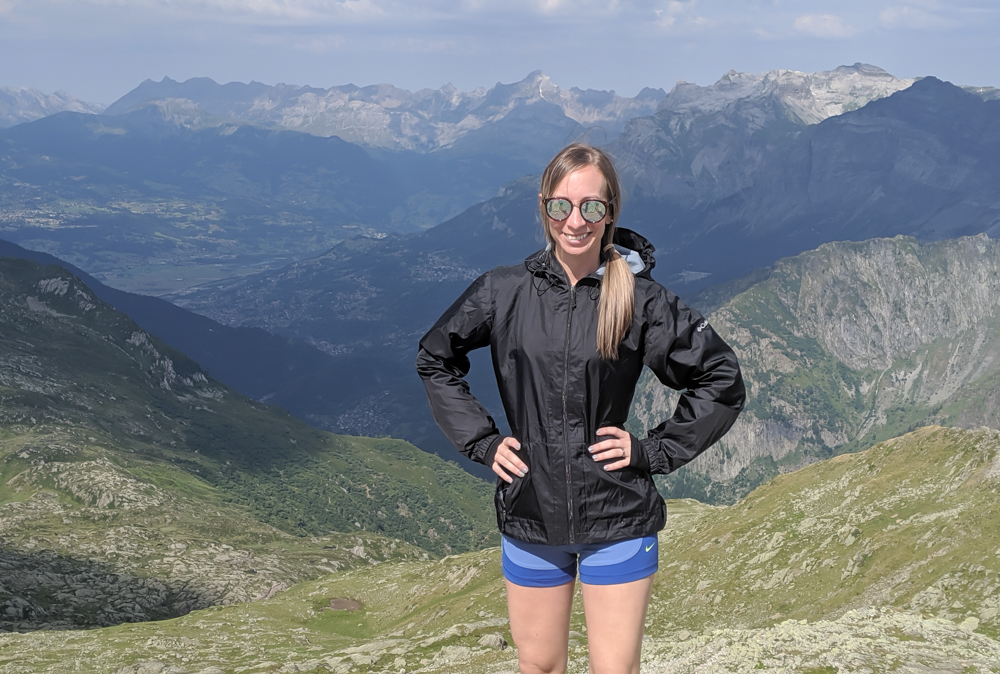
- My Columbia rain jacket/windbreaker – I always pack this in my bag just in case of surprise rain. Also, it’s super windy at the top of Le Brévent.
Proper hiking attire also means bringing a hat and sunglasses for sunny days and an ear warmer because even sunny days in the Alps can still be chilly.
Hiking day pack
A good hiking day pack is necessary for carrying your enormous supply of water (right?), snacks, extra clothing, survival gear, and more. It doesn’t need to be too big but should be enough to carry a heavier layer since you’ll be in the mountains.
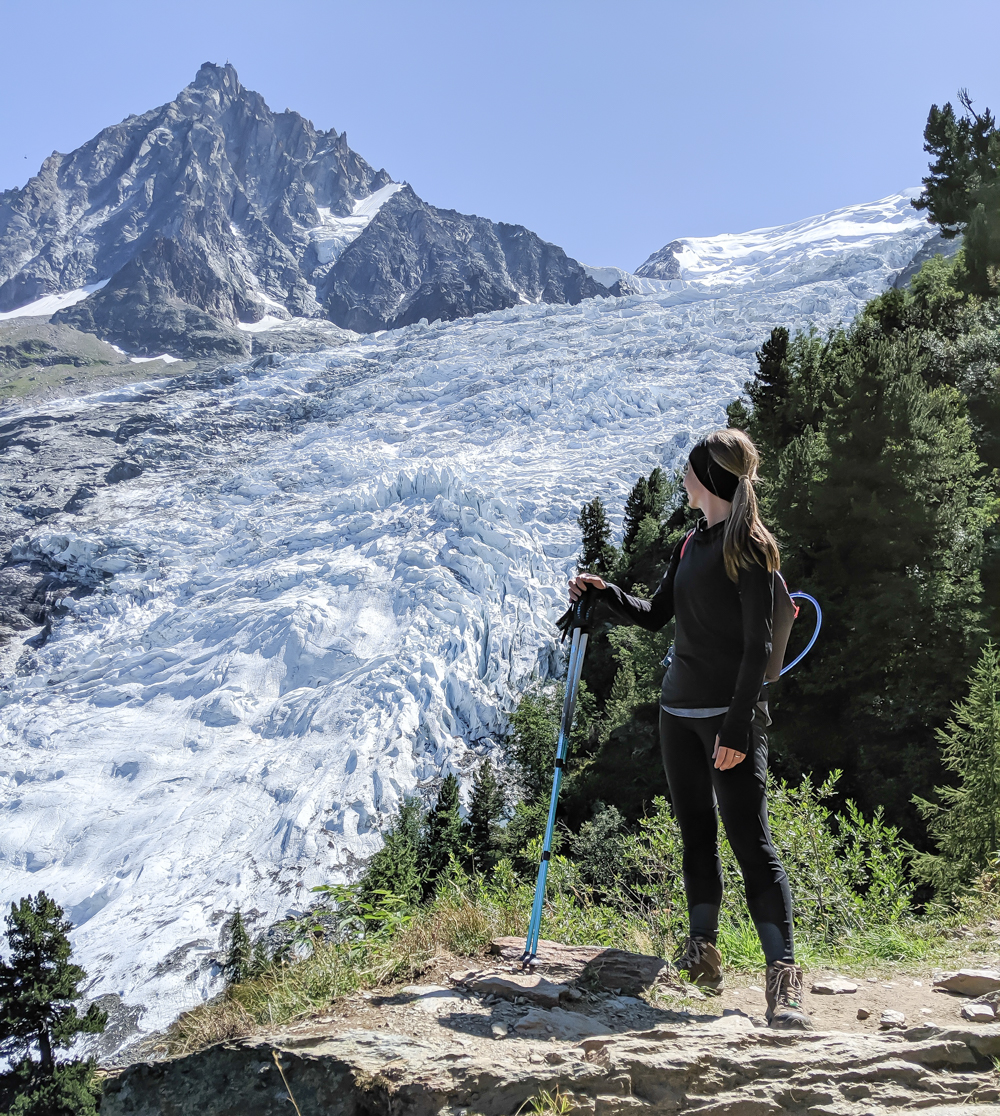
Trekking poles
Trekking poles are a huge help in making hiking easier in terms of ease and in terms of your knees. I never hiked with trekking poles before my trip to Chamonix as I didn’t quite get the point. But since I’ve started using them I will never go back. They make such a difference!
Hiking is easier and is noticeably less hard on your body. Trekking poles help to spread your overall effort throughout your body so your legs aren’t doing all the work. Much like if you were walking on four legs instead of two.
Plus, it’s actually proven that hiking with poles reduces the impact on your knees, legs, feet, and ankles by 25% percent. And OMG I can’t even tell you how many times these things have kept be from falling on my face.
First aid kit & safety whistle
Even on these easy Chamonix hikes, there will always be a need for a first aid kit. I left Chamonix with my fair share of scrapes, cuts, and bruises (but not black eyes, thank you trekking poles!).
When hiking in and around Chamonix, make sure to have at least a travel-sized first aid kit in your hiking pack that includes:
- Bandages and antibacterial cream
- Tweezers
- Tape and gauze
- Alcohol wipes
- Safety pins
- Extra moleskin
- Disposable gloves
Also, I never hike anywhere without a safety whistle. This tiny little thing can help you get rescued if you get lost or injured. I never go anywhere without mine. Literally, anywhere. Make sure it’s at least 100 decibels and you know how to use it in case of emergencies.
Walking Chamonix guidebook
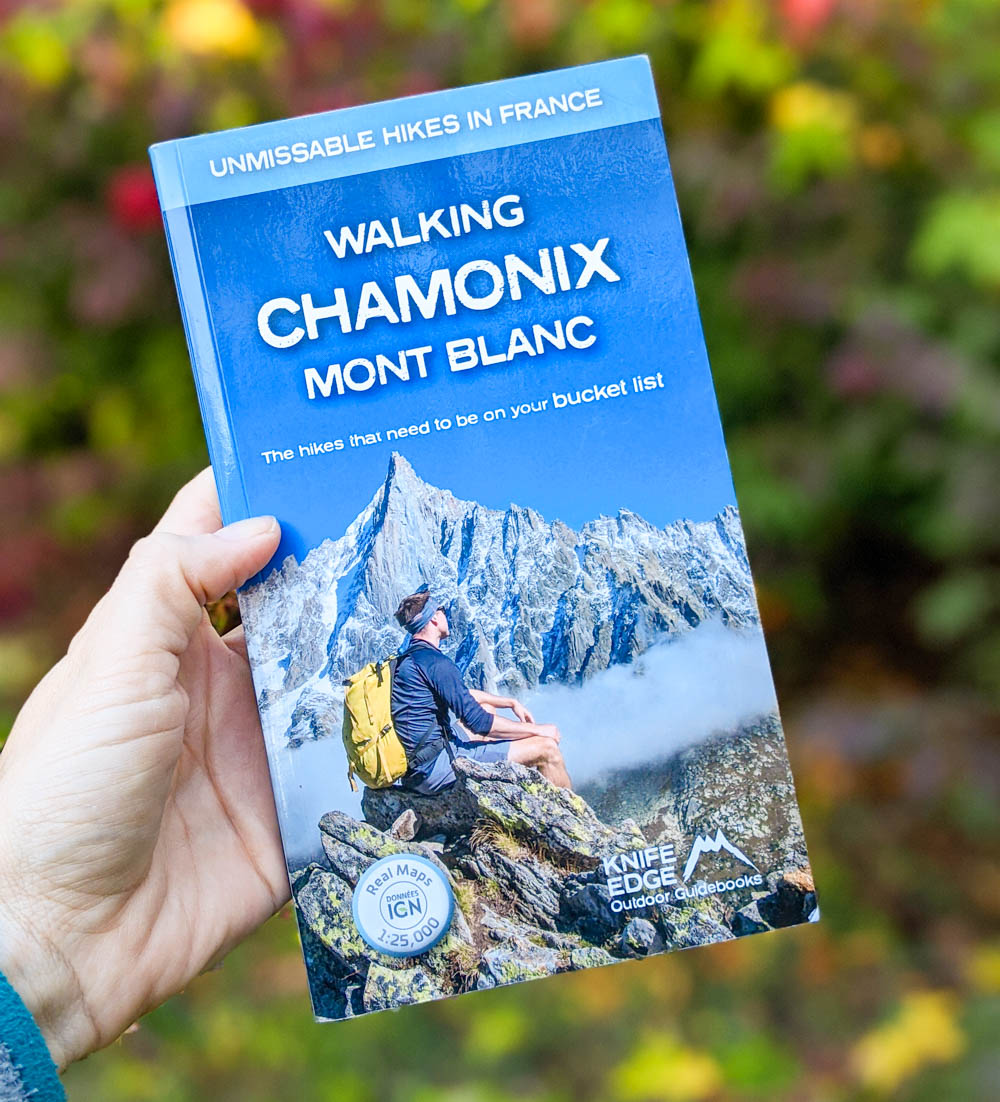
There are TONS of amazing hikes in Chamonix, just so, so many. As much as I’d like to, I haven’t done them all yet. But you’re looking for more Chamonix hikes, check out this awesome guidebook: Walking Chamonix Mont Blanc.
Walking Chamonix is full of great options for day hikes around Chamonix. It has:
- easy to follow route descriptions
- real IGN maps
- great pictures
- elevation guides
- estimated times and distances
- need-to-know information like how to use the cable cars, waymarkers, and how to get to the start of the hikes
- and so much more!
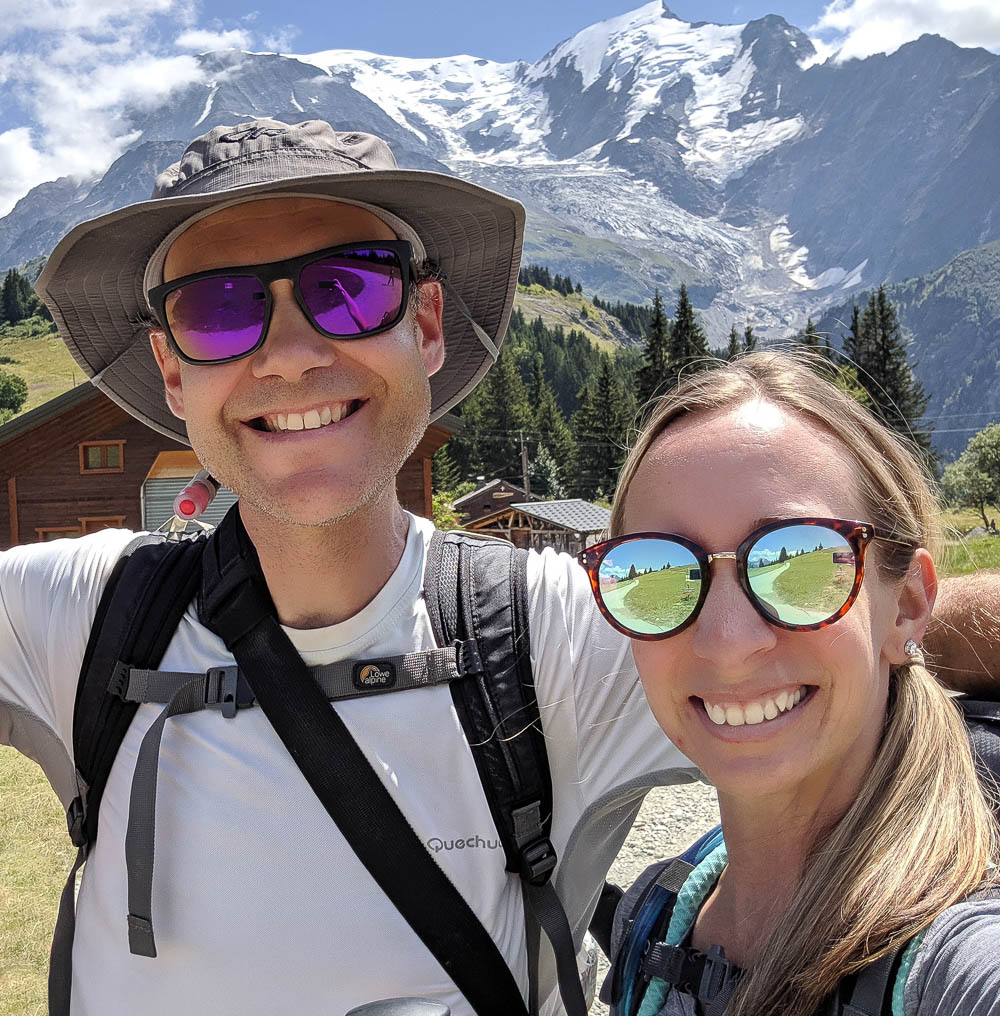
And I actually met the author while hiking around Chamonix! A random hiker noticed the guidebook that was sticking out of my backpack, and it just so happened to be him. And just at the moment I needed to ask for directions.
I have a couple of his hiking guides and they are so great to have with you. Plus, they fit perfectly into any pack. Get your copy of Walking Chamonix here.
Travel insurance
Unfortunately, things can and do go wrong when you travel. World Nomads offers coverage for more than 150 activities as well as emergency medical, lost luggage, trip cancellation and more.
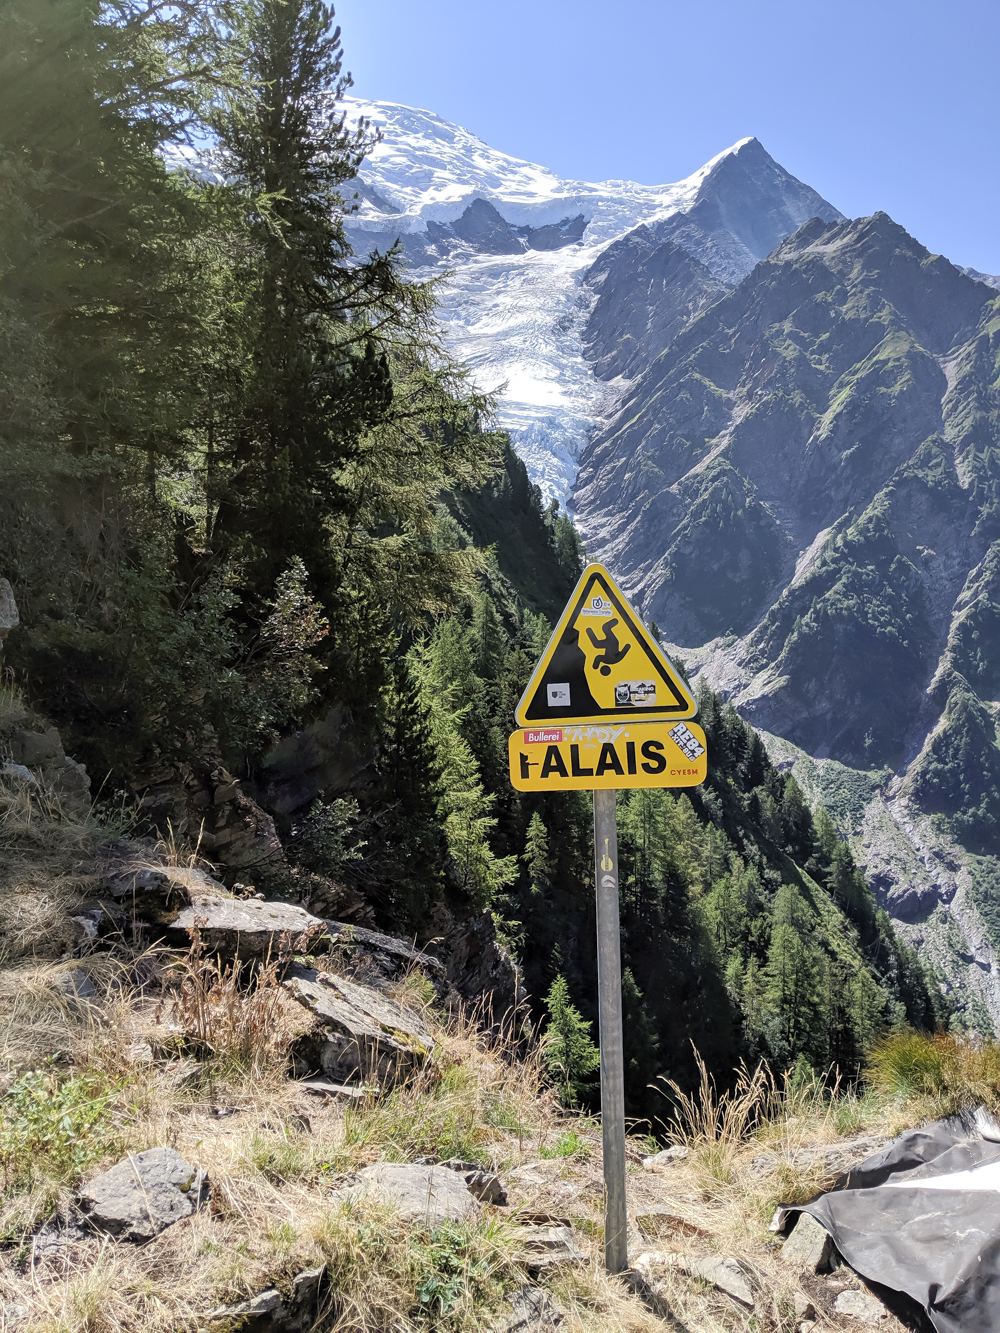
For everything else you need to bring with you to Chamonix and on your day hikes, check out my page on what to pack for Chamonix in the summer. It has everything you need for this awesome alpine escape!
I hope you have a great time experiencing the best hikes in Chamonix! These hikes are truly unforgettable and a great way to spend your time in Chamonix.
Which of the best hikes in Chamonix will you do?
Let me know below!
Save this info for later, pin this image:
