I was determined to squeeze in as many awesome hikes as I could on my visit to Hawaii in August 2023, so I knew couldn’t pass up the chance to hike the Makapu’u Lighthouse Trail. I’d heard it was one of the “easier” Oahu hikes, so I figured that’d be a nice addition to the list of more challenging hikes I had planned. (I’m looking at you, Koko Head Crater hike.)
And lemme tell ya, this hike was so lovely in so many ways. It’s definitely (relatively) easier, the views are incredible, and there’s even some cool history here for the WWII historian in all of us. (No? Just me?) Read on to find out how you can hike the Makapu’u Lighthouse Trail too and much more!
The Makapu’u Lighthouse Trail is on my list of the best things to do in Oahu. Check out the full Oahu Bucket List in that link and get the free printable checklist here:
What is the Makapu’u Lighthouse Trail?
On the long list of awesome and challenging hikes in Oahu, the Makapu’u Lighthouse Trail is a breath of fresh air. It’s one of the “easier” hikes on the island but that doesn’t take anything away from how enjoyable and rewarding it is.
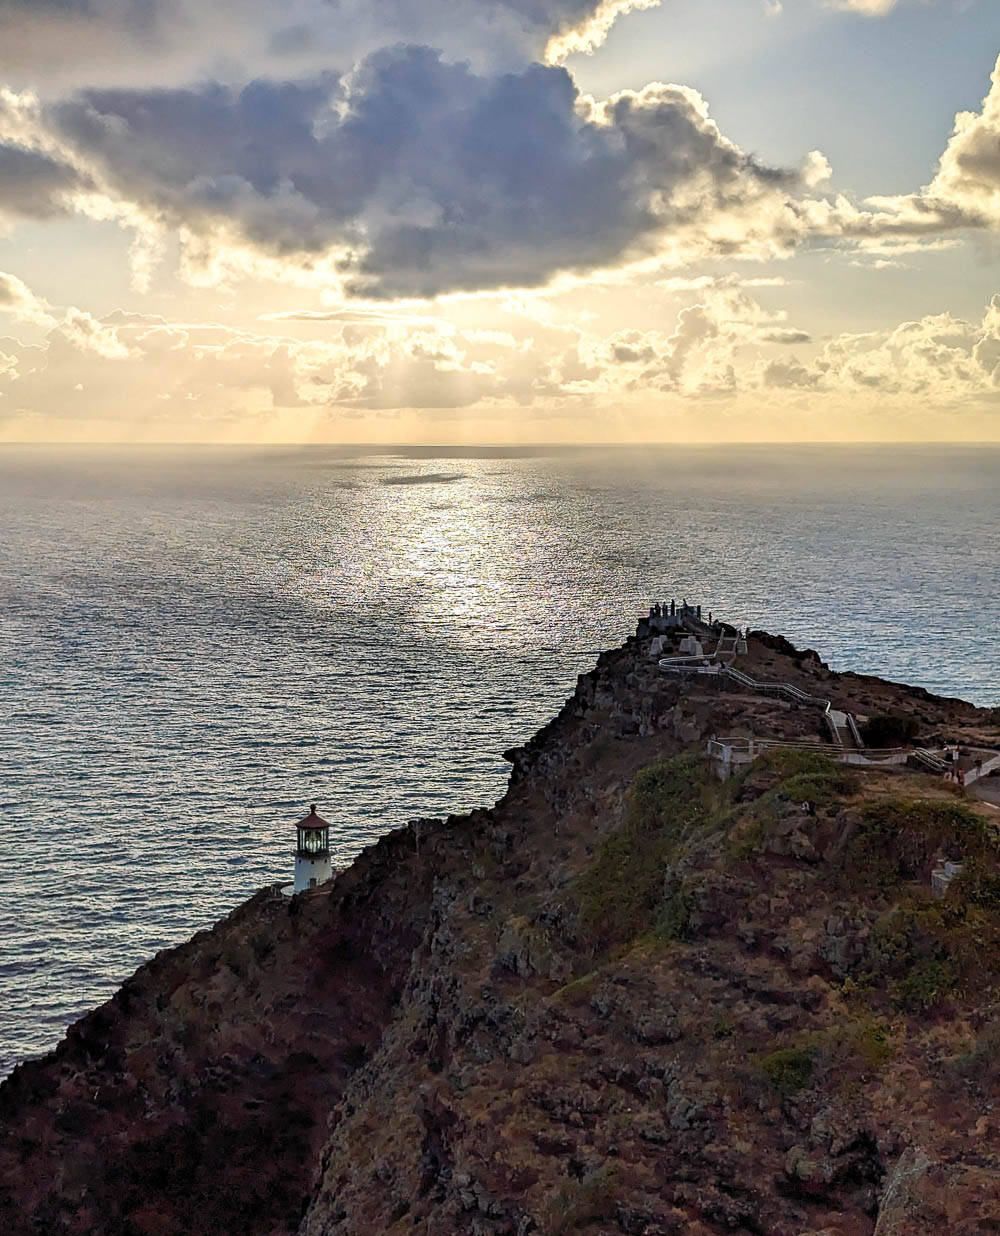
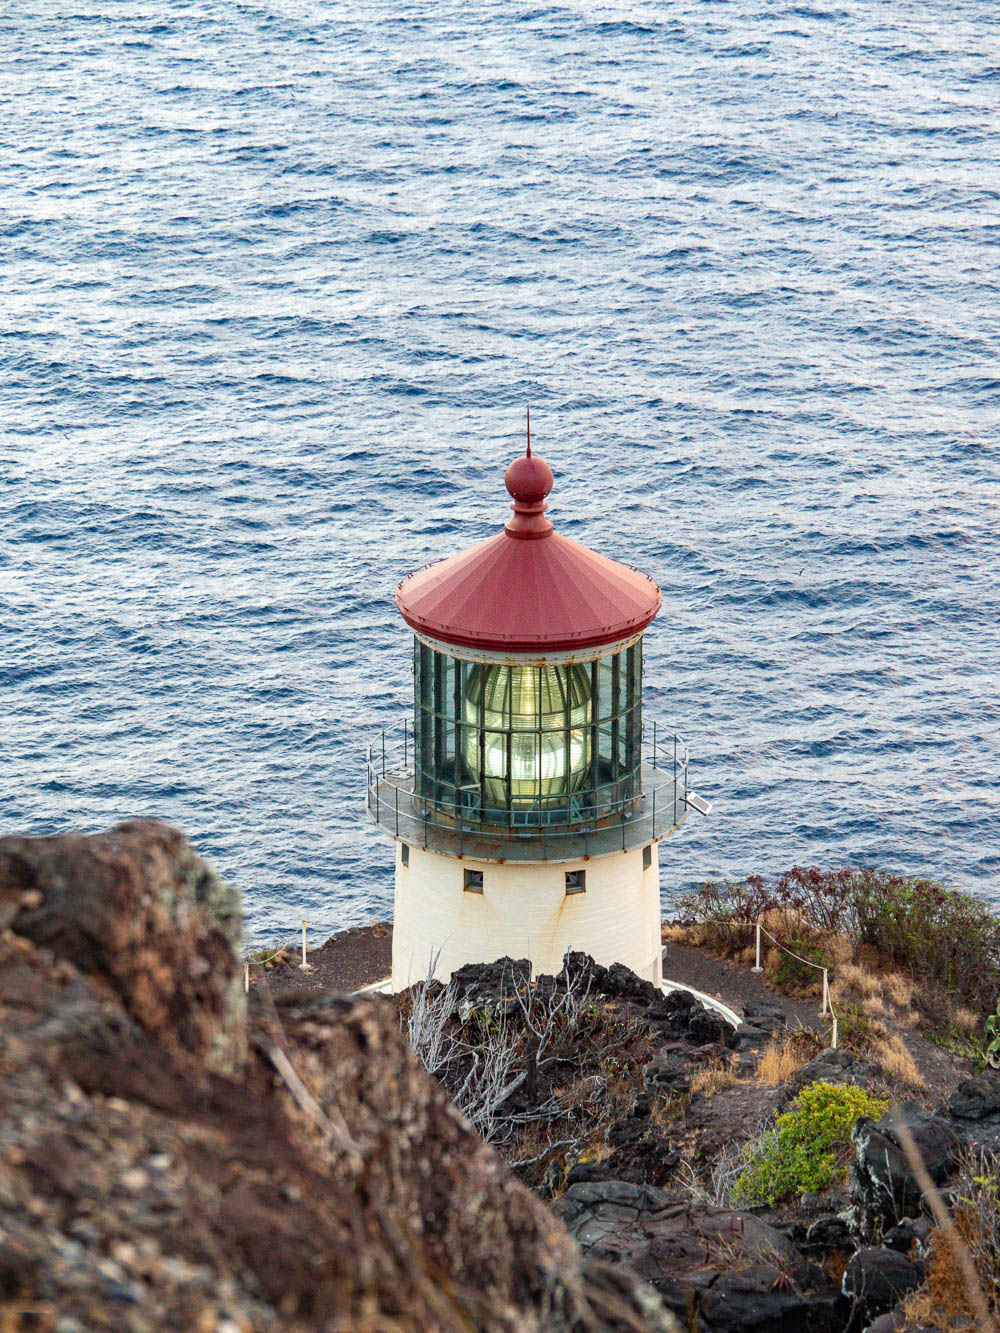
The Makapu’u Lighthouse Trail is a paved road that leads to the Makapu’u Point Lookout, situated down in Oahu’s southeasternmost corner. From here you can look down on the Makapu’u Lighthouse and get some crazy awesome views. And if you aren’t sick of saying the word Makapu’u yet, keep reading!
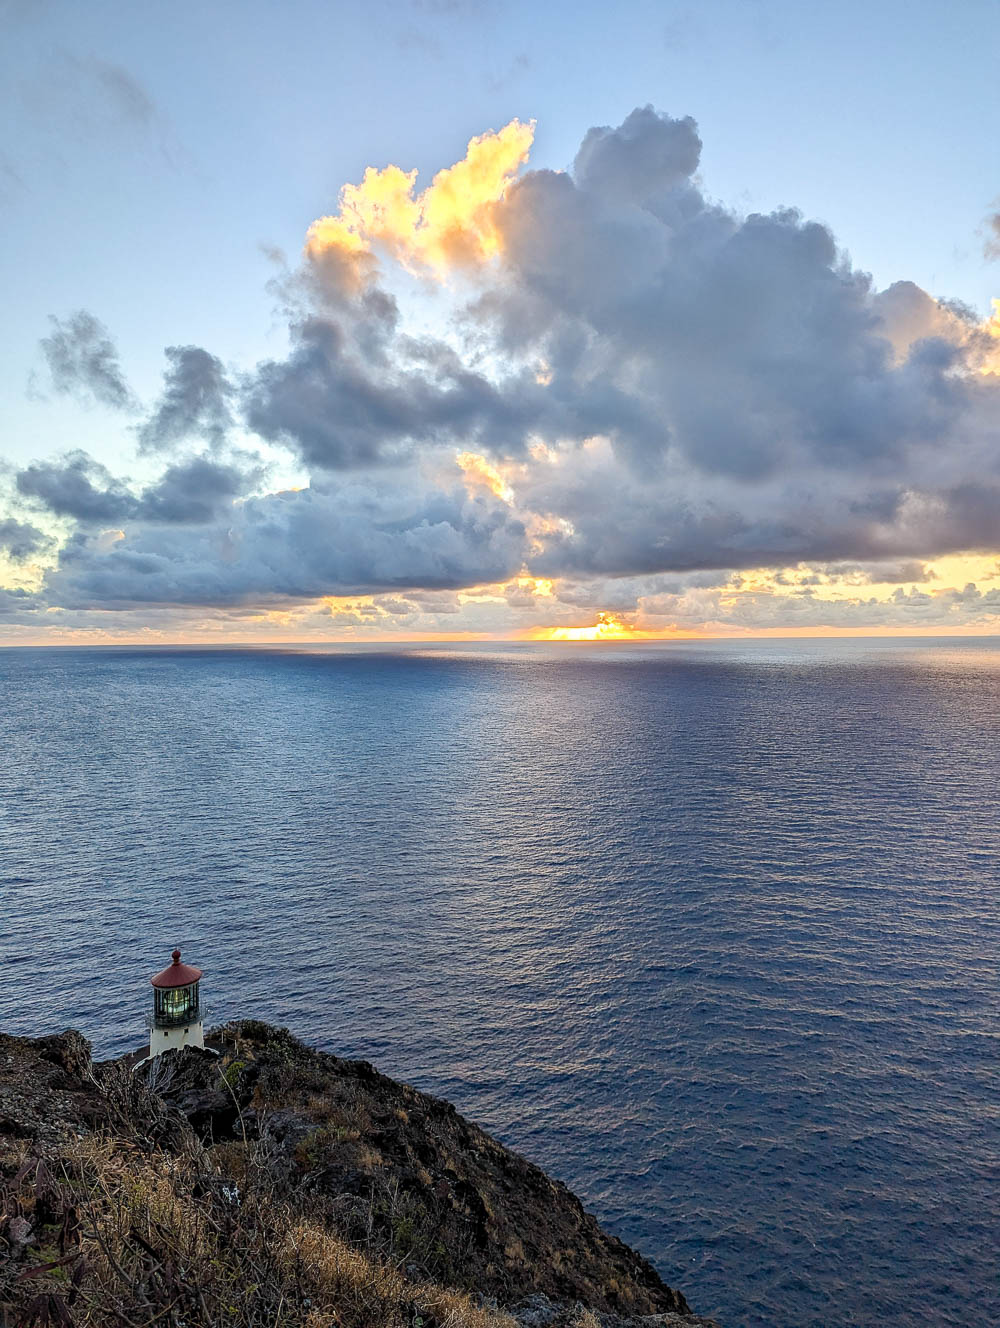
History of the Makapu’u Lighthouse
The Makapu’u Point Lighthouse itself dates back to the year 1909, but its origin story goes back a bit further. In 1888, a sugar-trading ship known as the S.N. Castle was traveling to Hawaii from the mainland when it ran aground in the waters off Makapu’u Point. Sea Captains and other interested parties filed a petition to install a lighthouse on the point—a necessary step to preventing similar shipwrecks.
But as things go, progress on its development was slow to nonexistent. That was, until August 1906 when the SS Manchuria, a (wildly expensive) passenger and cargo liner, ran aground on the very same reefs. It took almost a month and an entire fleet of other vessels to actually get the ship off the reefs and it ended up being dry-docked for about 8 months.
As regrettable as these events were, the wreck of the Manchuria was just the jolt the government needed to get working on that whole lighthouse project thing. (Especially since the Manchuria’s owners were among those who signed the initial petition for it—doh!)
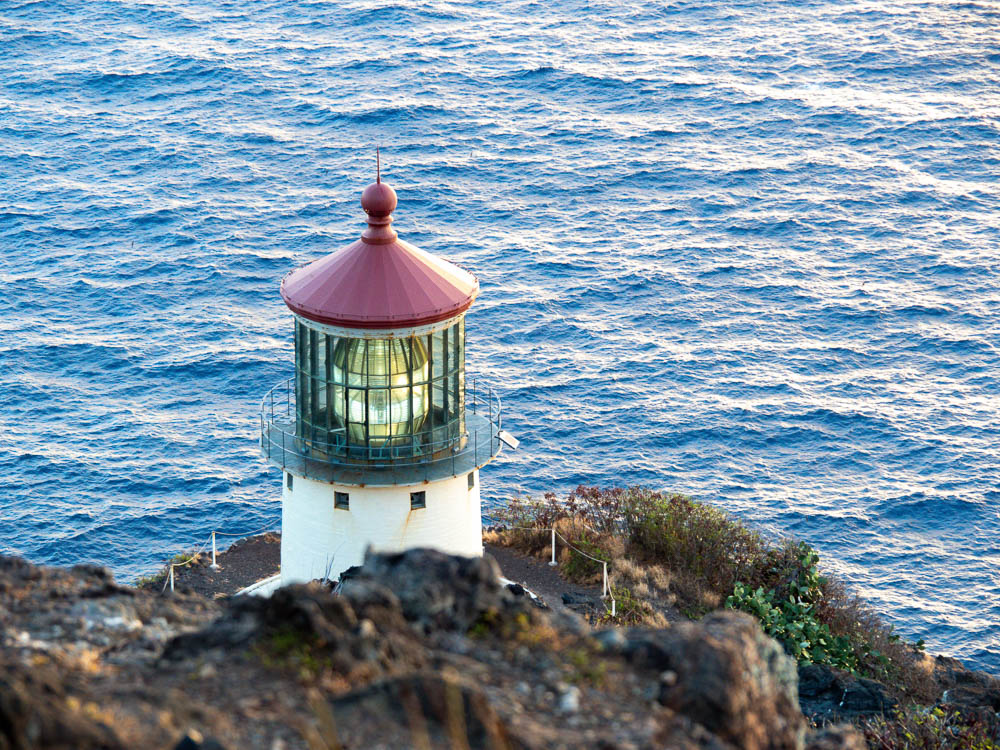
Construction on the lighthouse began in the summer of 1907 and it was first lit on October 1, 1909. Its lighting operations were automated in January 1974 and the Makapu’u Point Lighthouse remains an active Coast Guard station today.
Fun fact: You’ll notice the Makapu’u Lighthouse is pretty short and squatty as far as lighthouses go (just 46 feet tall). That’s because the location that was ultimately chosen—Makapu’u Point—was too high up; the light of a “regular” sized lighthouse would possibly be obscured by clouds. So, they settled on this adorable little nugget.
Where is the Makapu’u Lighthouse Trail?
The Makapu’u Lighthouse Trail is located on Oahu’s southeasternmost tip on a piece of land that juts out into the ocean known as Makapu’u Point. The trail lies within the confines of Kaiwi State Scenic Shoreline. The start of this hike is about a…
- 30-minute drive from Waikiki
- 45-minute drive from Pearl Harbor
- 1-hour drive from Ko’Olina
- 1-hour drive from Kualoa Ranch
- 1 hour 15-minute drive from the North Shore/Haleiwa
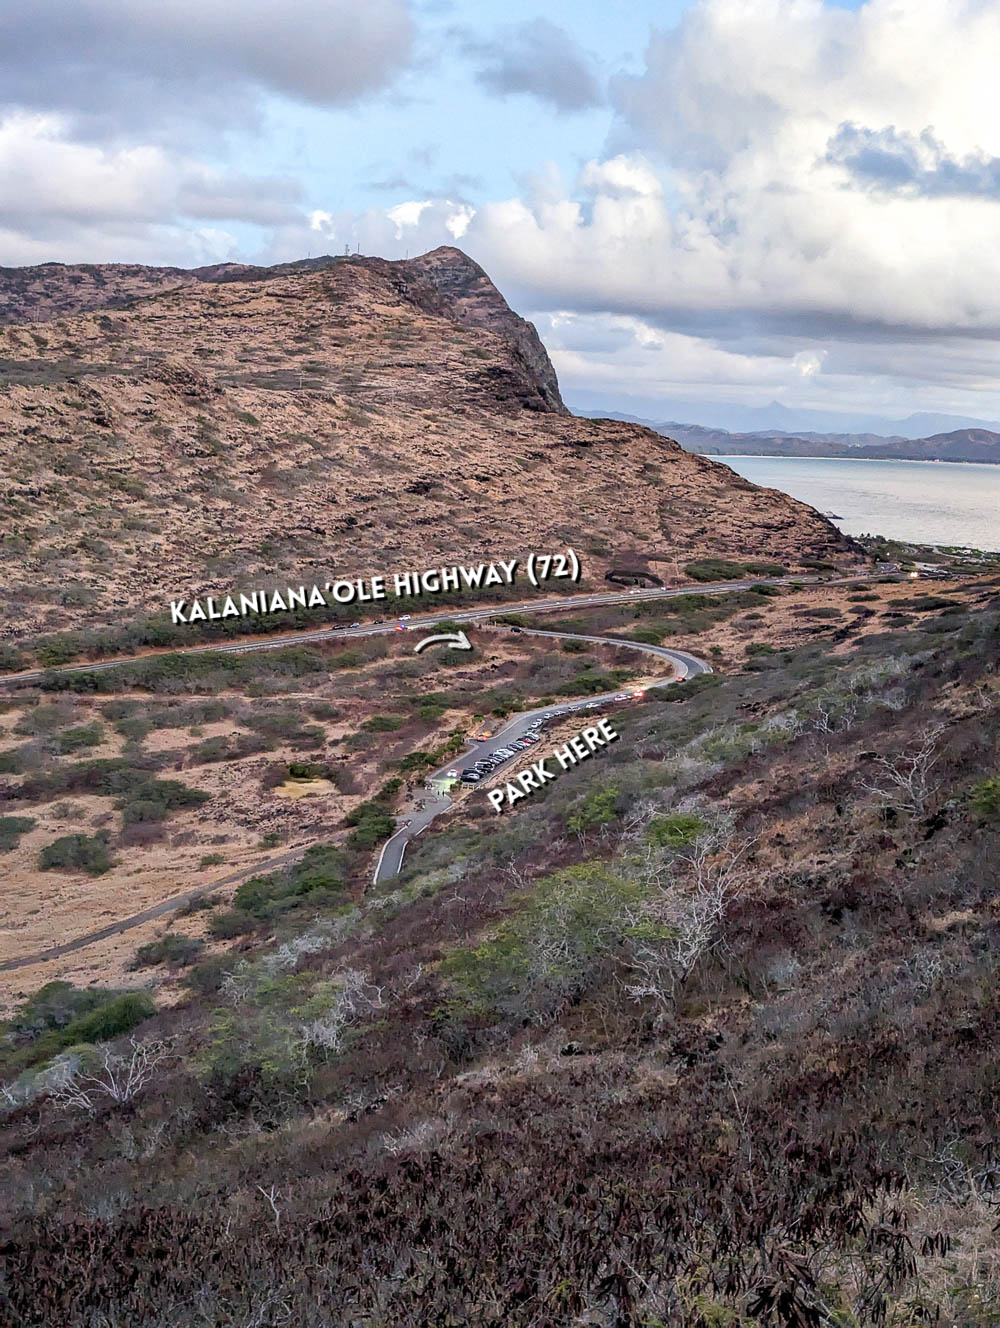
The trailhead to the Makapu’u Lighthouse Trail is just off the Kalaniana’ole Highway (Hwy 72) in Waimānalo, Oahu, Hawaii. For reference, it’s just 1 minute south of the Makapu’u Lookout and 2 minutes south of Sea Life Park Hawaii. (Beyond that, it feels about a million miles from everything else lol.)
Makapu’u Lighthouse Trail map
The map below includes all the important spots related to hiking the Makapu’u Lighthouse Trail: where to park, where to find the trailhead, and a couple of places to not go by accident (at least for these purposes).
Save this map by clicking the star ⭑ next to the map’s title. Use this map when you get here by opening Google Maps on your phone, clicking “Saved” at the bottom, then clicking “Maps.”
“Makapu’u Point Lookout” Vs. “Makapu’u Lookout”
One critical piece of information I need to share with you is that there’s a big difference between the “Makapu’u Point Lookout” and the “Makapu’u Lookout.” If you confuse the two, this post won’t make a bit of sense. (But thanks for reading; happy to have you!)
Makapu’u Point Lookout
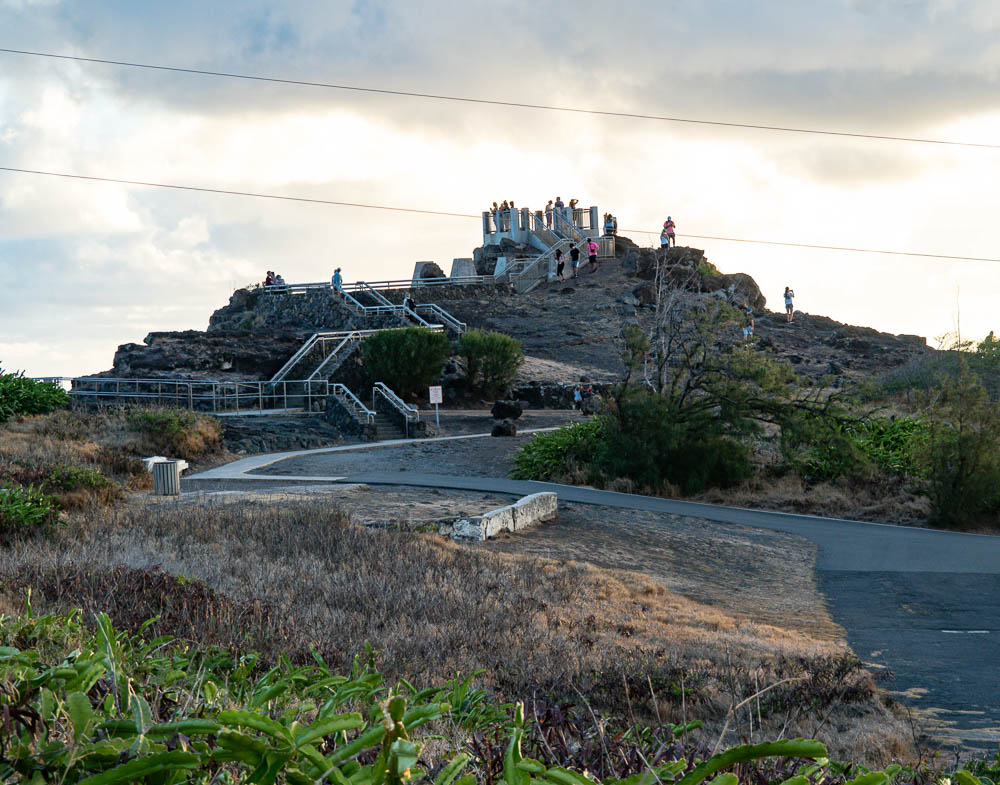
The “Makapu’u Point Lookout” is what you’re aiming for here. This is the viewing platform high up on Makapu’u Point from which you can look down on the lighthouse. This is the end point of the Makapu’u Lighthouse Trail. To get here, you have to park your car and do a good bit of uphill hiking, but this is where you want to go.
Makapu’u Lookout
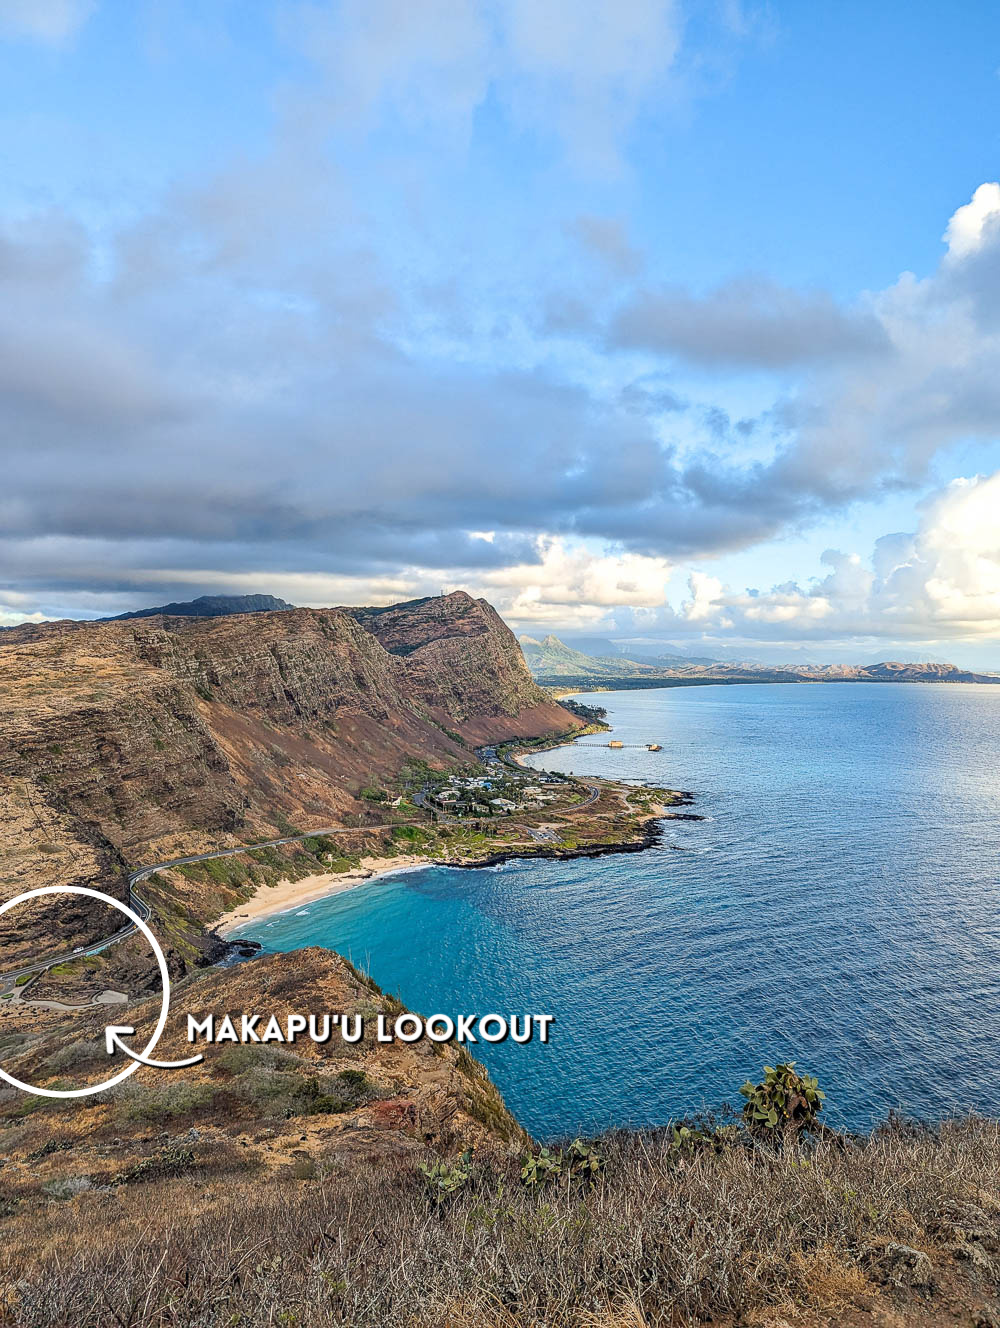
The “Makapu’u Lookout” is something completely different. This is merely what you’d called a “scenic viewpoint”—a simple pull-off alongside the highway where you can get some nice views.
There’s also a small parking lot here, but the walk to the lookout point from your car is going to be about 45 seconds. Remember: if it seems too good to be true, it probably is. I hate to break it to you, but no, you did not just find a back way up to the lookout point. Thanks for playing though.
The “Makapu’u Lookout” is not where you want to be. (I mean, maybe it is, and that’s fine, but this is not the Makapu’u Lighthouse Trail. You cannot see the lighthouse or the magnificent views from here.) I’ve included this lookout spot on the Google map above for reference so you know where not to go (or at least save for later). I’ve marked it in gray so you don’t get the two confused.
How to get to the Makapu’u Lighthouse Trail
You should just be able to put “Makapu’u Point Lighthouse Trail” into your GPS (if you use Waze or Google Maps). That will take you to the trailhead, but the parking lot is right here also. If not, use the map I made above as your guide.
There’s no official address so you really just have to go off visuals here. (If I can do it—in the pitch dark no less—so can you!)
Pro tip: For everything else you have planned here on Oahu, check out the Oahu GoCity Pass. This all-inclusive and deeply discounted sightseeing pass can save you tons of money on your trip. Plus, it even includes free transportation to and from the Makapu’u Lighthouse Trail!
Where to park for the Makapu’u Lighthouse Trail
Unlike some of Oahu’s other popular hikes (I’m looking at you, Lanikai Pillbox hike), there’s ample free parking at the trailhead to the Makapu’u Lighthouse hike. But how close you can get to the trailhead will depend on what time you arrive.
Smack dab in front of the trailhead is the largest concentration of parking spots. (Marked on the map above.) There are 20 parking spaces here including 2 accessible spots. In addition to the lined parking spots, there’s also enough space for about 12 more cars in the gravel-y area next to them.
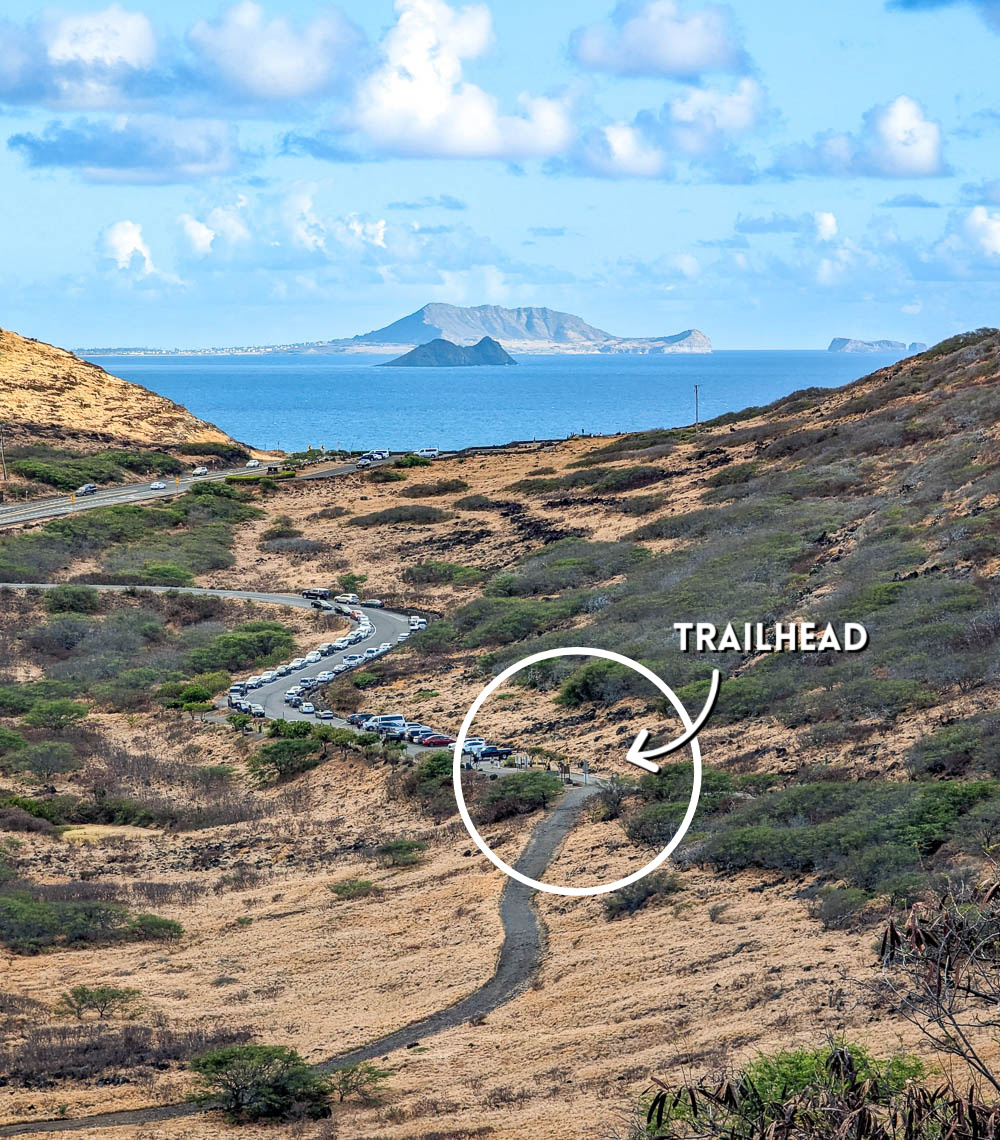
From here, in the direction of the highway from whence you just came, the road is lined with 14 additional marked parking spots (including 1 more accessible one), and more room for about another 50 cars in the unmarked areas further up and on the opposite side of the road.
I didn’t have a bit of trouble getting one of the closest spots when I pulled in at 5:30 on a Friday morning in August. But, I wasn’t one of the first cars either. By the time I left the park at 7:30, the small lot was full and cars were already lining up down the road.
Still need to book a rental car? (It’s really the only way to get to hikes like this one.) Check out the best rental car deals on Oahu here.
What about park hours?
Officially, the Kaiwi State Scenic Shoreline (ergo, the Makapu’u Lighthouse Trail) is open daily from 7:00am to 7:45pm in the summer (April 1 to Labor Day) and 7:00am to 6:45pm in the winter (the day after Labor Day to March 31). Also, “winter?” Hilarious.
But this is where it gets a little confusing. Before I hiked the Makapu’u Lighthouse Trail, I’d read that the parking lot doesn’t open until 7:00am. But since this is one of the most popular sunrise hikes, you can still go and park alongside the road before 7, so that’s what I planned to do.
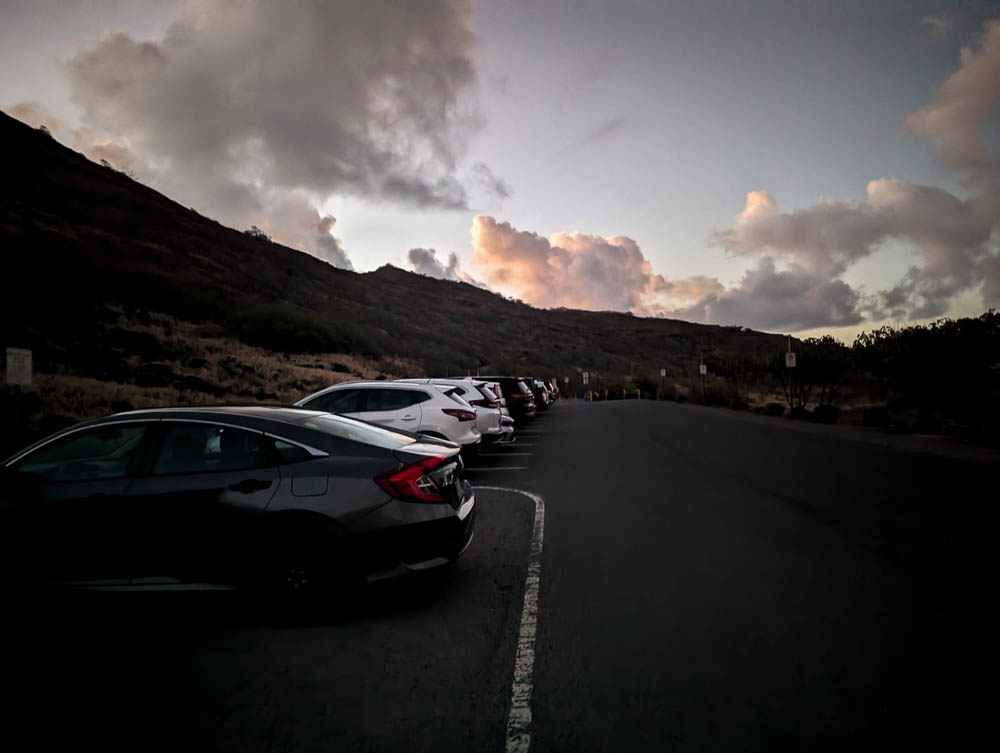
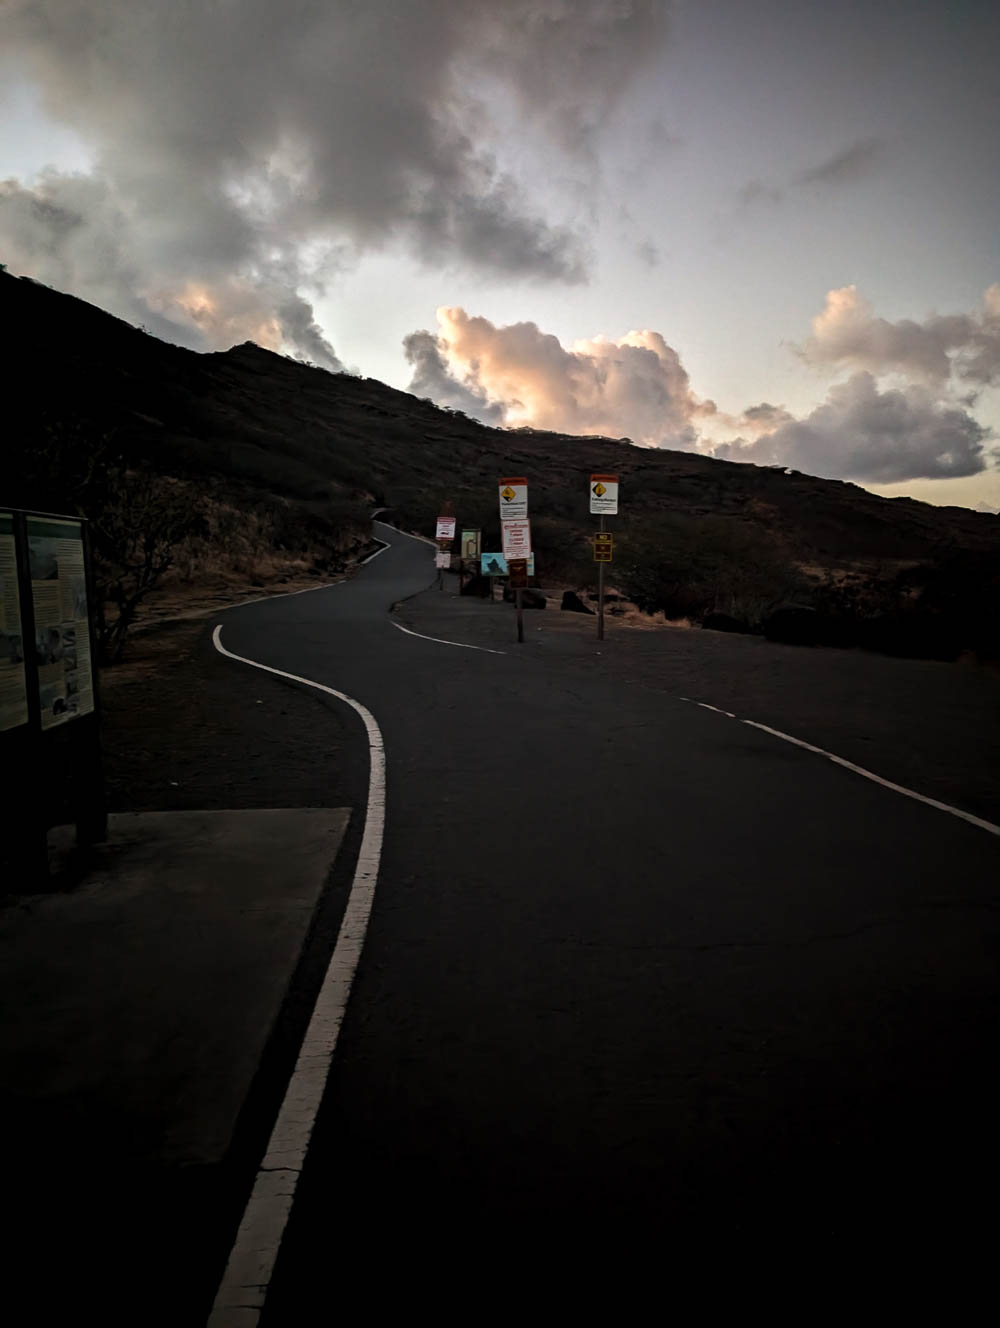
When I arrived shortly before 5:30am, the gates to the park were wide open (and it looks like they just stay that way to be honest). I pulled in and parked without issue. And I was at least the 20th car to do so that morning.
Now I never encourage breaking the rules when you travel but… I didn’t climb over any barricades or skirt an entrance fee or anything. They’re basically begging you with open gate arms to come right in. So, do with this information what you will, but enter this park outside of the posted hours at your own risk. S’all I’m saying.
How to find the Makapu’u Lighthouse trailhead
Of all the awesome hikes you’ll do on Oahu, this is by far the easiest trailhead to find. If you’ve parked here in the parking lot, the trailhead is RIGHT HERE. The road you drove down to park… it dead ends at the trailhead. This really couldn’t be easier. You don’t even need the map for this.
Makapu’u Lighthouse Trail at a glance
Before we get into the uphill battle that is the Makapu’u Lighthouse Trail, here’s a quick rundown of what you can expect on this hike:
- Distance: 2.5 miles roundtrip
- Route type: Out and back
- Time to complete: Around 1.5 hours
- Elevation gain: 650 feet
- Terrain: Paved road (It’s glorious!)
- Conditions: Fully exposed, hot and humid, moderately windy
- Difficulty: About as easy as you can get while still being able to call it a “hike”
Disclaimer
I want to remind you that you always hike at your own risk. Every hike (especially those here in Hawaii) come with inherent risks you should always be mindful of. Before you begin any new hiking adventure: never push yourself beyond your limitations, always listen to your body, and consider consulting a physician beforehand.
The information in this post is based on my own personal experiences. What works for me may not work for you—and that’s fine! Just remember to apply what’s in this post to your own abilities. Happy trails!
Everything went just swimmingly on this hike, but the same can’t be said for my surfing adventure—oops. Check out the list of my worst travel moments from 2023 to learn a super valuable lesson.
Is the Makapu’u Lighthouse Trail legal?
Yes, hiking the Makapu’u Lighthouse Trail is totally legal. In fact, it’s encouraged as part of the Division of State Parks. You’ll find all kinds of informational panels along the route as well as binoculars for whale watching. It’s so lovely here and you’ll feel so welcome.
Who maintains the Makapu’u Lighthouse Trail?
The Makapu’u Lighthouse trail and the Kaiwi State Scenic Shoreline where it’s located are managed by the Hawaii Department of Land and Natural Resources and the Division of State Parks.
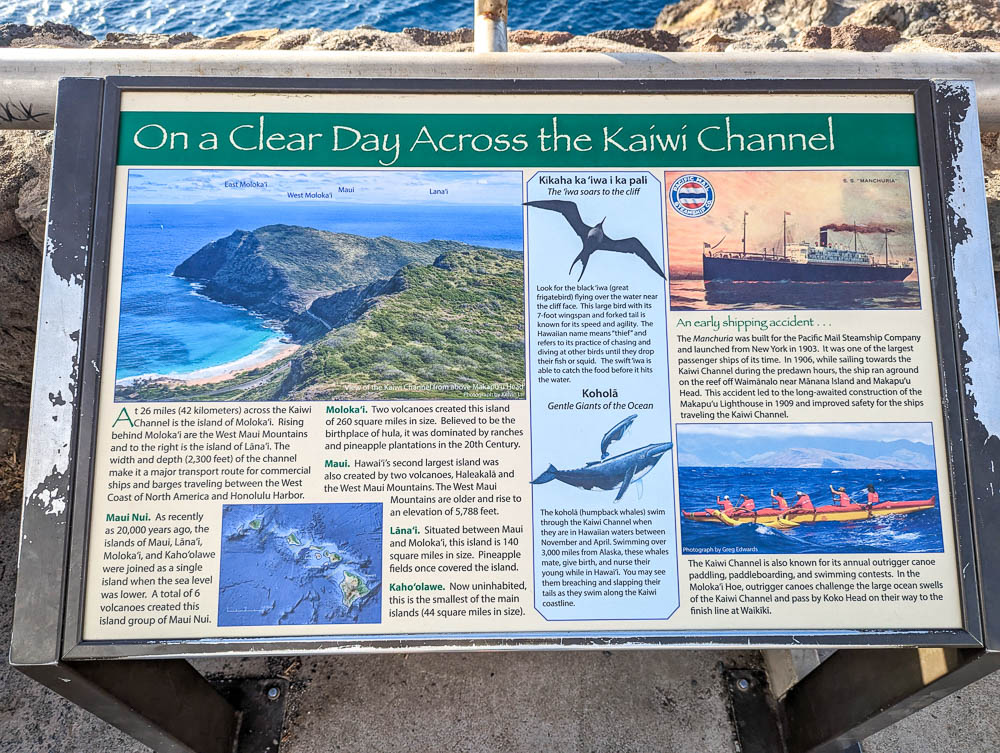
The Makapu’u Lighthouse Trail is beautifully maintained and undergoes regular maintenance as required. Since its 6-month, $2.7 million restoration in 2015, it now features a fully paved trail, several viewing platforms including the fancy new ones at the top, seating areas, trash receptacles, informational panels on various topics, binoculars for whale watching, ample free parking, and just tons of warning signs. (What? This is a good thing! Most trails don’t have those.)
If you check out this trail on Google Street View, you can see what looked like in 2014—yikes! Much improved, indeed. That being said, there are still no restrooms or drinking facilities here. You must do your business before you get here or after you leave. And you must bring your own water with you.
Can you hike to the lighthouse itself?
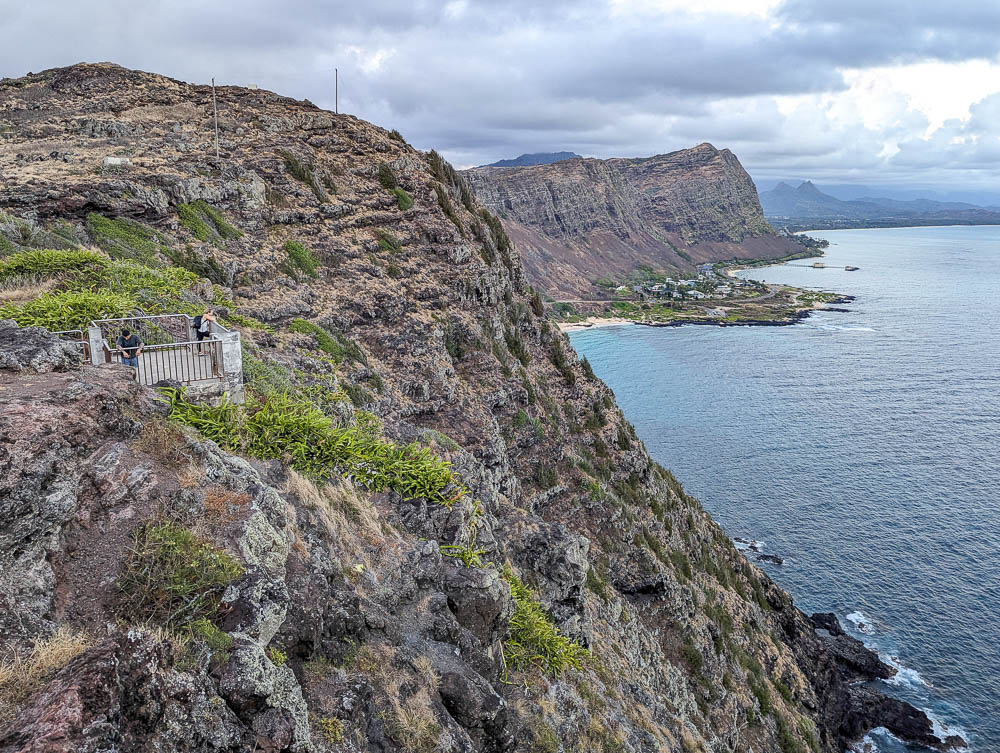
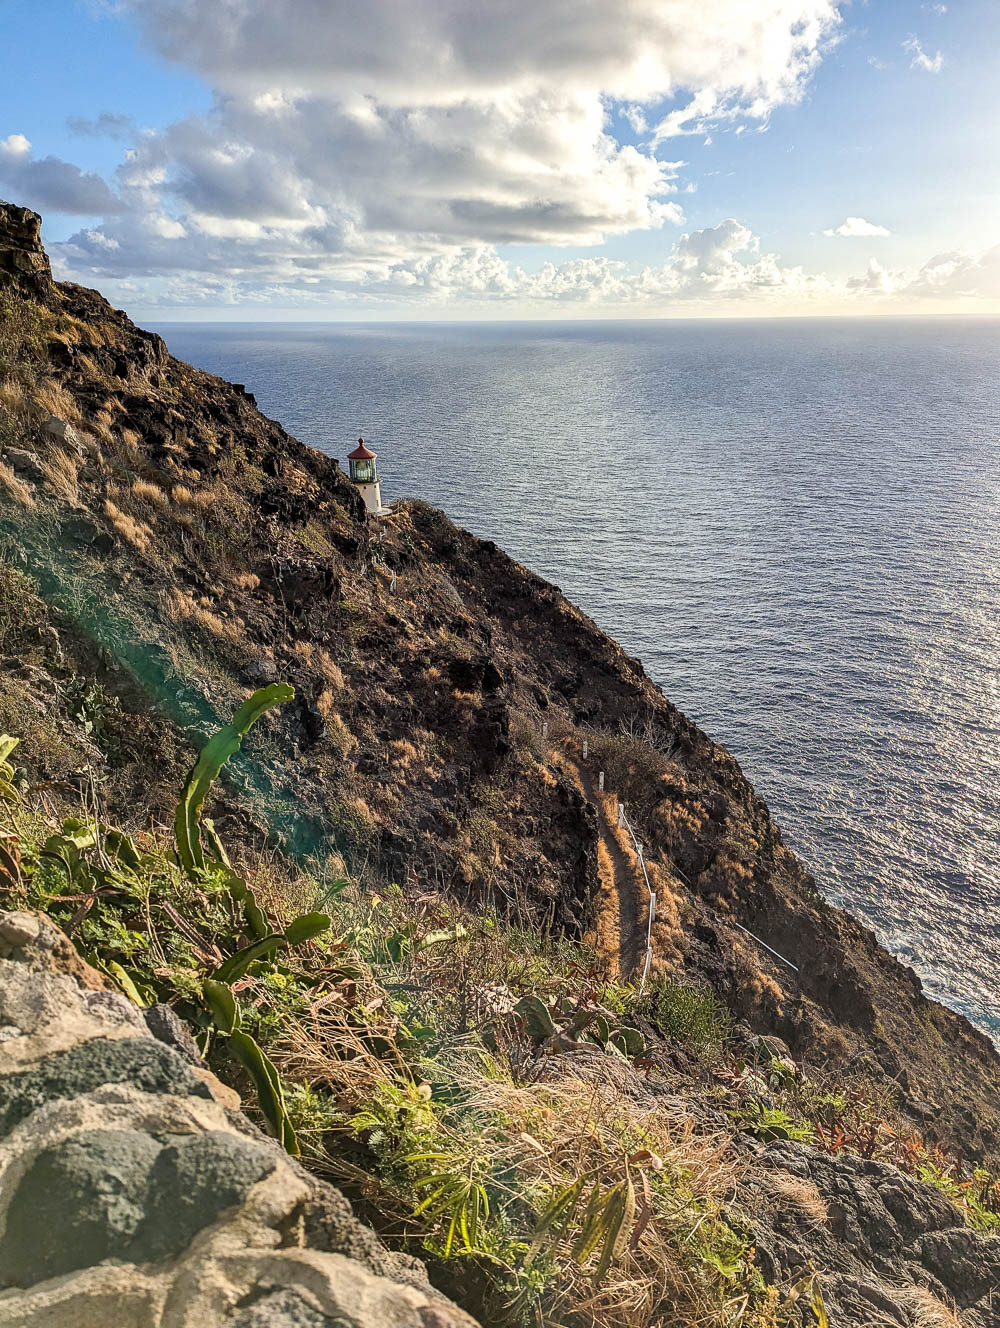
If you’ve been paying attention, you know that the Makapu’u Lighthouse Trail doesn’t actually take you to the lighthouse; it takes you to a lookout area above the lighthouse. So can you hike to the actual lighthouse? Well, yes and no. But should you? I wouldn’t.
While on the trail you’ll notice an area where the paved road turns off the main trail and stops dead at a dirt path. This is the trail that leads to the actual lighthouse. While there aren’t any signs or barriers barring you from taking this path, it doesn’t exactly look safe either.
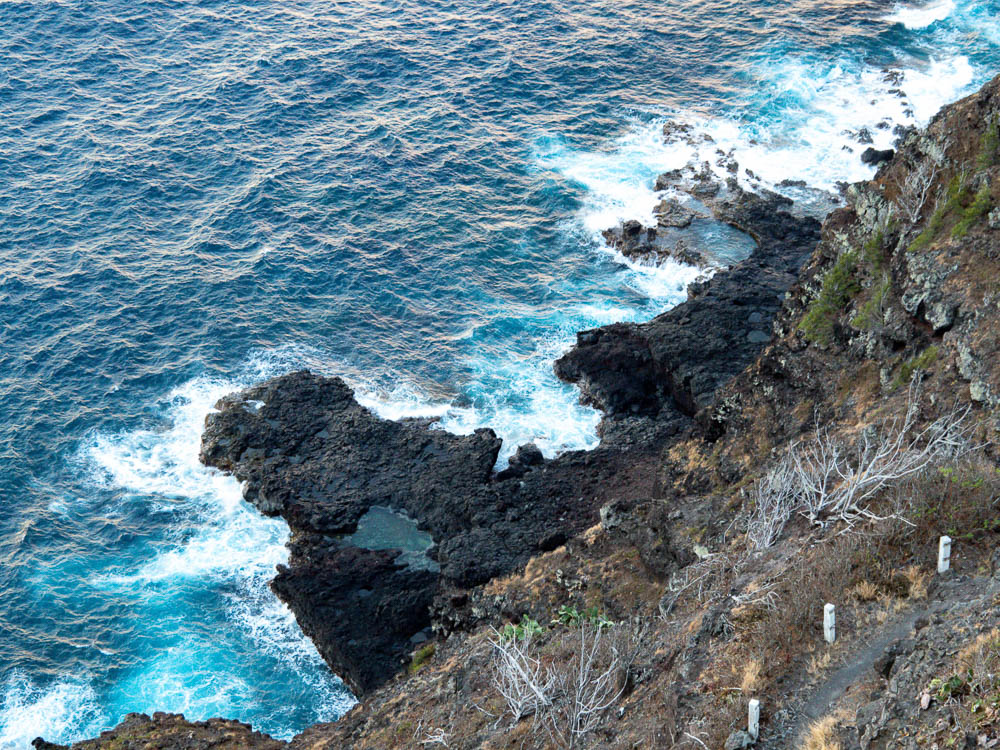
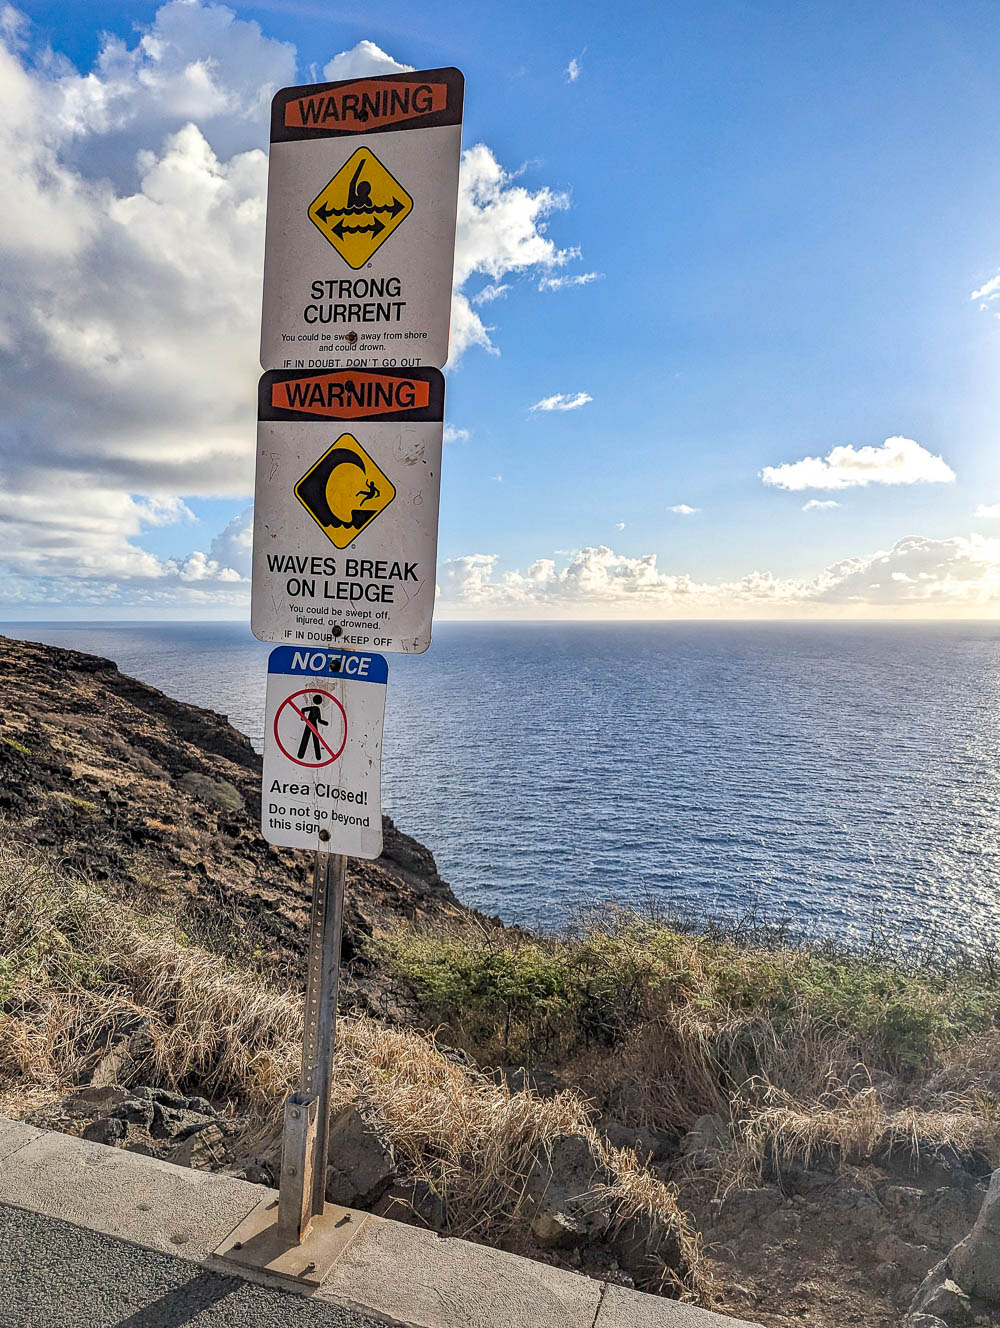
This narrow trail winds around the outside of the rocky peninsula and it’s just super steep and scary here. You’ll see, even way up here at the top, are many warning signs about the dangerous cliff edges and the insane wave breaks. I personally wouldn’t risk a walk on this other trail even if they don’t outright prohibit it. It’s a long way down to a sharp rocky landing, so that’s a hard no from me.
Plus, the lighthouse itself (an active Coast Guard station) is off limits and surrounded by a high fence covered in barbed wire. So maybe just don’t trespass on government property?
What about the pillboxes?
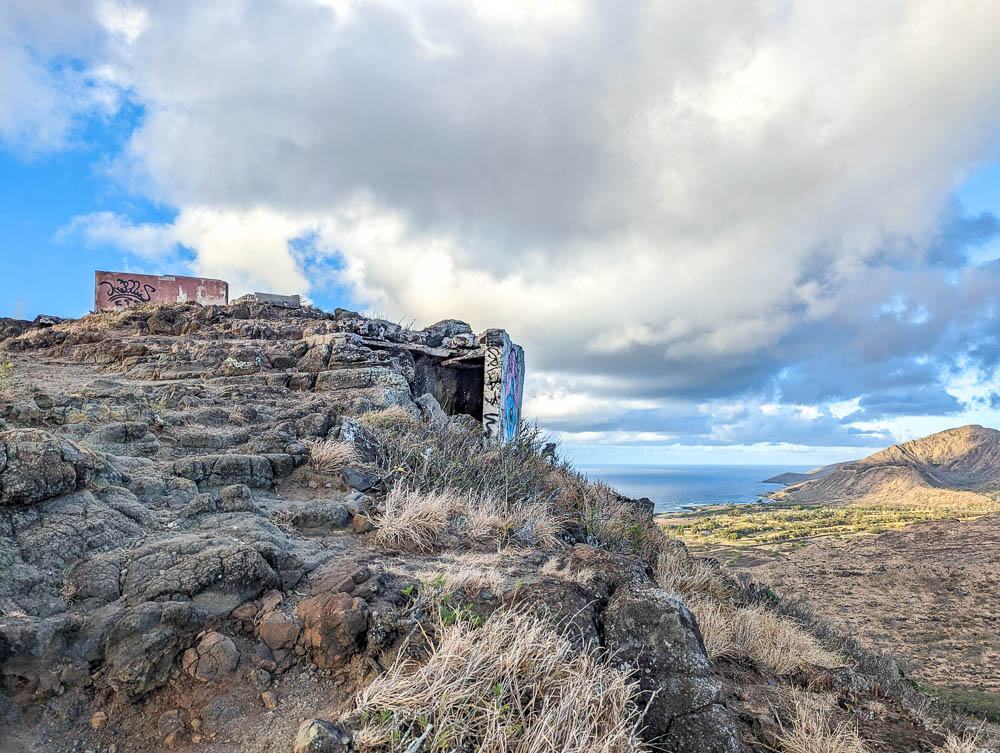
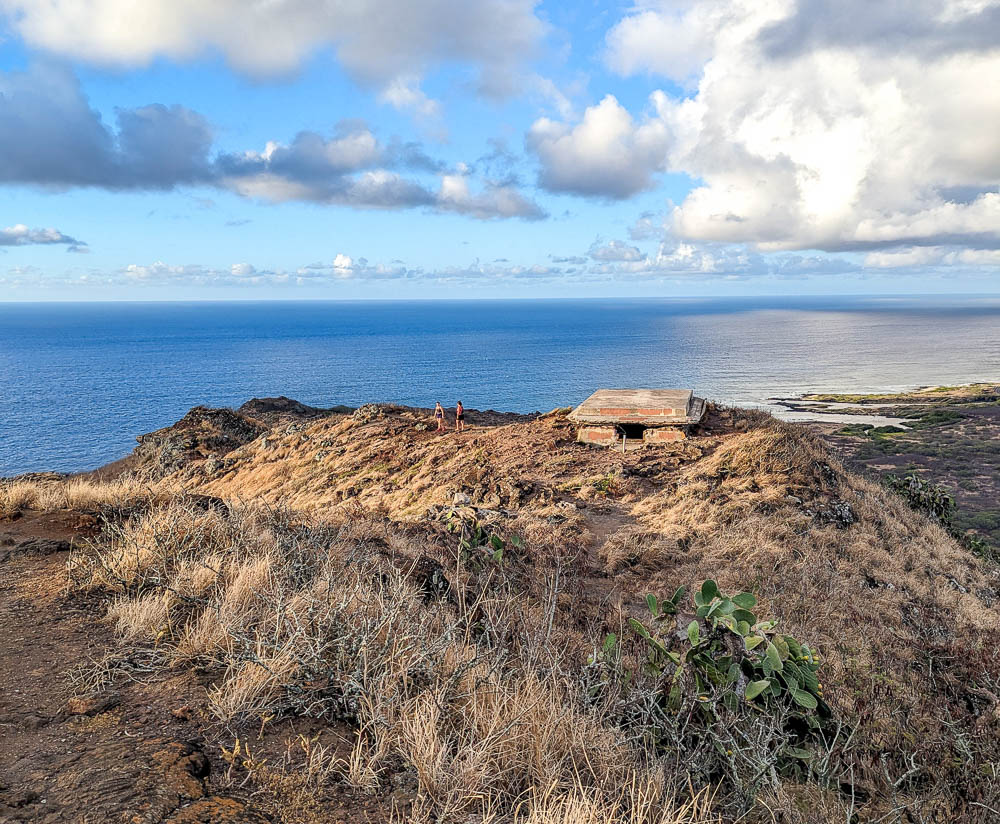
At the top, you’ll also see the remains of some former WWII pillboxes. Seeing as how these are in various stages of decay, hanging out on or around them comes with risks, so just take note.
From the viewing area, you’ll be able to follow any number of haphazard paths up to the pillboxes. Half the time I think I was just making my own path. It’s a bit tricky getting up and down and pretty dangerous since there really isn’t a trail, there are countless sharp stabby rocks and other ways to contract tetanus, and the area is filled to the brim with cacti.
Additionally, it’s even more windy atop the pillboxes so you really have to be careful. But the views from up there are definitely spectacular. I’m sure this part of the trail is not encouraged, but also not prohibited. As with all hikes here and everywhere, continue at your own risk!
Makapu’u Lighthouse Trail length
Distance: The Makapu’u Lighthouse Trail is 2.5 miles round trip. That’s from the trailhead, to the top viewing platforms above the lighthouse, and back down to the trailhead.
Time: Prepare to spend about 1.5 hours hiking the Makapu’u Lighthouse Trail from start to finish, roundtrip. It can certainly be done much faster—closer to an hour if you’re in a hurry. But 1.5 hours includes a steady pace and some time spent at the top admiring the views.
Here’s how my Makapu’u Lighthouse hike looked, time-wise
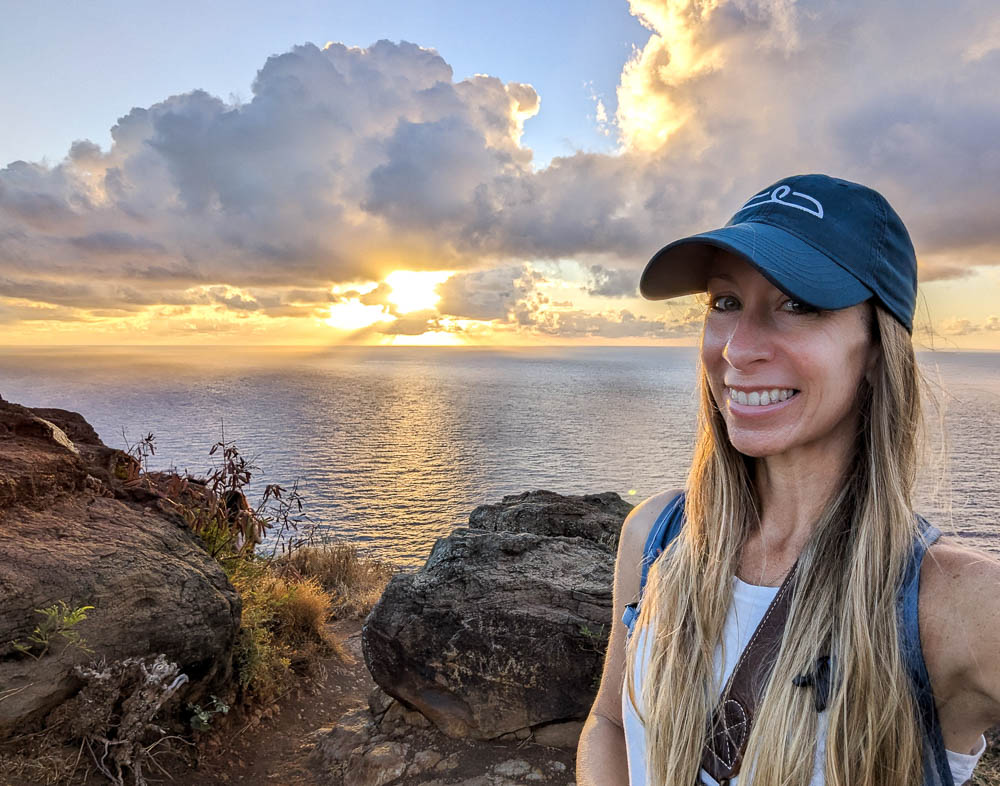
From the start at the trailhead to the lookout point and back to the trailhead took me 1 hour and 45 minutes. I left my car at 5:35am and returned to my car at 7:20am.
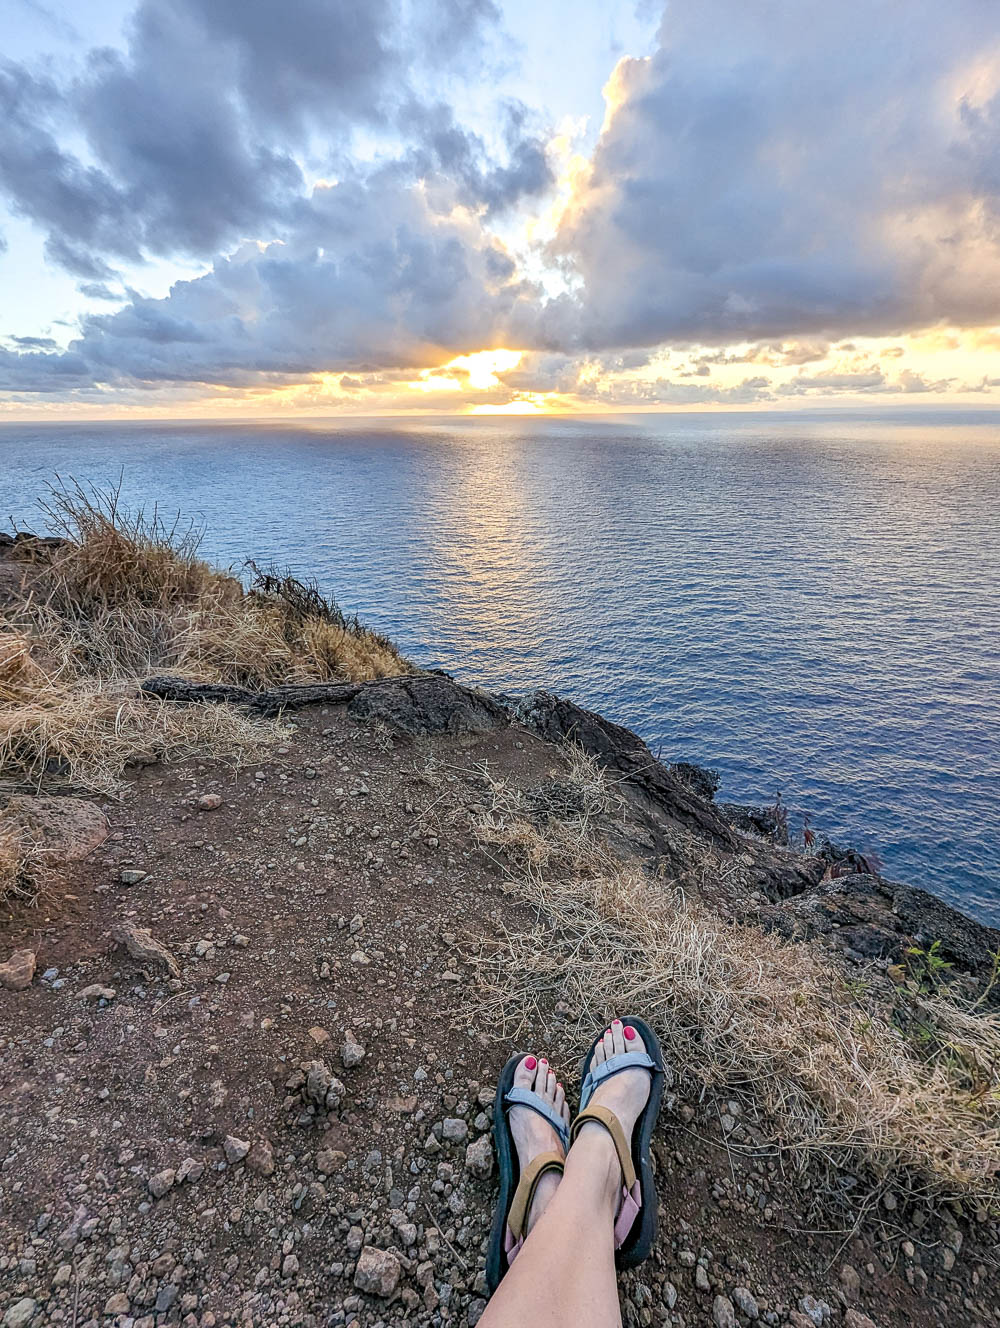
But, the important thing to know here is that I hiked up to the viewpoint to watch the sunrise, so I spent a significant amount of time just sitting around and waiting. I also spent some time exploring the ruins of the WWII bunkers at the top.
If you’re a more leisurely hiker who also enjoys exploring and maybe just hanging out at the top, then go ahead and budget up to 2 hours for yourself. However, note the difficulty details below when coming up with your time budget.
The Makapu’u Lighthouse Trail is just one of the awesome WWII hikes on Oahu. Check out my post in that link for a list of other great history-centered options.
Makapu’u Lighthouse Trail difficulty
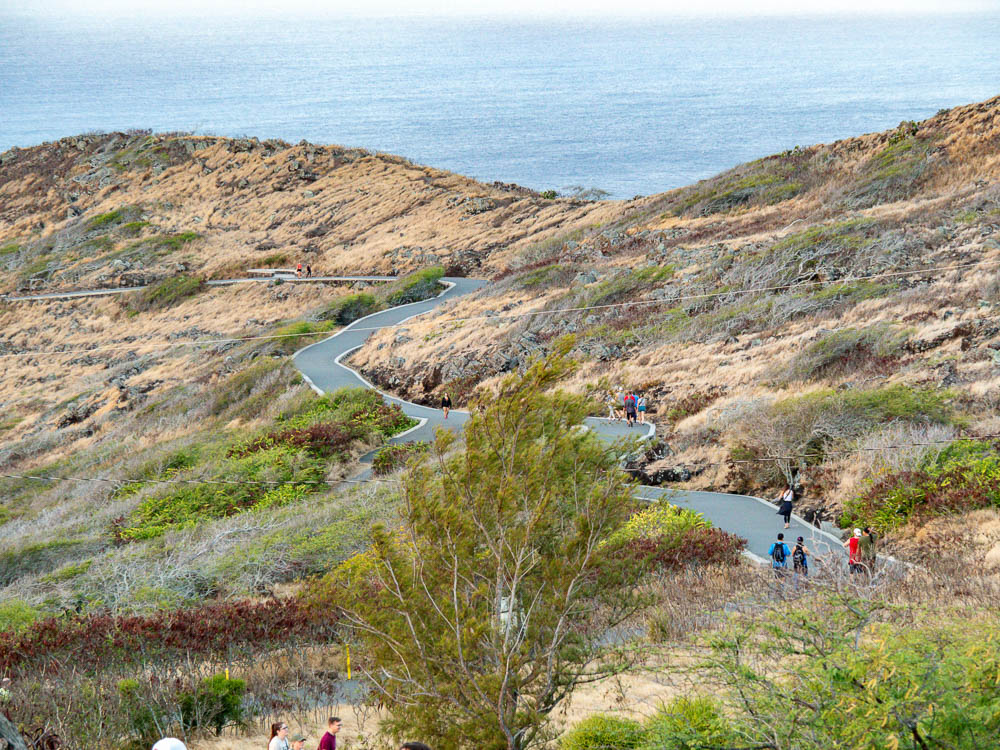
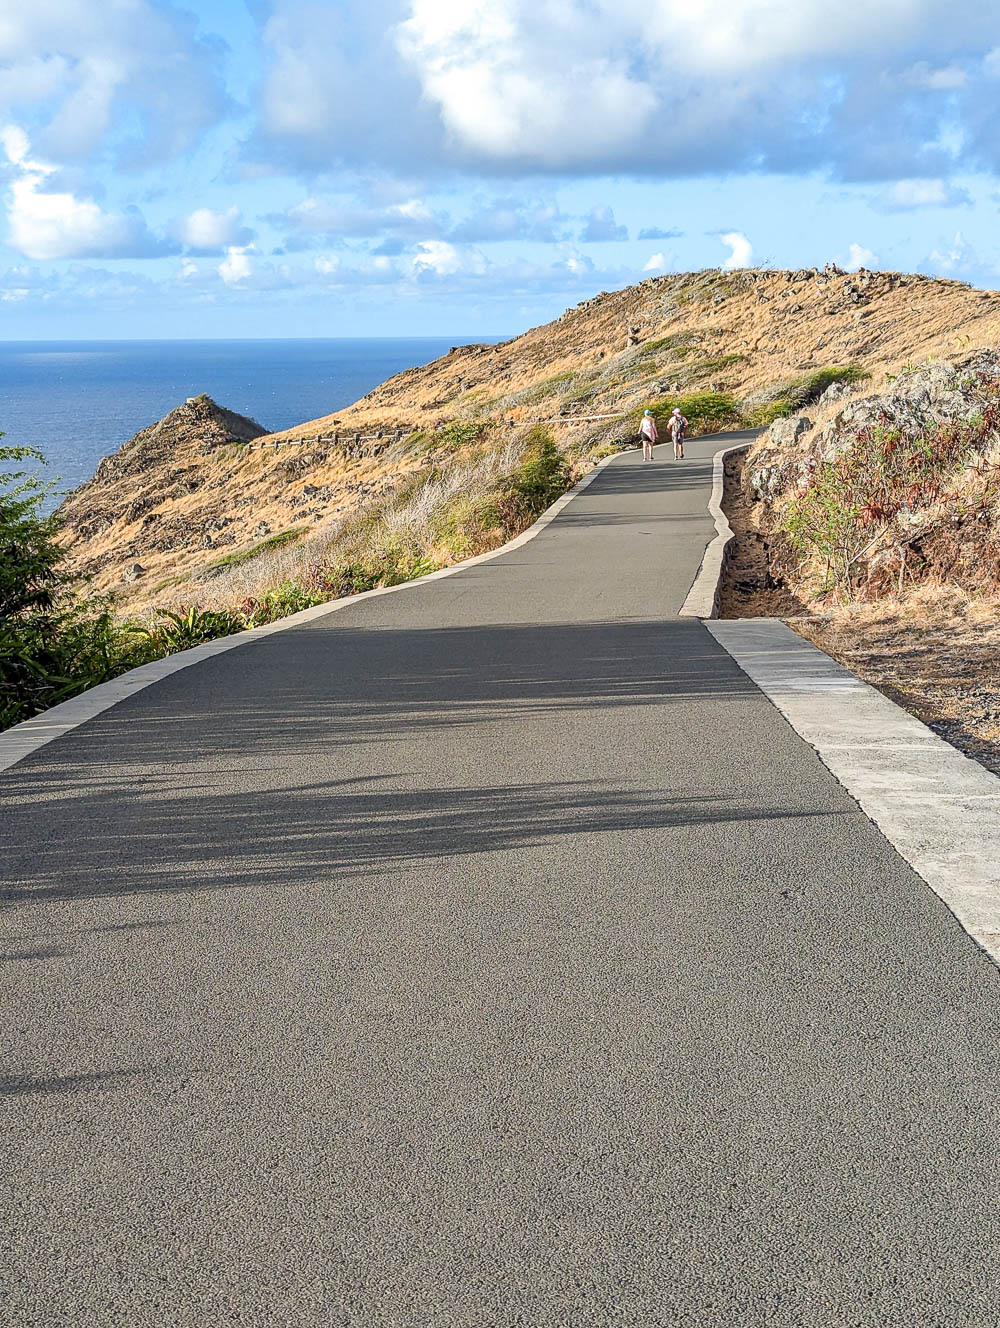
The Makapu’u Lighthouse Trail is definitely the easiest of all the hikes I did on Oahu. That doesn’t mean it doesn’t take some real effort to get to the top, it just means there’s almost zero challenge to this hike. If you can walk in a straight line, you’re good to go.
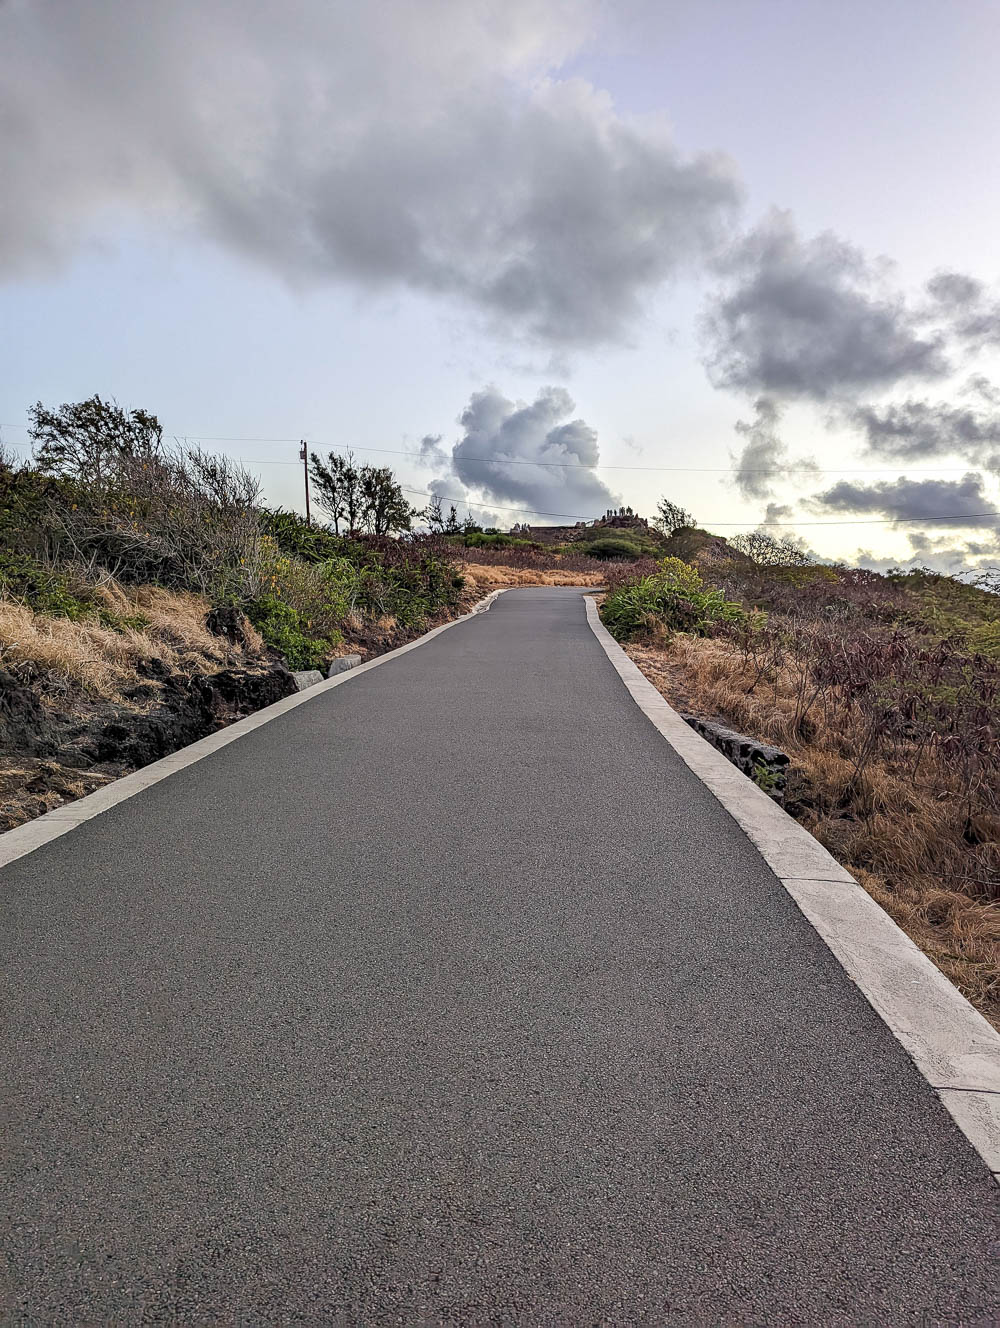
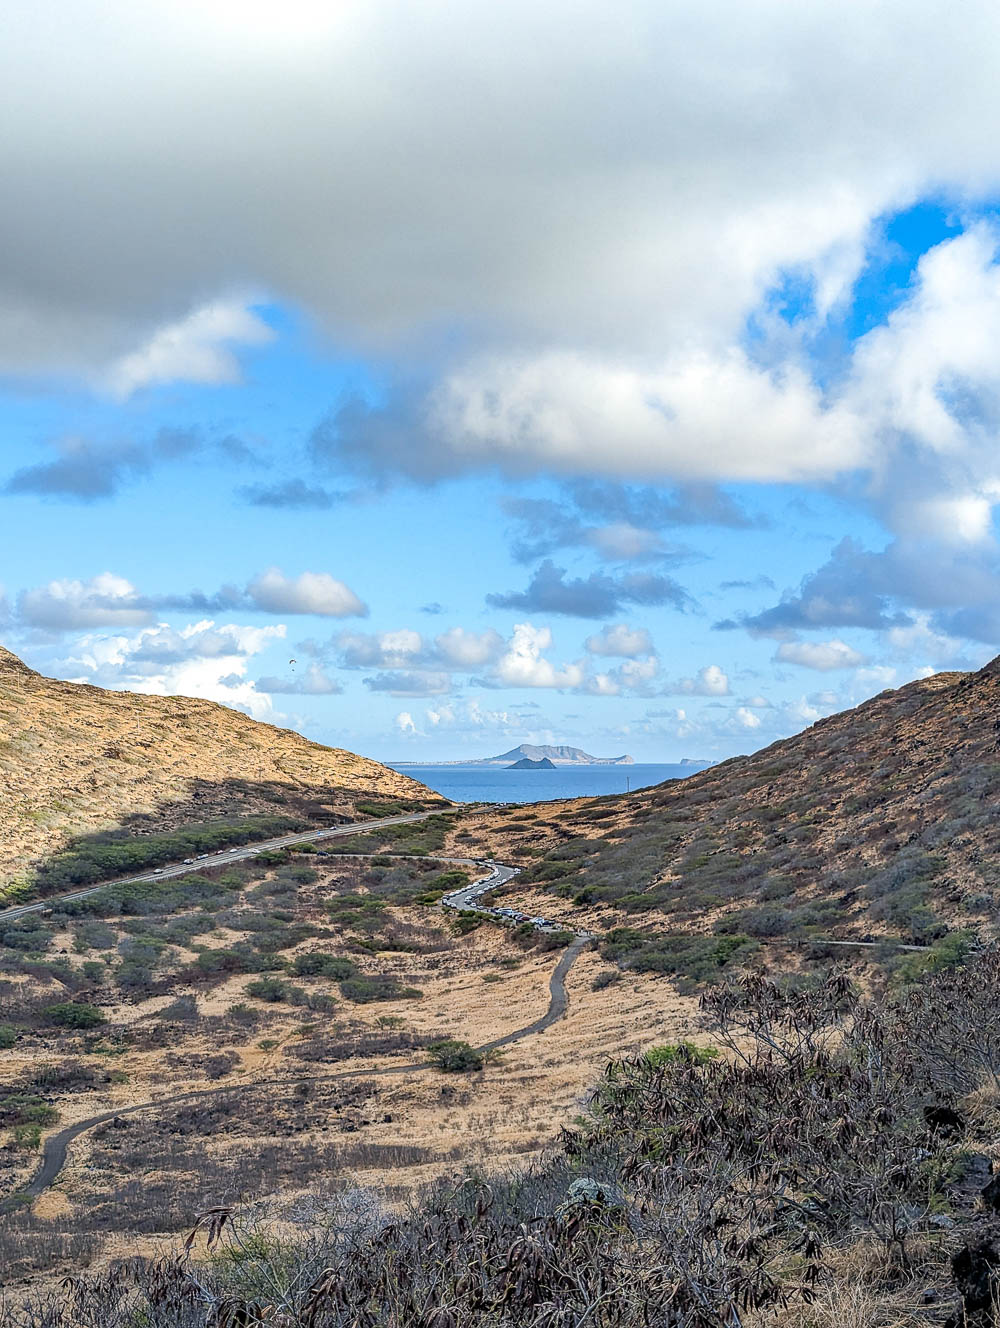
The entire trail is wide and newly paved so the going is comfortable and steady. The only thing of note here is that, with a consistent average incline between 5-8%, the trail is pretty steep so you’ll definitely put in the work all the way to the top.
Makapu’u Lighthouse Trail accessibility
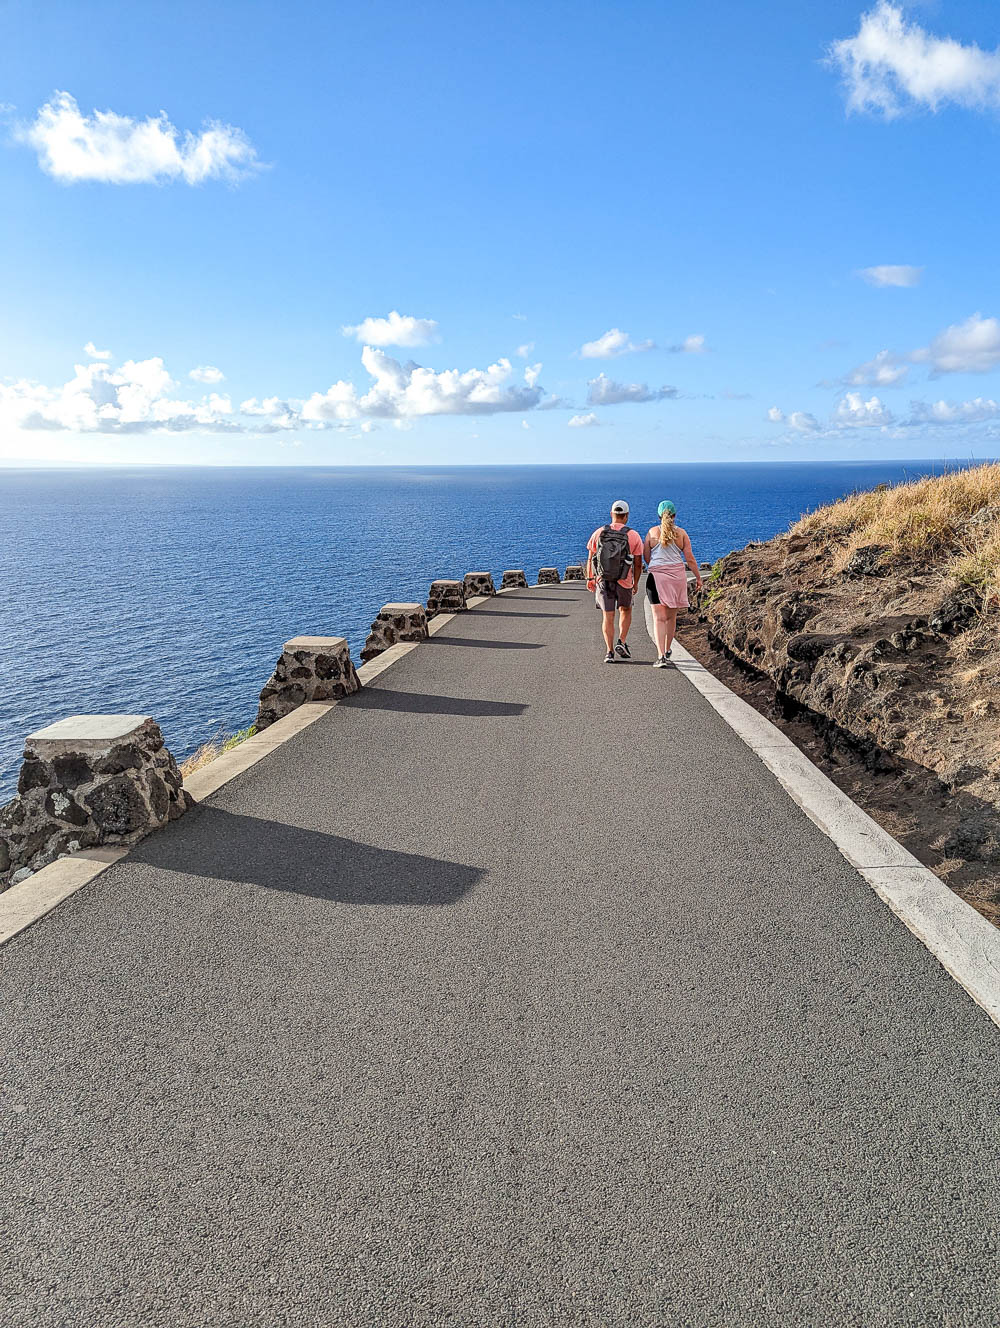
One thing I love about the Makapu’u Lighthouse Trail is that it’s one of the very few hikes on Oahu that’s fully ADA accessible. Given its flat, fully paved terrain, even wheelchair users can scale the summit. There are two accessible parking spots in front of the trailhead.
That being said, it’s important to note the steep grade here so this trail isn’t without its challenges, especially for manual wheelchair users going solo.
Can you do the Makapu’u Lighthouse Trail with kids?
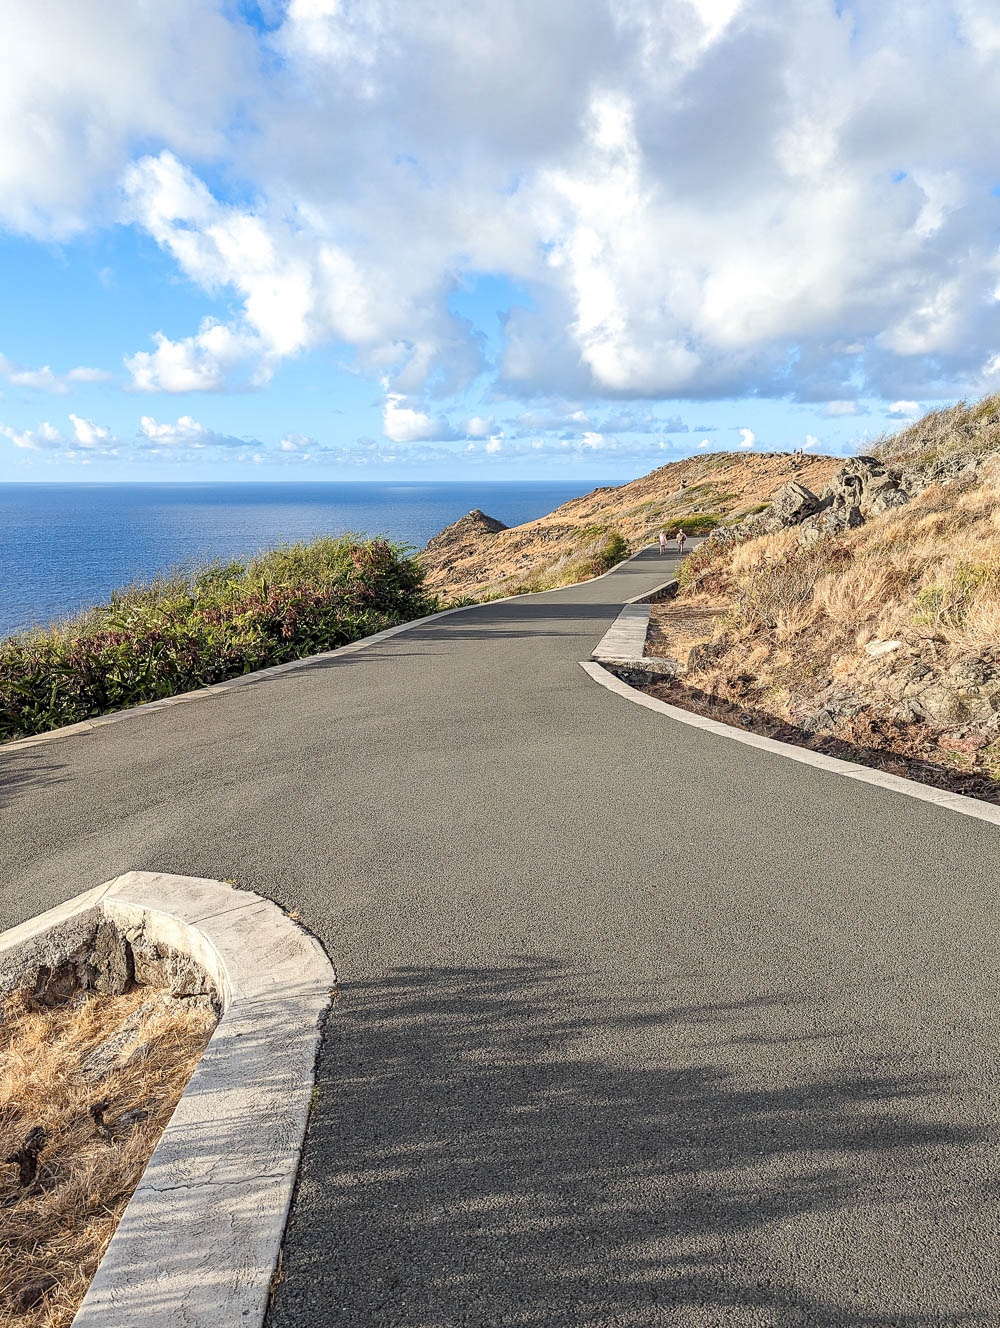
The features that make this trail ADA accessible are the same ones that make it popular among families. Due to the paved nature of this trail, even babies in strollers can enjoy the views from the summit, though they’re probably only concerned with chewing on their feet. As someone without kids, that’s just my best guess.
Just, umm, pay attention to them around the cliff edges where there are no barriers whatsoever. Like maybe a blanket “no running” mandate is in order here.
Makapu’u Lighthouse Trail elevation
At just 650 feet, there’s only a little bit of elevation gain on this hike. The good thing is that it’s pretty spread out. (A consistent 5-8% incline.) You’ll be consistently slogging uphill, but it’s nothing like the Koko Head railway trail!
Makapu’u Lighthouse Trail fitness results
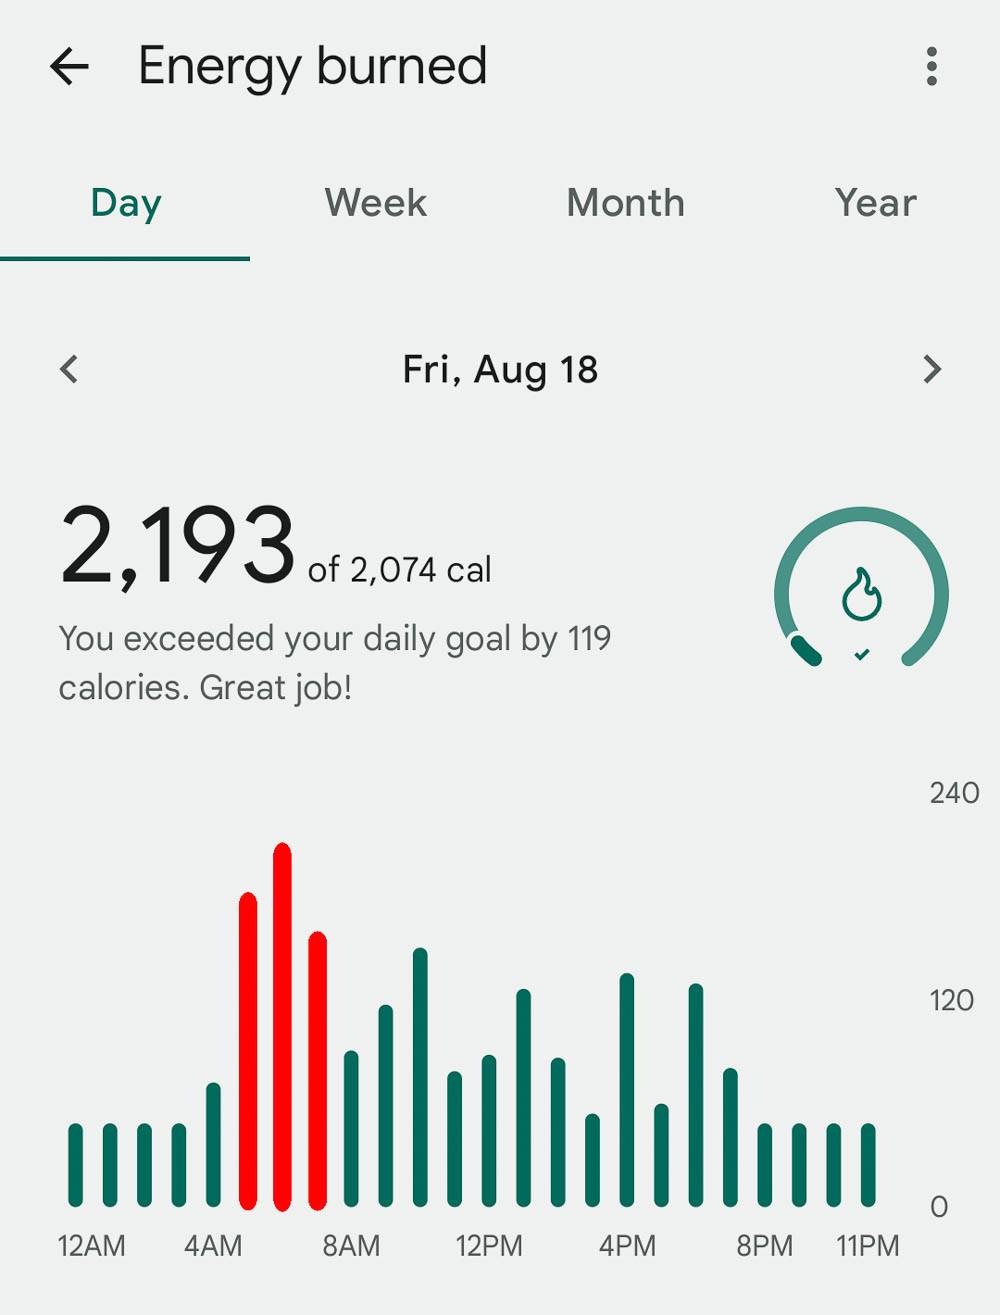
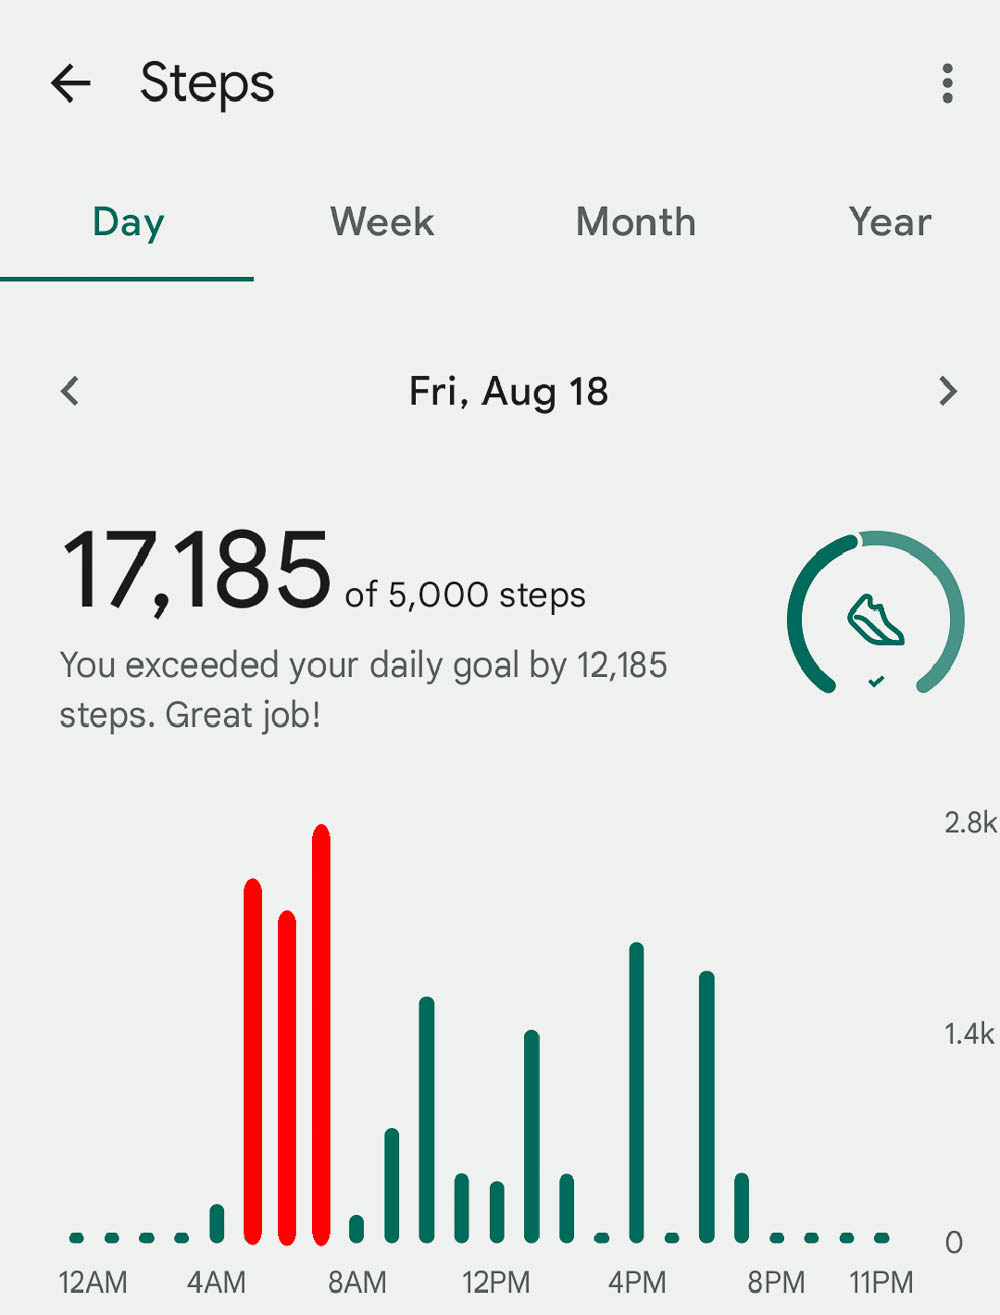
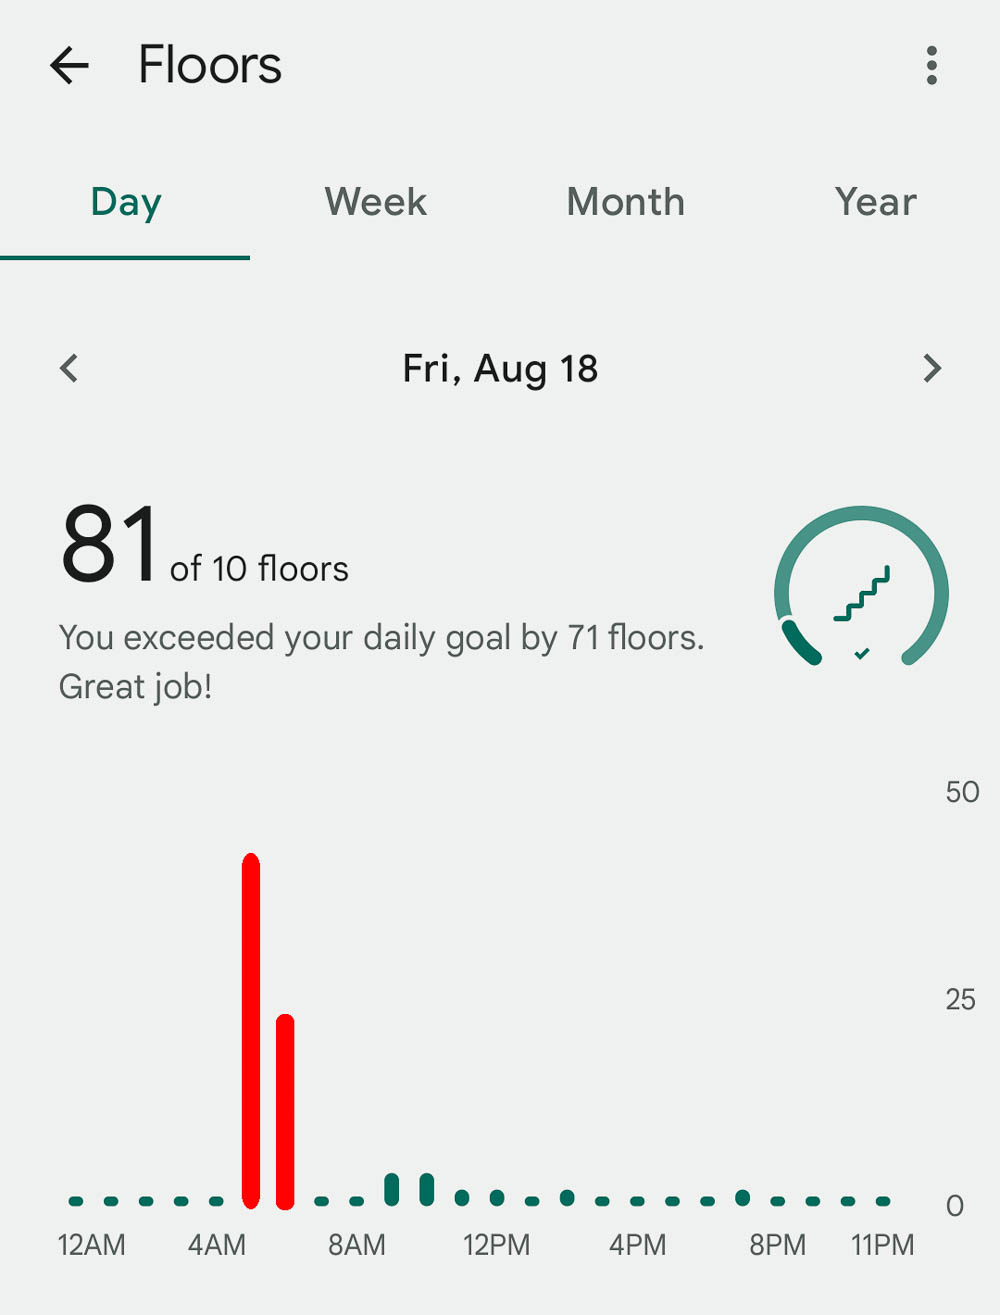
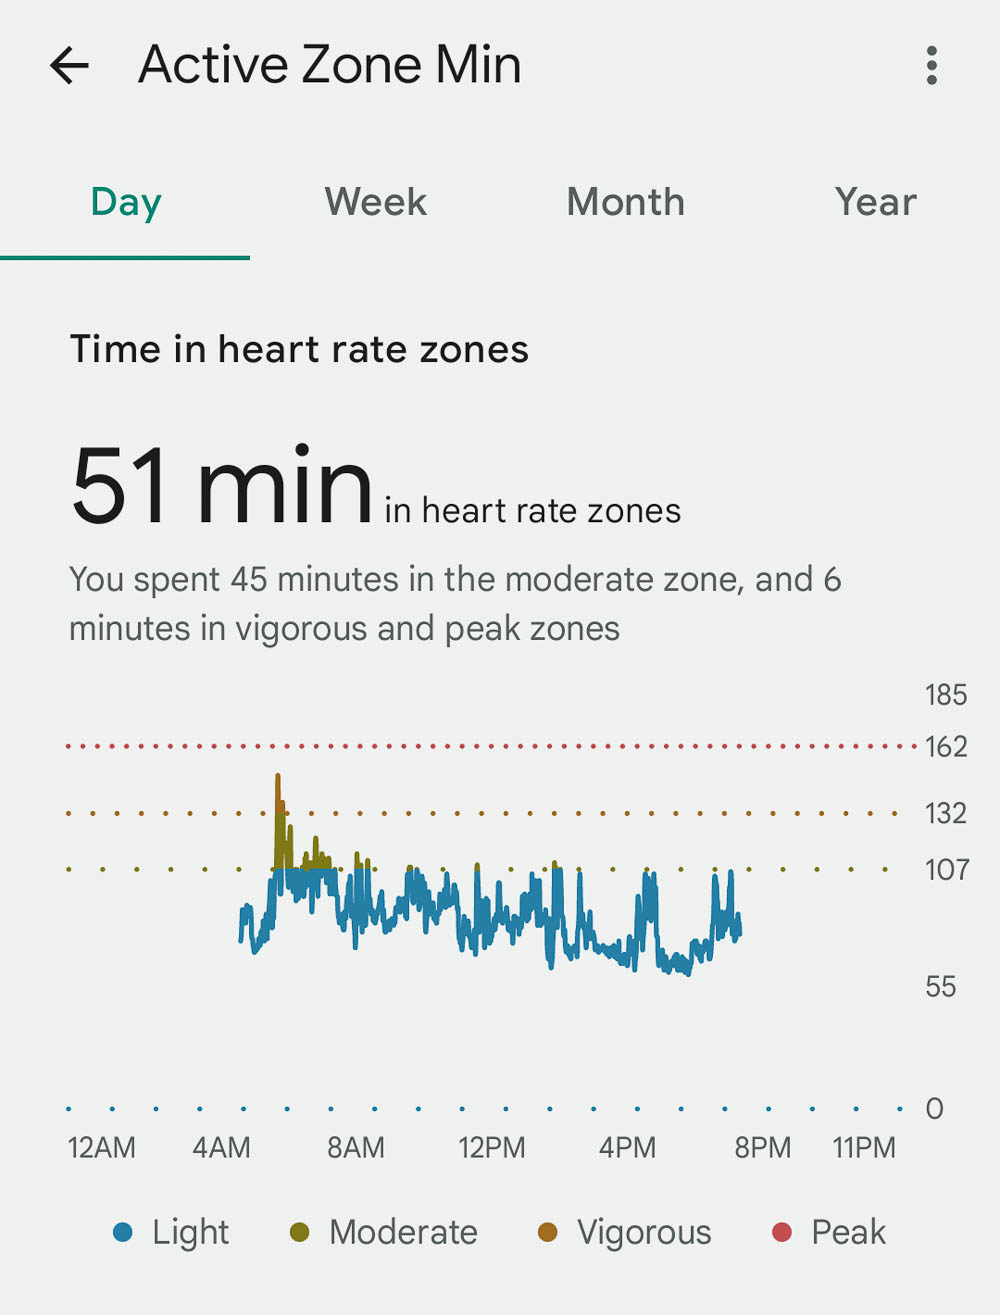
A lot of what you want to know about hiking trails can be gleaned from your Fitbit results. So, here’s what the Makapu’u Lighthouse Trail looked like according to my Fitbit Versa: (only the red lines represent the hike)
- Steps taken: 7,247
- Floors climbed: 64
- Calories burned: 534
Makapu’u Lighthouse hiking conditions
Like with most of the hikes on Oahu, you’re going to experience fully exposed, hot, and humid hiking conditions on the Makapu’u Lighthouse Trail. That’s just Hawaii and that’s why we love it. But here, you also get the added bonus of wind!
There’s pretty much zero shade on this trail so if you hike at any time past sunrise you’re going to be absolutely blasted with sun rays. The good part is that this hike can also get pretty windy the higher up you go, so at least there’s a breeze!
It’s not terribly windy up here (nothing like what you’ll experience at Diamond Head), but do hold on to your hats. And your butts, near the cliff edges. S’all I’m saying.
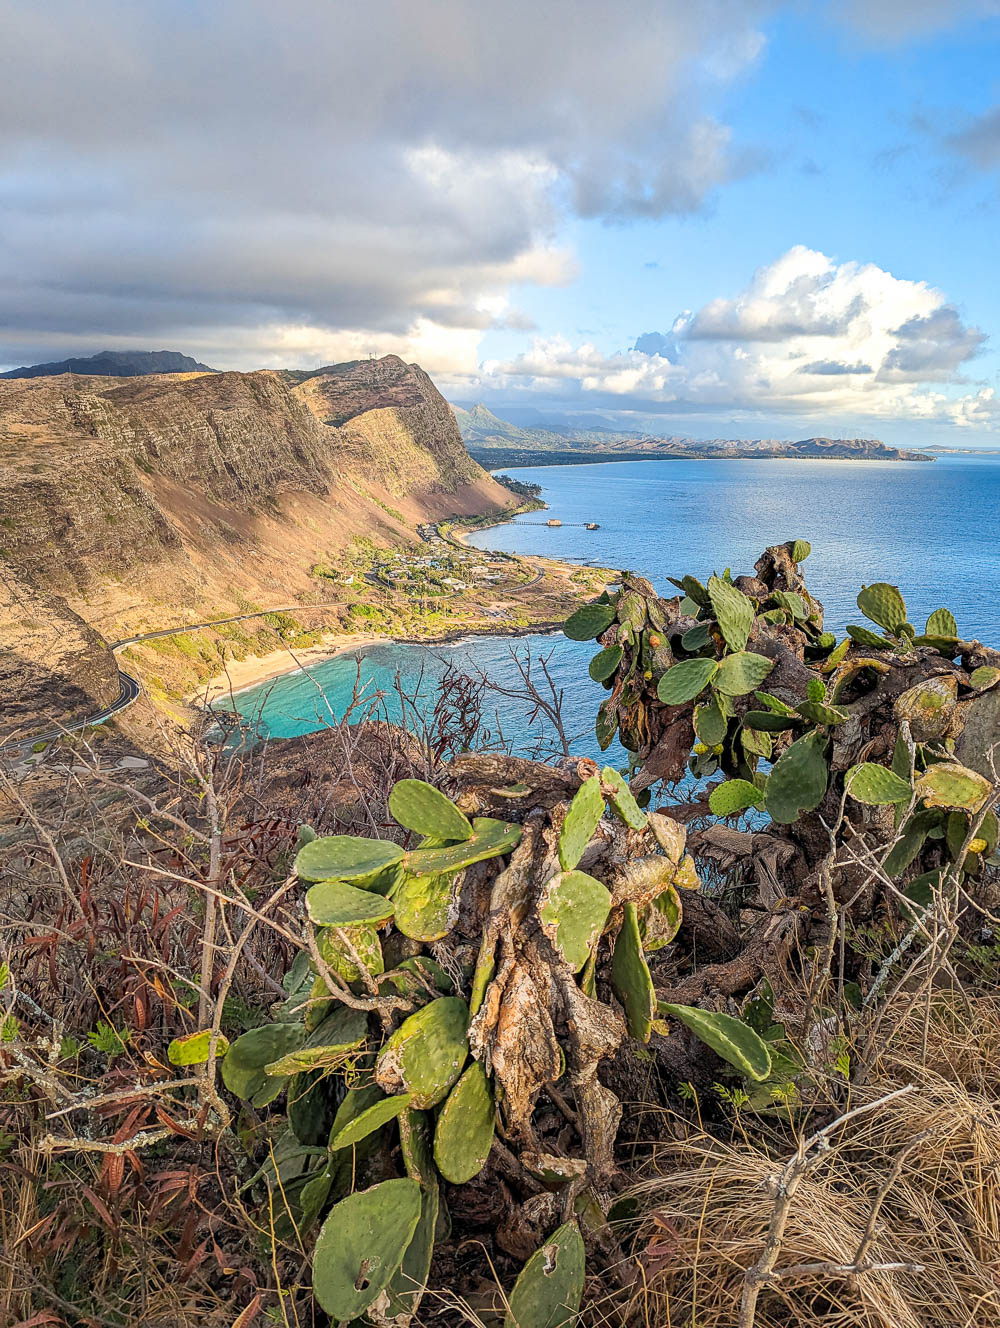
Makapu’u Lighthouse Trail terrain
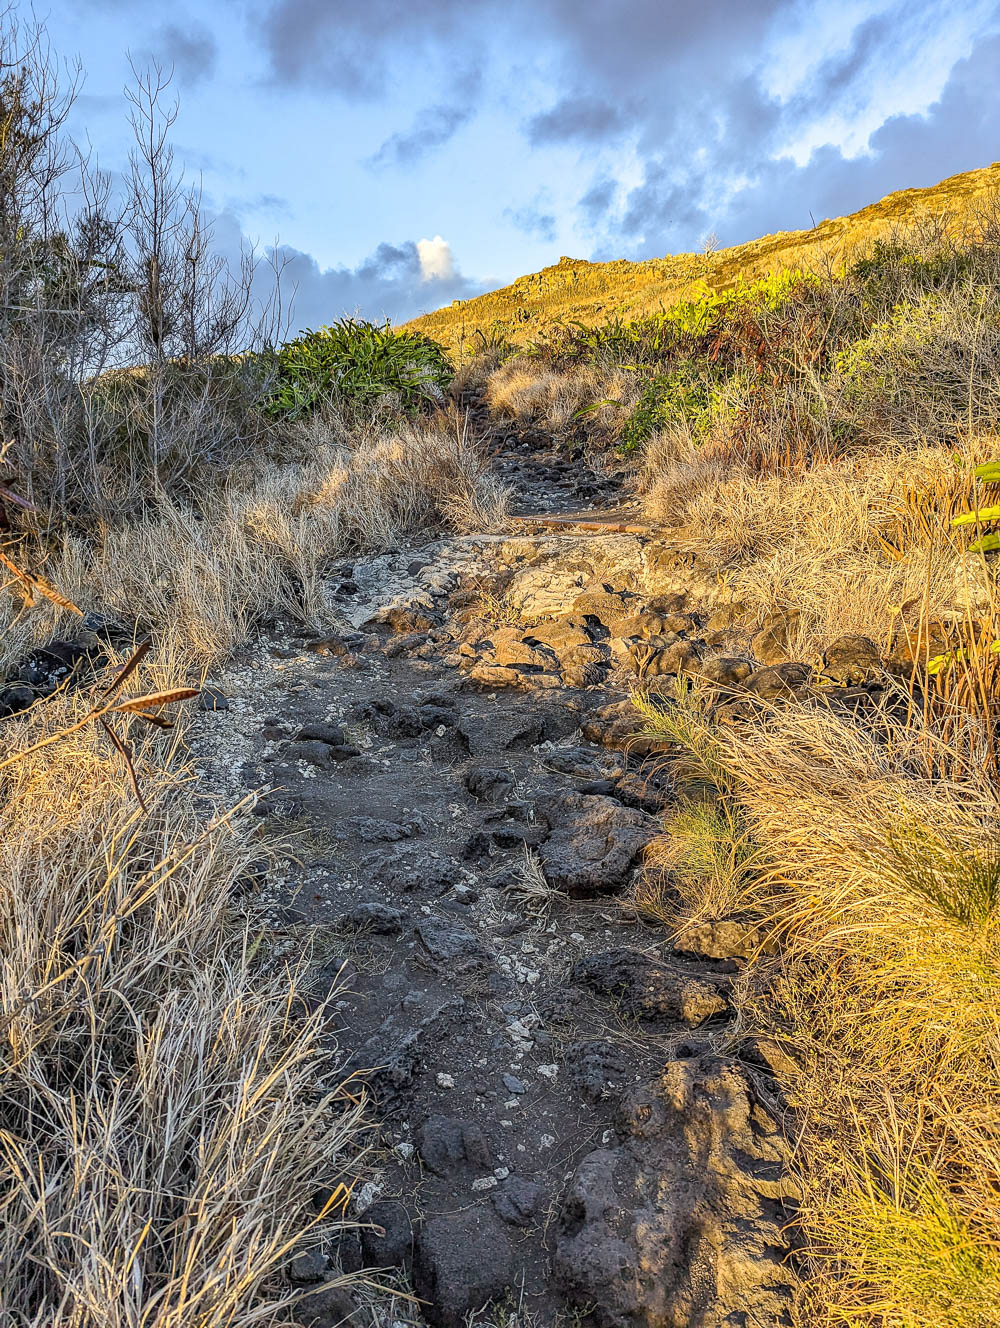
One of the best things about the Makapu’u Lighthouse Trail is its terrain. It’s beautiful, black, newly paved terrain. (Sure, to more experienced hikers it may feel like cheating, but it also feels like a breath of fresh air and I am so here for it!)
I should mention though that even though the paved trail takes you to the new viewing platforms, there are more areas to explore up here. You may have to do a little bit of “off-roading” if you want a good spot to watch the sunrise or to explore the pillboxes.
There are paths here that’ll take you up to the ruins of the war-era bunkers and those are little more than worn dirt over sharp craggy surfaces that wind through sharp prickly plants. These are not part of the “official” trail, but you should still be prepared if you tend to wander off like I do.
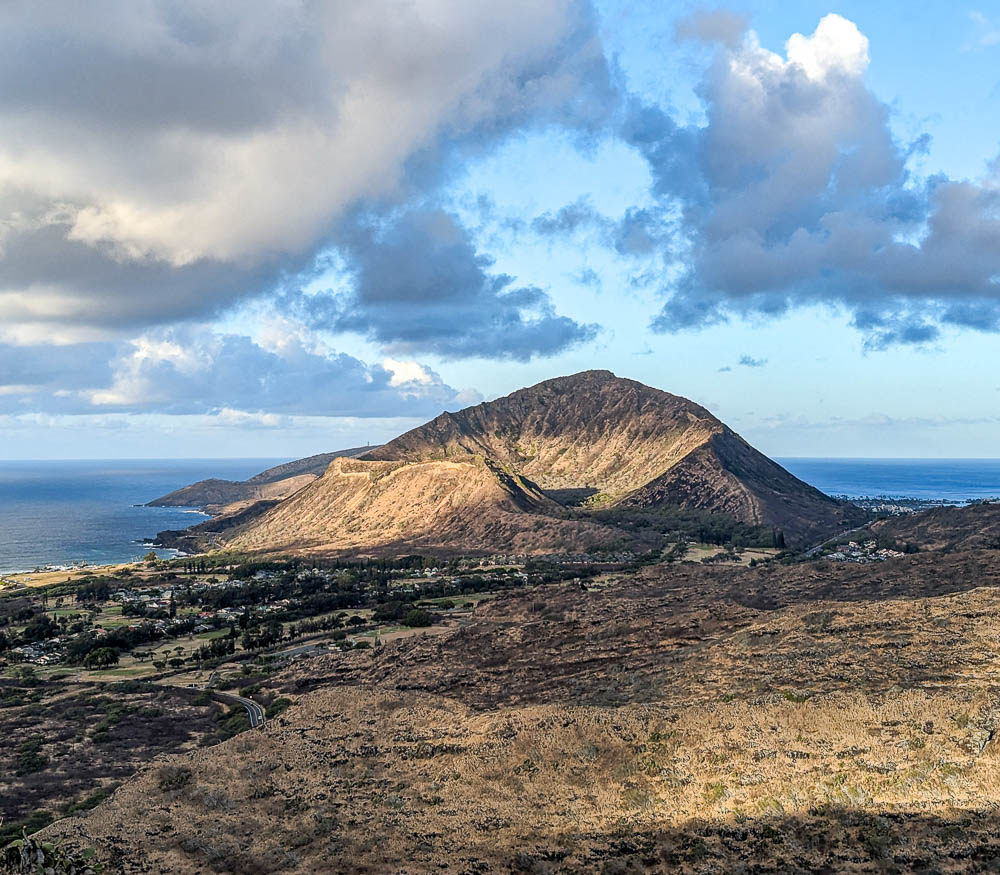
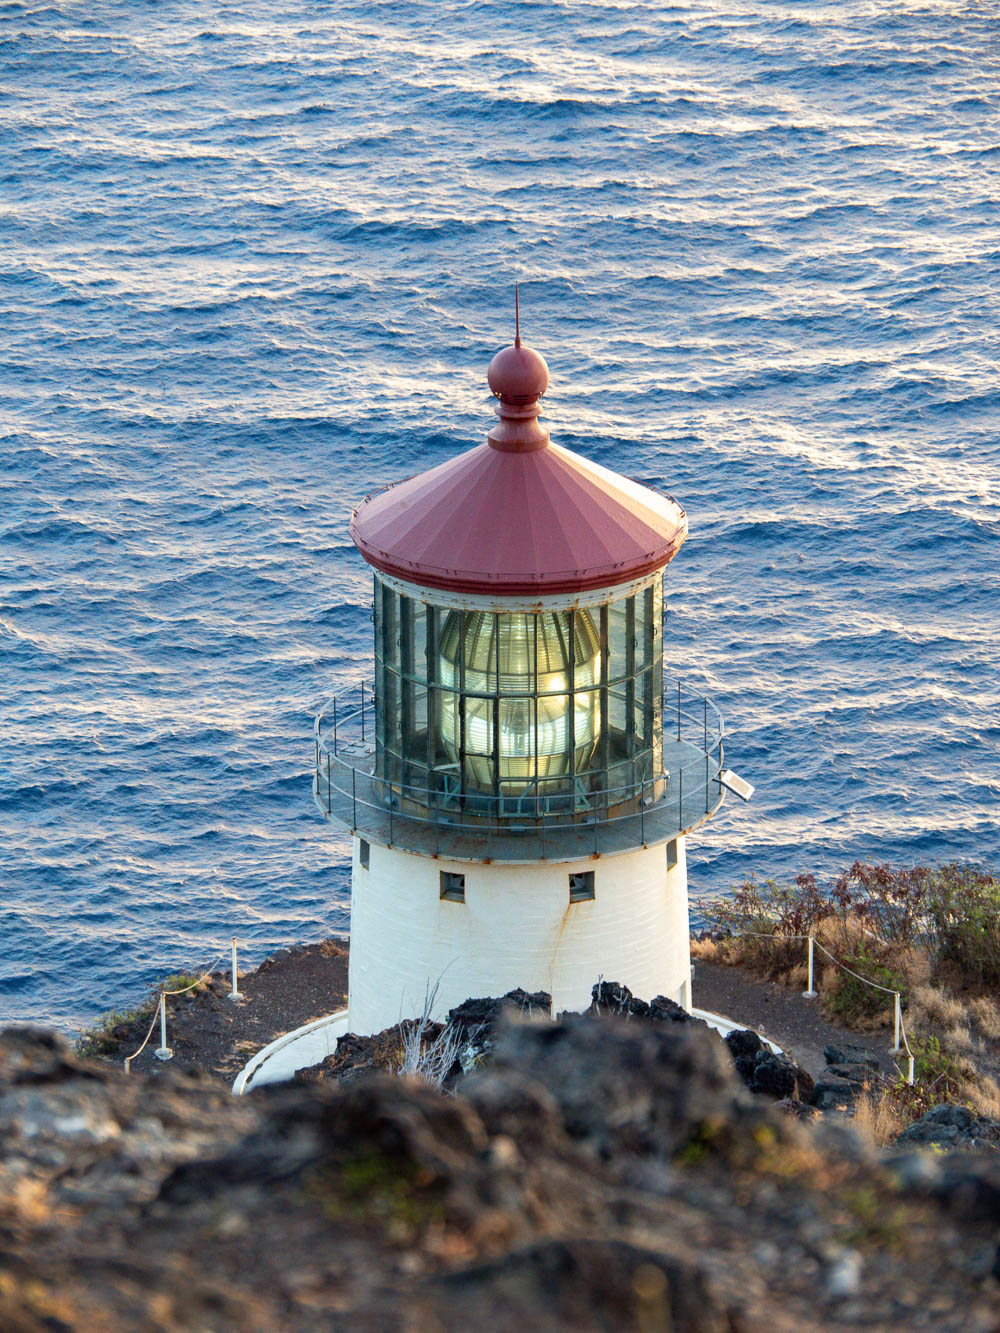
Makapu’u Lighthouse Trail views
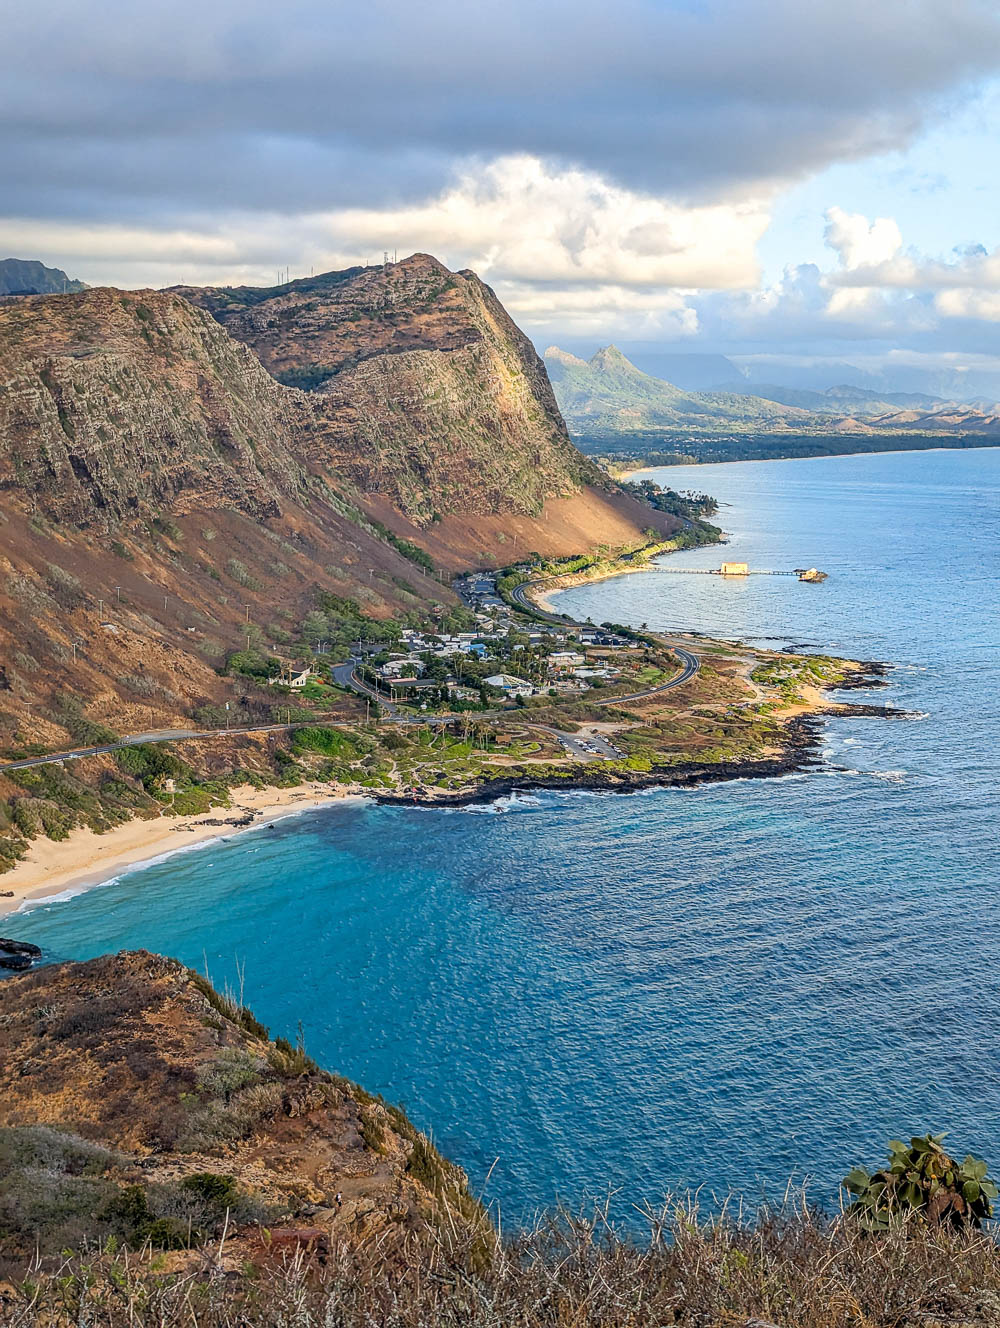
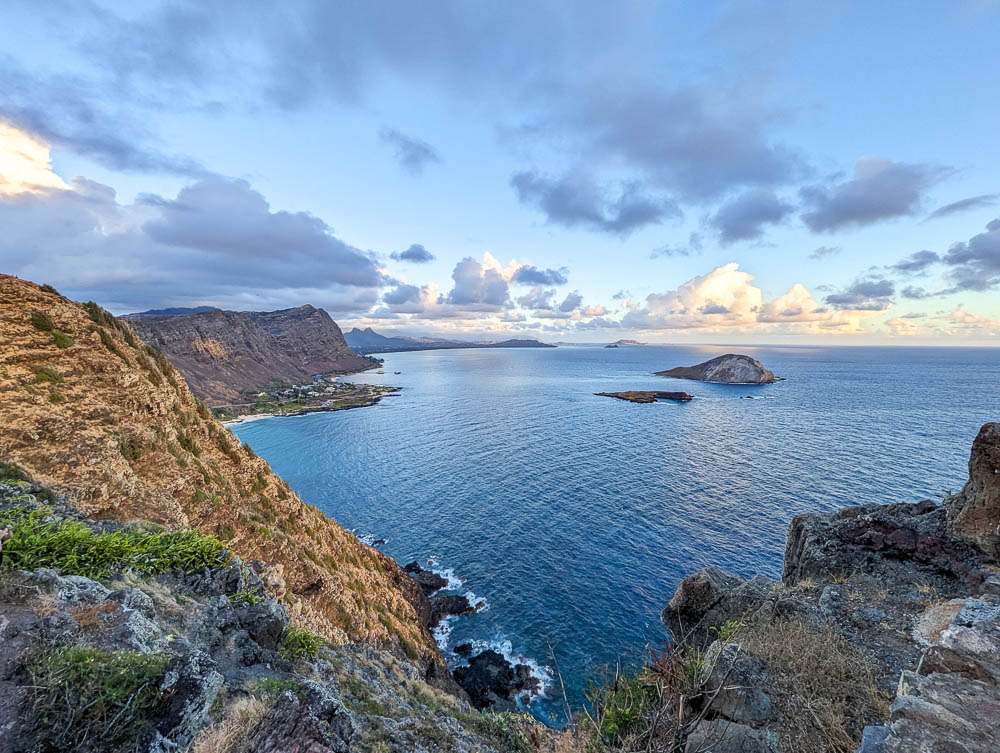
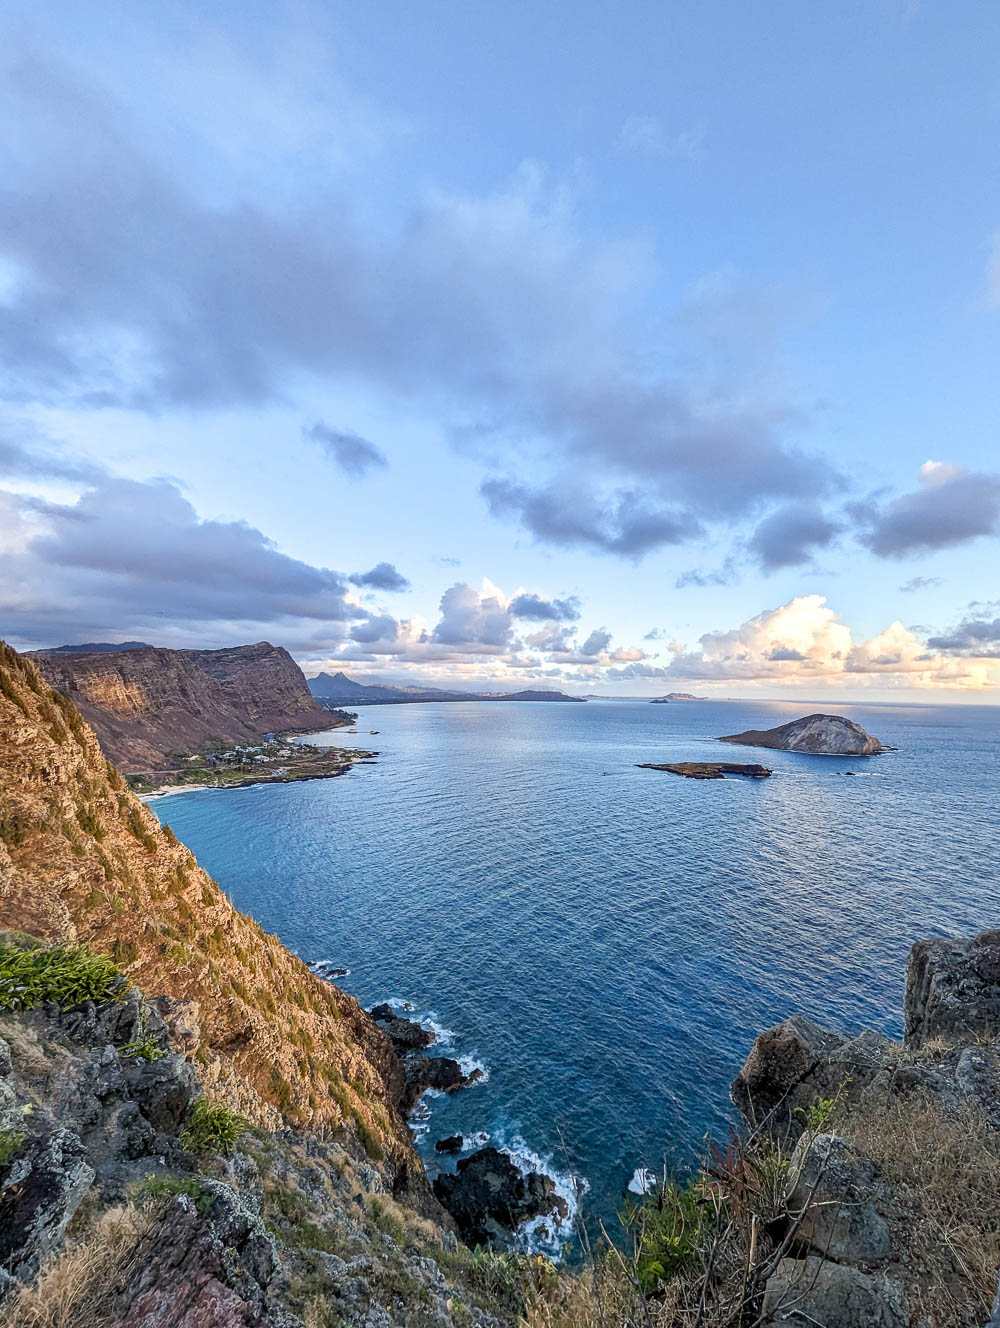
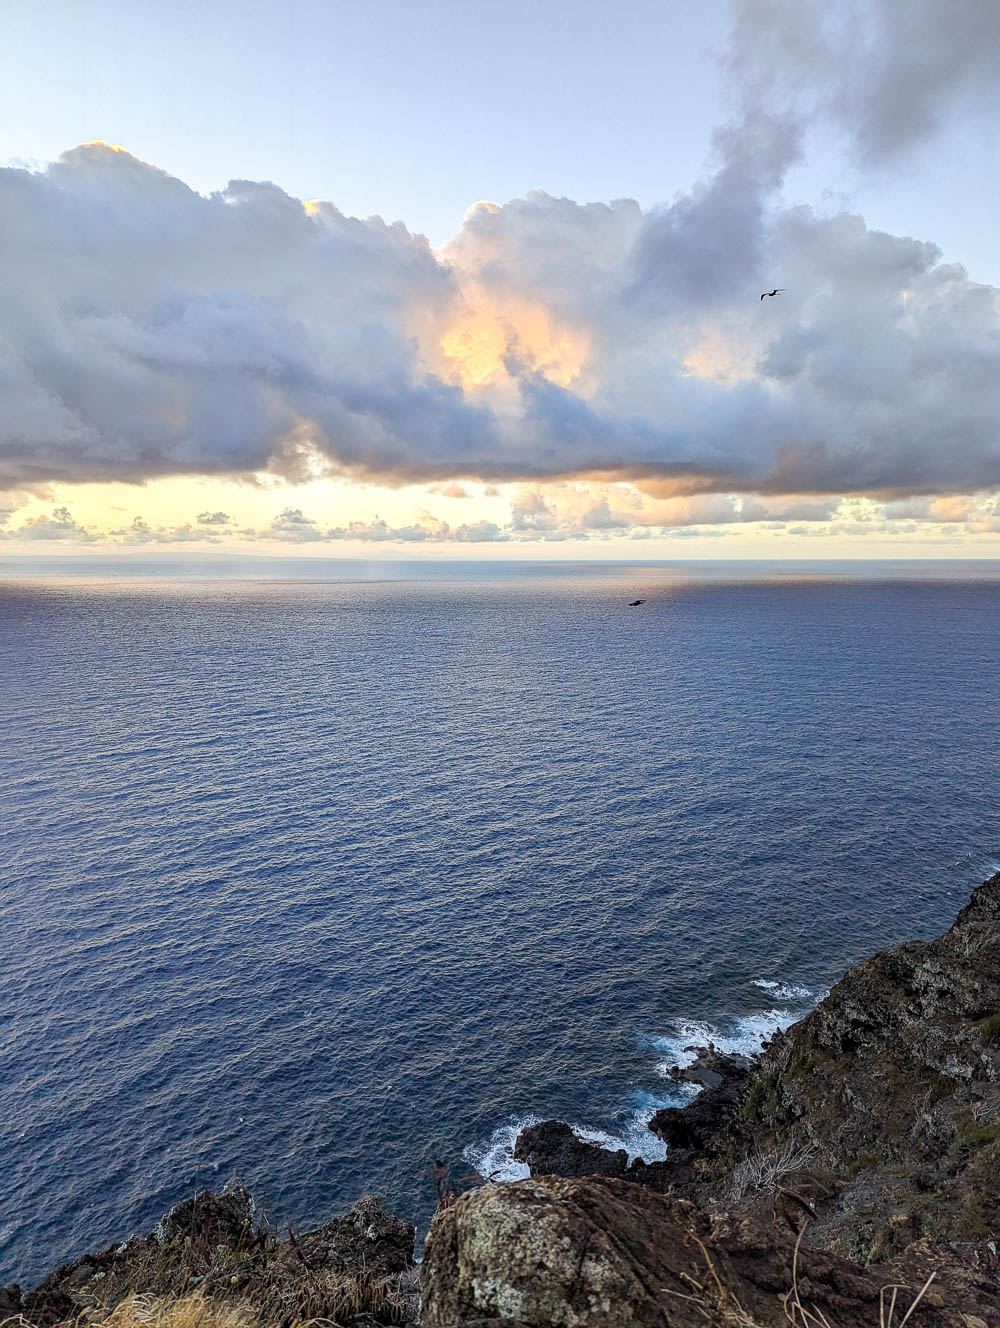
The Makapu’u Lighthouse Trail offers some of best views of this part of the island, from start to finish. Being located on a peninsula, you really do get jaw-dropping scenery coming at you from all directions. On this hike, look for:
- The Makapu’u Lighthouse, obviously
- Sea Life Park (where Adam Sandler works in the movie 50 First Dates) and the gorgeous landscape that surrounds it
- The small offshore islands of the Mānana Island Seabird Sanctuary
- The Hawaiian islands of Moloka’i, Lanai, and Maui (on a clear day)
- Diamond Head Crater
- Koko Head Crater
- and whales!
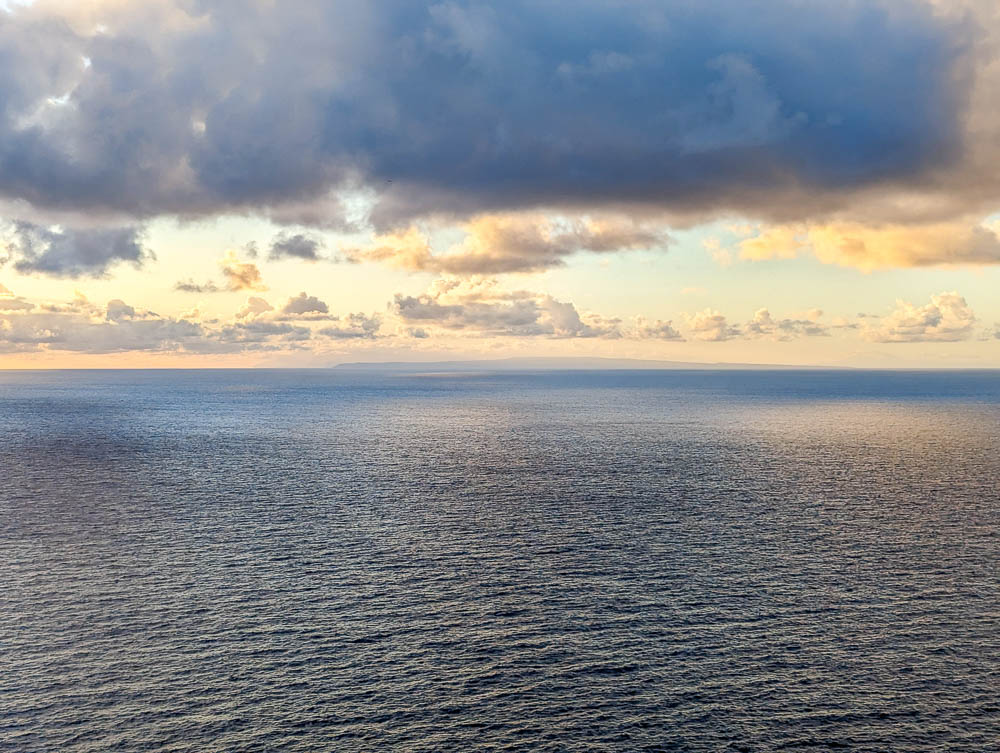
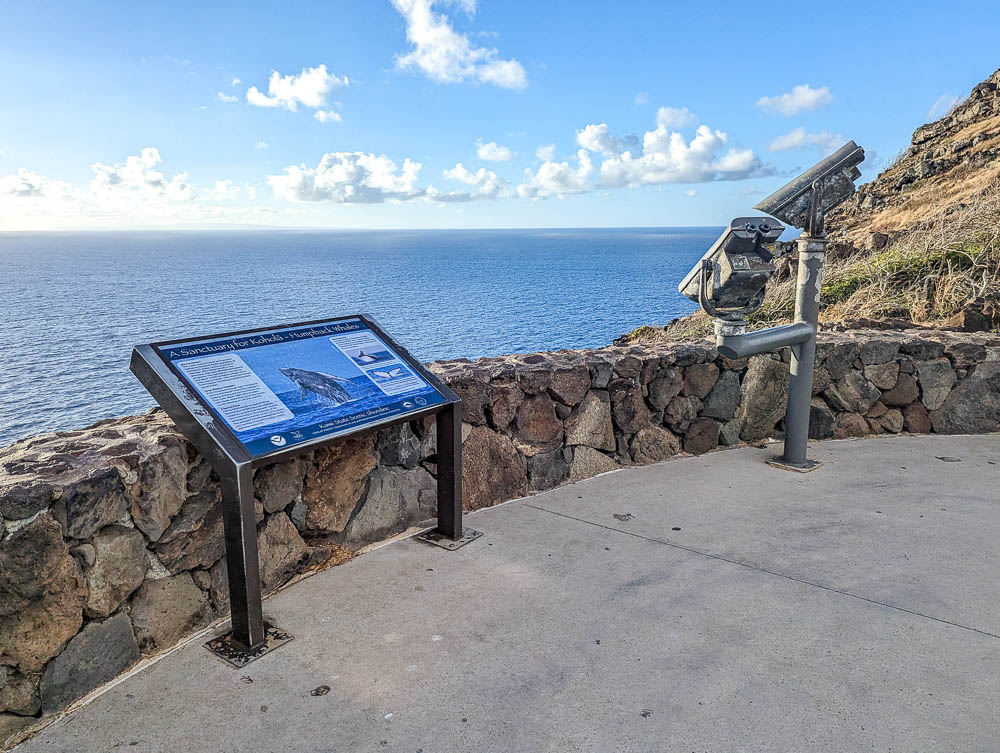
Whale watching on the Makapu’u Lighthouse Trail
The Makapu’u Lighthouse Trail is also a popular spot for whale watching between the months of December and April. This is humpback whale migration and mating season and they apparently love the lighthouse just as much as we do.
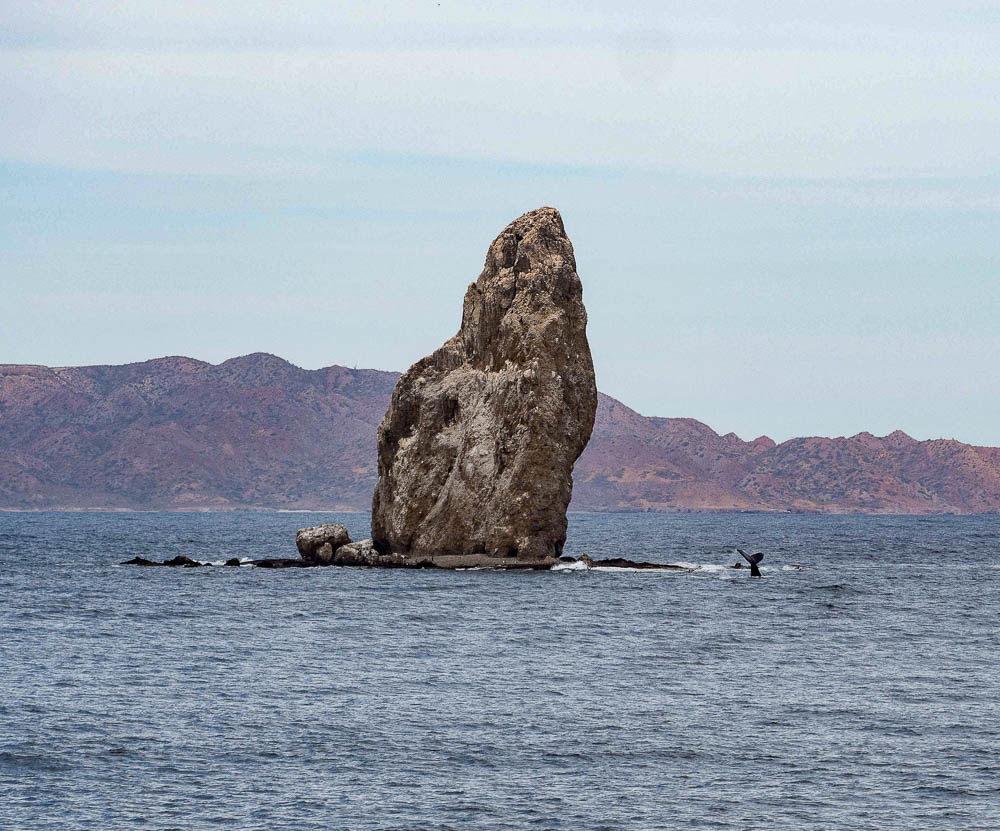
The trail contains some whale information on panels and there are even some of those binocular telescope things in case you didn’t bring any of your own. (I hiked this trail in August so I wasn’t able to see any whales, so here’s a picture from my time cruising around Baja California Sur earlier this year.)
Makapu’u Lighthouse Trail sunrise hike
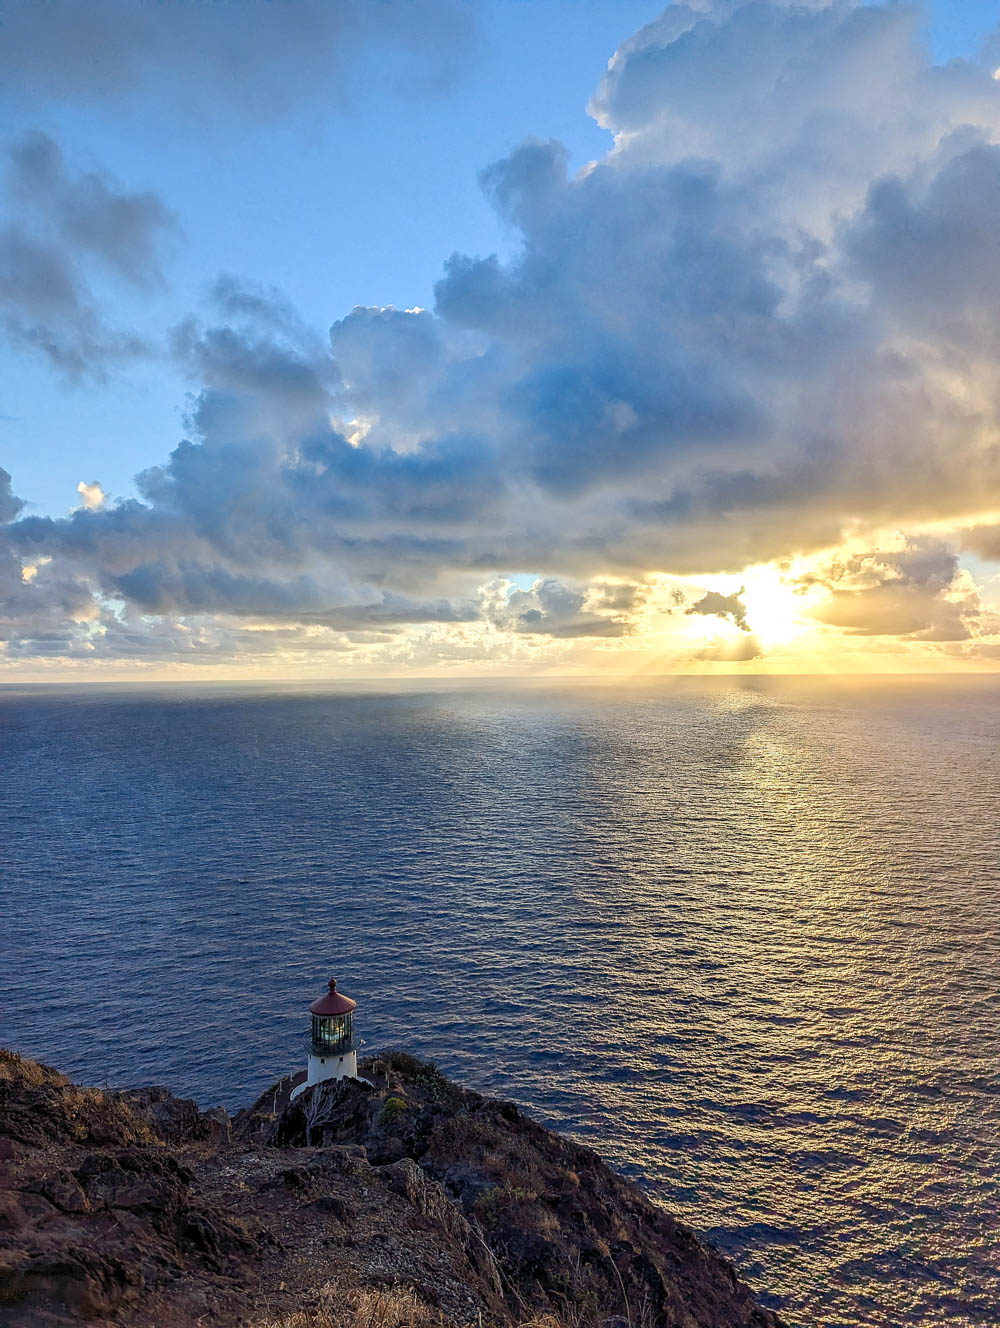
The Makapu’u Lighthouse Trail is a very popular sunrise hike (on an island filled with amazing sunrise hikes). You’ll love it because:
- The trail is super easy to navigate in darkness or low light.
- There are virtually no tripping hazards or possibilities of getting lost.
- You can easily find parking at this hour.
And though this trail is popular, it’s still not overcrowded. There aren’t too many good spots from which to watch the sunrise at the top, but on your way up you’ll see people claiming spots all the way up. There are plenty of places to sit along the trail so you really do have so many options. You can even climb the pillboxes for even better views from less-crowded spots.
Other great Oahu sunrise hikes
Since you’ll probably be in Oahu longer than one day, why not start every day with a sunrise hike? (That’s what I did!) Add these two hikes to your list too:
- Lanikai Pillbox hike (arguably Oahu’s most popular sunrise hike)
- Crouching Lion hike (which I’ll be doing on my next visit)
Makapu’u Lighthouse Trail reservations
You do not need a reservation to hike the Makapu’u Lighthouse Trail. Even though some hikes on the island (like Diamond Head) do require reservations, this isn’t one of them. You’re free to hike here as you wish!
The Makapu’u Lighthouse Trail and the Kaiwi State Scenic Shoreline where it’s located are completely free to visit.
Tips for hiking the Makapu’u Lighthouse Trail
To help you have only the best time on the Makapu’u Lighthouse Trail (and in Hawaii in general), here are some helpful tips for this awesome hike:
1. Get here early
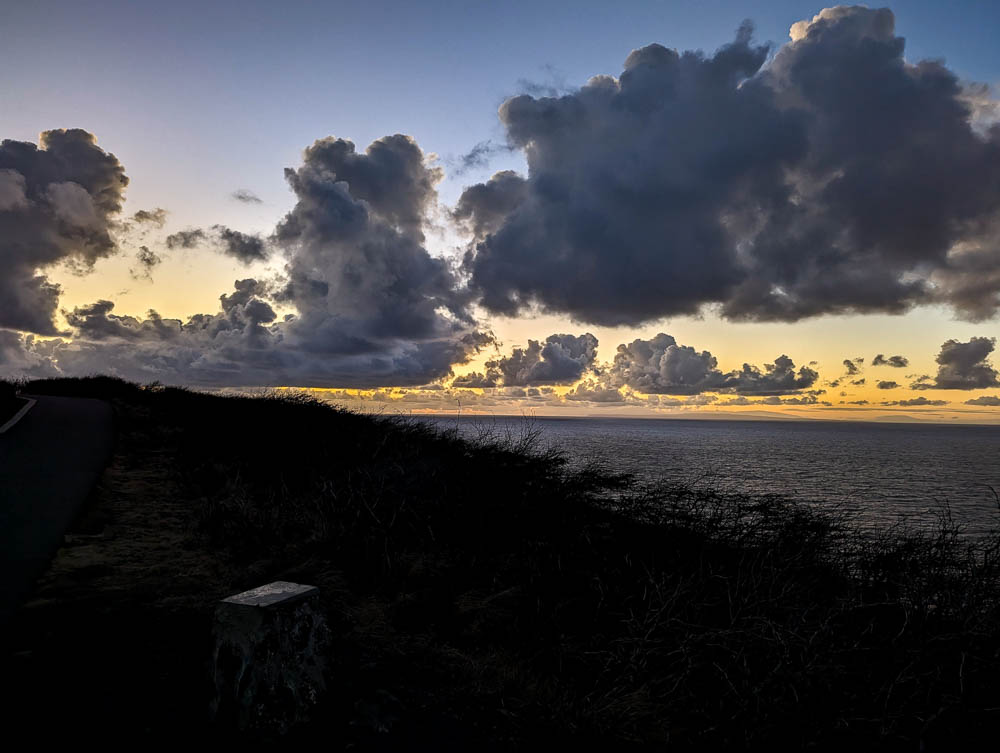
If you’re planning to hike the Makapu’u Lighthouse Trail at sunrise, you’ll want to get here with plenty of time to spare. You’ll get the best parking this way and have plenty of time to make it to the top before the sun comes up (without feeling pressured to rush). There are limited good spots to watch the sunrise at the top, so this will up your chances of snagging one.
2. Stow it; don’t show it
One thing you’ll notice at all the hikes you do on Oahu are the signs warning you to not to leave your belongings behind in your car. I personally had no issues with crime, but I was constantly warned about the high occurrence of theft from vehicles parked at trailheads.
Lock your car doors, take your valuables with you, or just don’t bring them along at all. If you have to keep stuff in your car, hide it in the trunk or somewhere where it’s not visible through the windows.
3. Wear the right stuff
Even if you’re hiking at sunrise you’ll still want to wear:
- Light layers (preferably of the hiking-appropriate moisture-wicking type)
- A hat for the blazing sun
- Sunscreen
- Good hiking/walking shoes
4. Hike safely
Maybe this is just me having been conditioned to be terrified as a woman out alone in the dark, but please have some sort of safety plan in place. This trail in particular removes many of the obstacles of hiking before sunrise, but you’re still a woman alone out in nature in the dark. (Unless you aren’t, but these are still good tips to follow.)
At the very least, let someone know where you’re going and what time you plan to be back. Stay in contact with someone while you’re out, always be aware of your surroundings, carry some kind of easily accessible personal alarm, etc. Just make sure to give this some consideration.
I always have a Birdie alarm on me, and I strap it to my bag in such a way that I can hang on to it while walking and yank it like a rip cord if I ever need to.
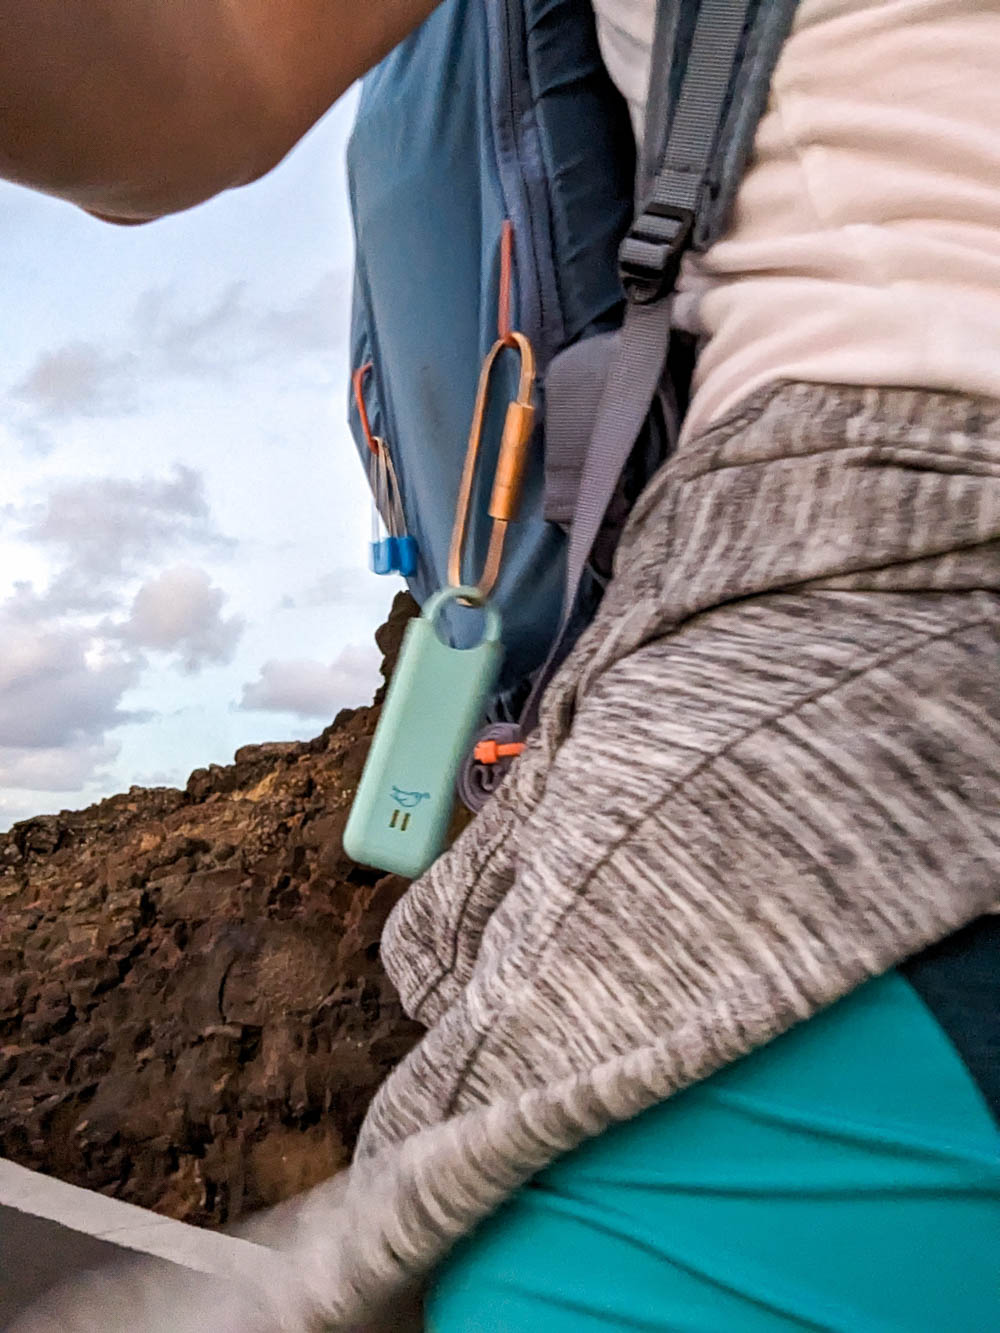
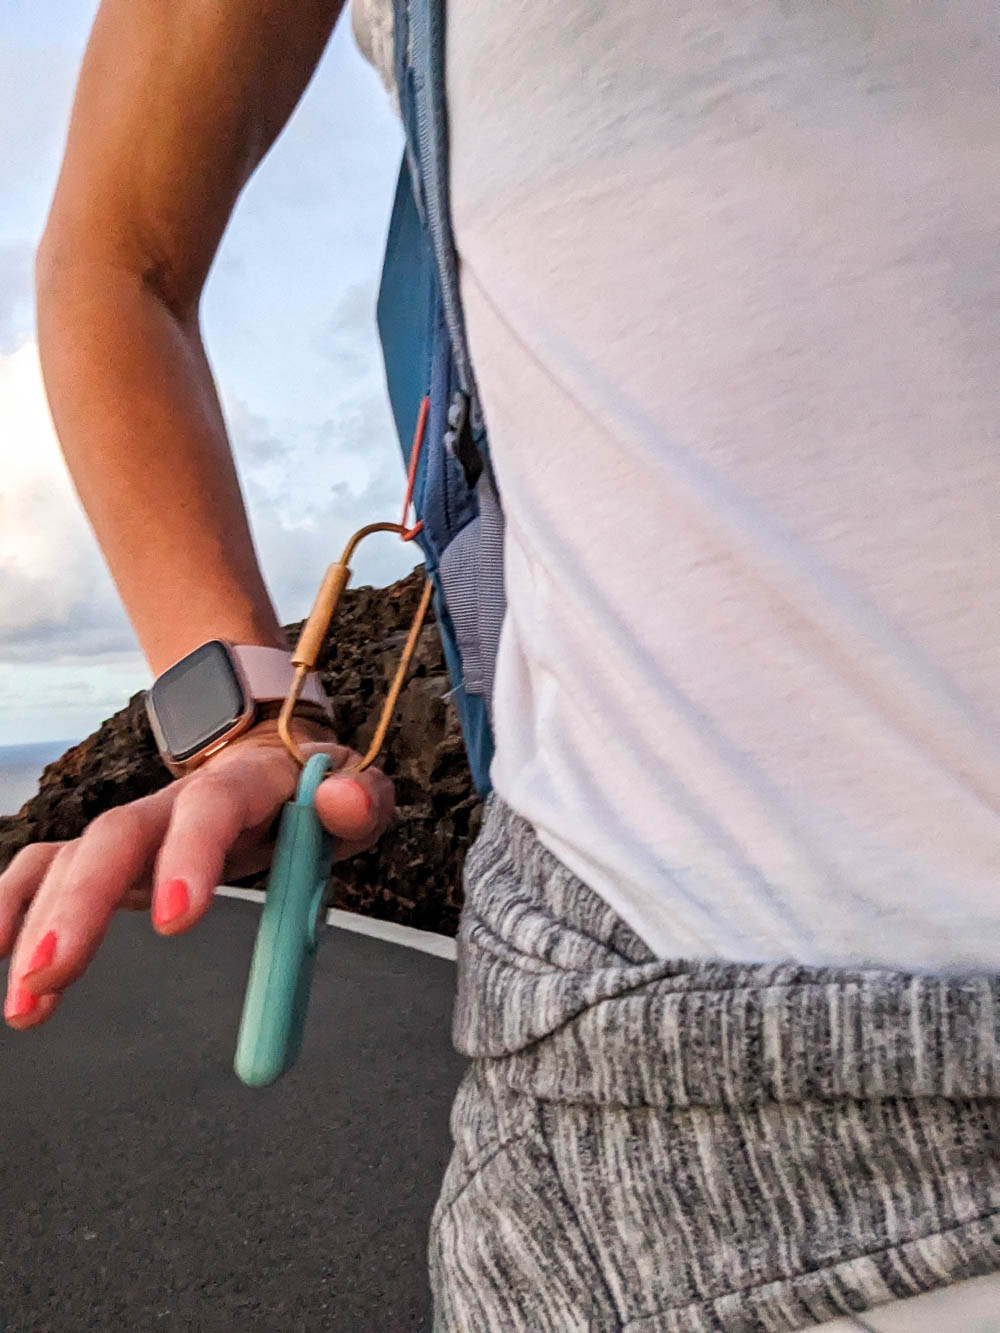
For real though, I travel with an entire safety arsenal. These are the 17 essential travel safety items I bring on all my trips.
5. Pack light
This hike isn’t super long, hard, or technical, so you really only need to bring the minimum. Keep reading for a list of the essentials.
6. Pace yourself
The fact that this hike is fully paved makes it appear easier than it is, but don’t forget about that steady incline. If you try to speed-hike this trail, you might wear yourself out pretty quickly.

7. Hydrate, hydrate, hydrate
As always, focus on staying hydrated on this and every hike. The paved road and breeze might make it feel as if you aren’t working that hard, but the sun and incline would disagree. So many hiking ordeals occur because of dehydration. Don’t become a statistic, people!
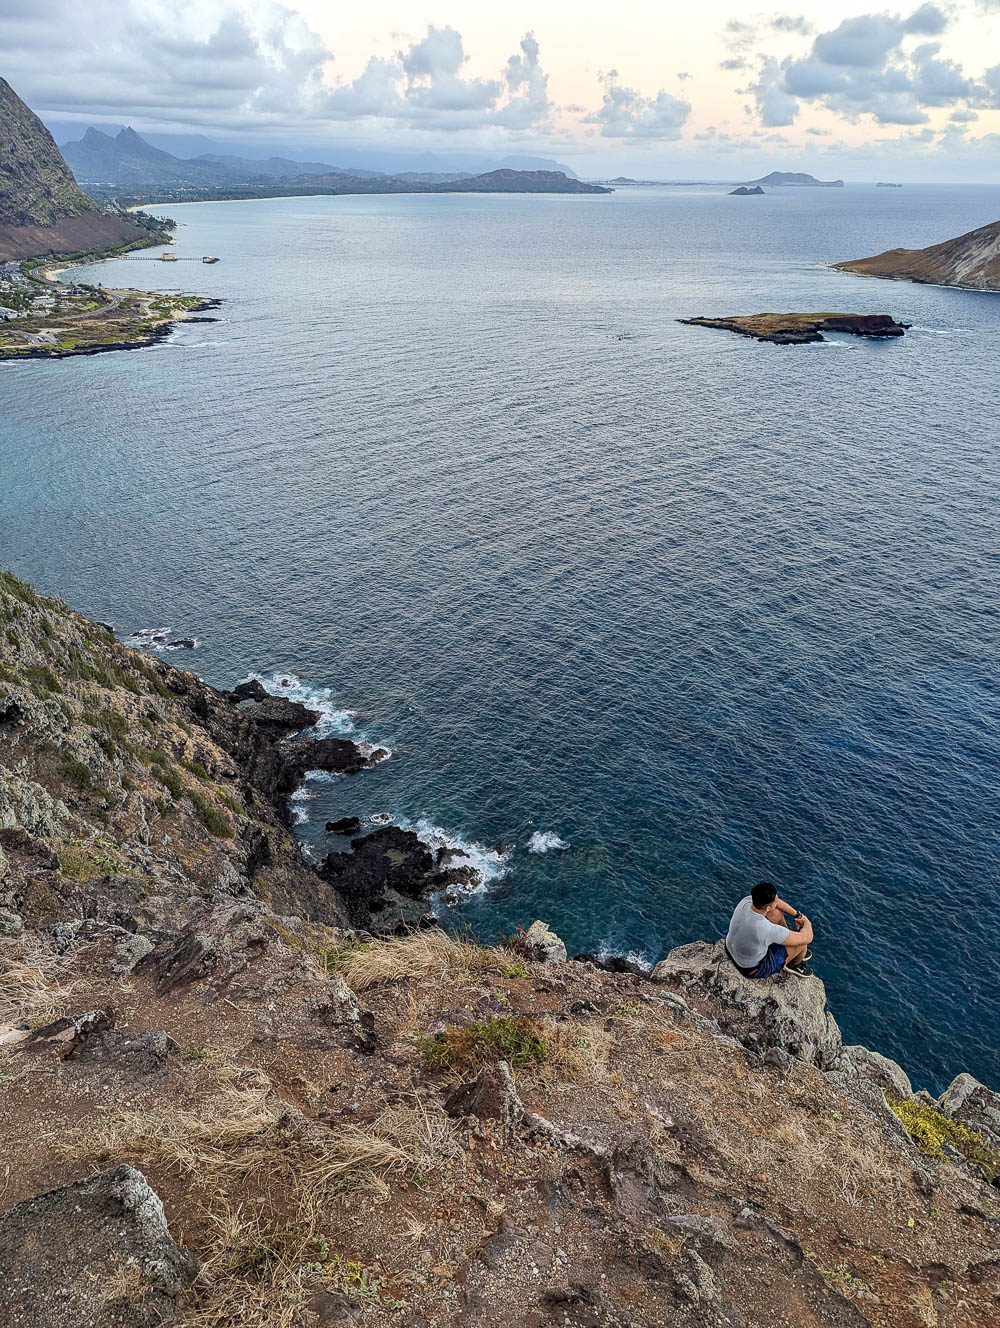
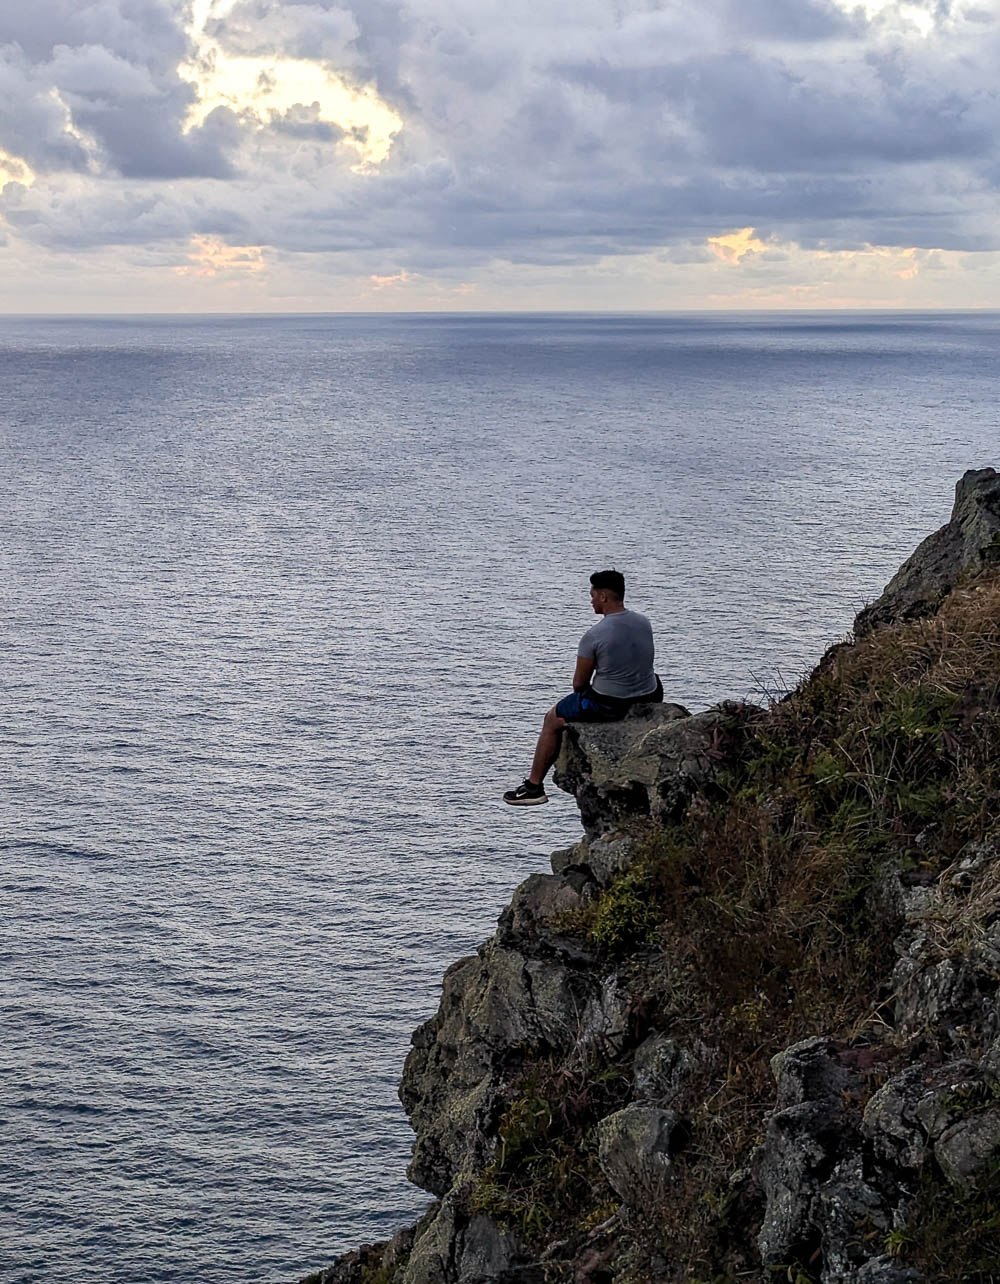
8. Be careful around the edges
Seriously, it’s so steep and rocky here; there’s no way of telling which rocks are stable and which aren’t. And it’s so windy, and such a long way down. And there are no barricades, so it’s really just up to you to not be a total dummy like this guy:
What to pack for the Makapu’u Lighthouse Trail
While getting all your stuff together for your Hawaii trip, consider packing the following for your day on the Makapu’u Lighthouse Trail:
- Light clothing – Hiking-appropriate moisture-wicking clothing is best for this kind of activity
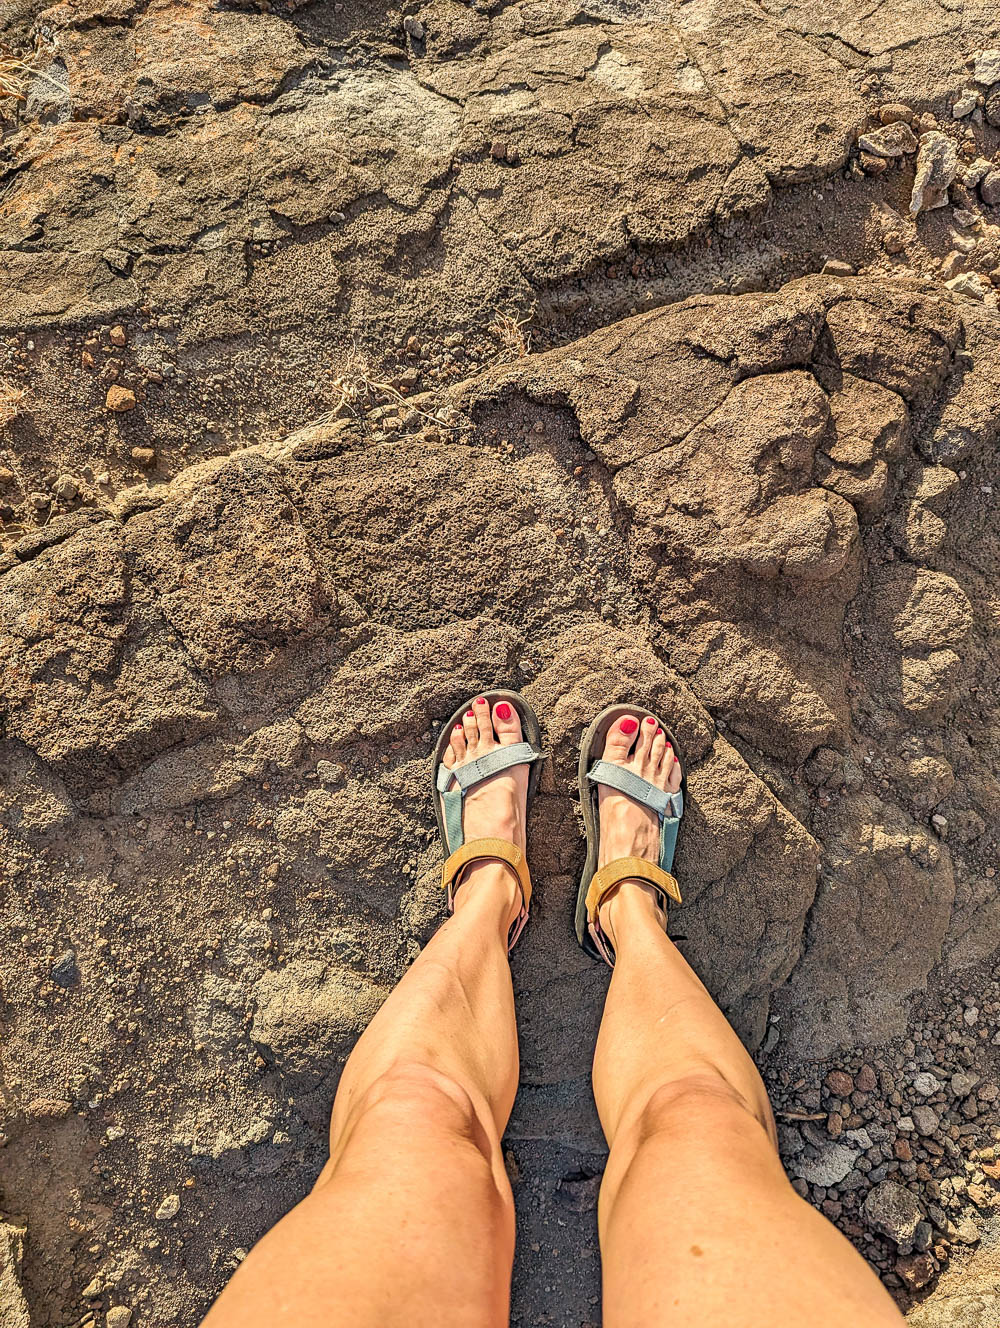
- Good walking shoes – On this trail I wore my Teva hiking sandals (also available at REI and Amazon), but as long as you have a pair of good hiking or walking shoes, you’ll be happy.
- A hat – Wear a hat of some kind pretty much always in Hawaii – a sun hat, a baseball cap, whatever. The sun does not mess around here.
- Binoculars – For whale watching if you’ll be here in the “winter.” A small pair like this is perfect.
- Hiking poles – If you prefer to walk with poles, bring them! (And keep the rubber tips on here.) They don’t have to cost a lot; even $20 for a pair is just fine.
- Sunscreen – Always wear sunscreen in Hawaii; it really should be the law. (But they do mandate that you wear reef-safe stuff. I use Badger.)
- Water bottle – Something like this 48oz. Nalgene is great.
- Liquid IV – Maybe bring along some extra electrolytes too. I use Liquid IV for this and pack them for all my trips. (Açai Berry is my favorite.)
- Super light hiking daypack – I brought my super light REI Flash 18 pack on this hike.
- Fitbit – So you can track your own Makapu’u stats, like the Fitbit Versa I use.
- Small first-aid kit – Because this and all trails here are lined with scratchy, stabby things. These travel kits are super small and have the stuff you’ll need on the spot.
More info for your trip to the Makapu’u Lighthouse Trail
- Hotels: Read reviews and book your Hawaii hotel room here on Booking.com (Check out Expedia and Hotels.com for good deals too.)
- Rental car: Check out the best rental car deals on Oahu here.
- Sightseeing: The Oahu GoCity pass can potentially save you tons of money on your trip.
- Local tours and activities: Check out the many options on Viator and Get Your Guide.
- Trip planning: Pick up a Hawaii guidebook for the rest of your activities and this pocket size USA customs and culture guide if you’re joining us from abroad.
Anything else you’d like to know about the Makapu’u Lighthouse Trail? Ask away in the comments! Happy hiking, aloha!

Save this info, pin this image:
